James Conkle
-
Posts
7 -
Joined
-
Last visited
Content Type
Profiles
Case studies - Free
Case studies - Premium
Resources
Insider
Courses
Forums
Store
Everything posted by James Conkle
-

Combining Multiple Delta Keyer Nodes (Fusion/Resolve)
James Conkle replied to James Conkle's topic in Fusion
I tried playing around with different Merge Operators - "In" seemed to do what I want but it's created a slight "edge" to everything. Lots to learn still with keying! -
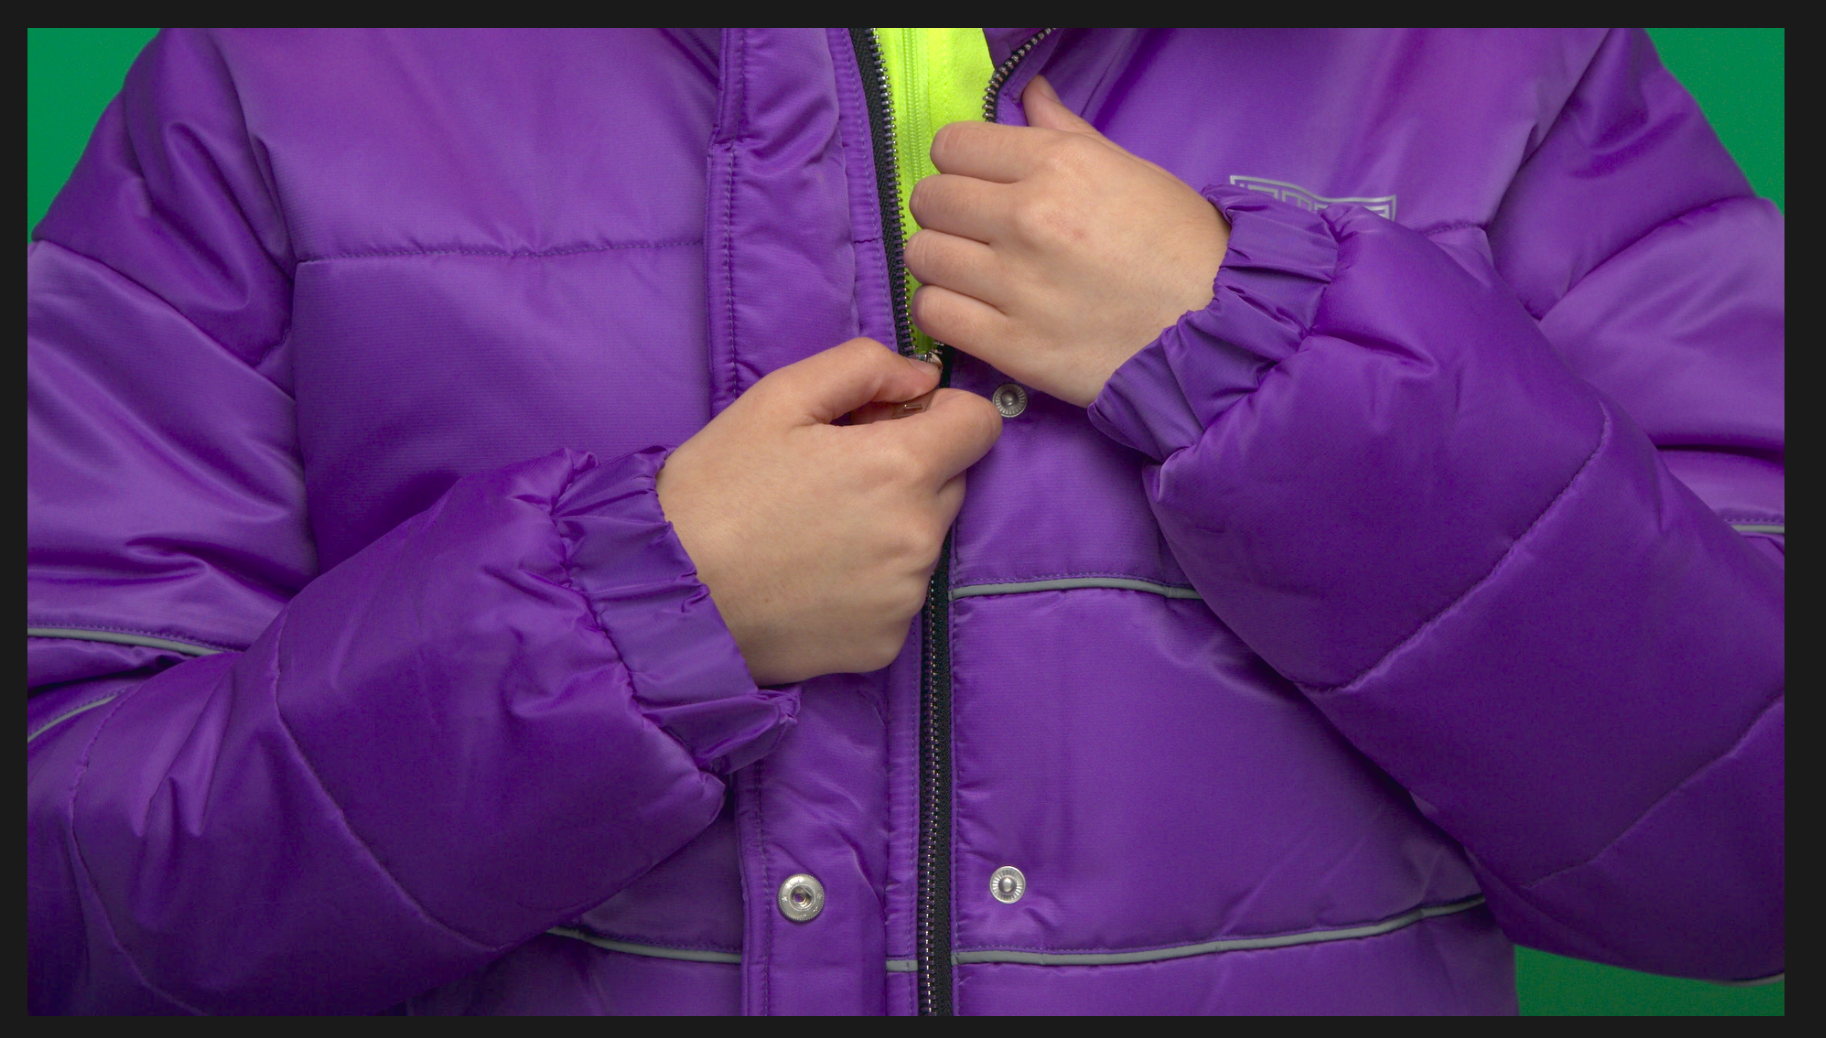
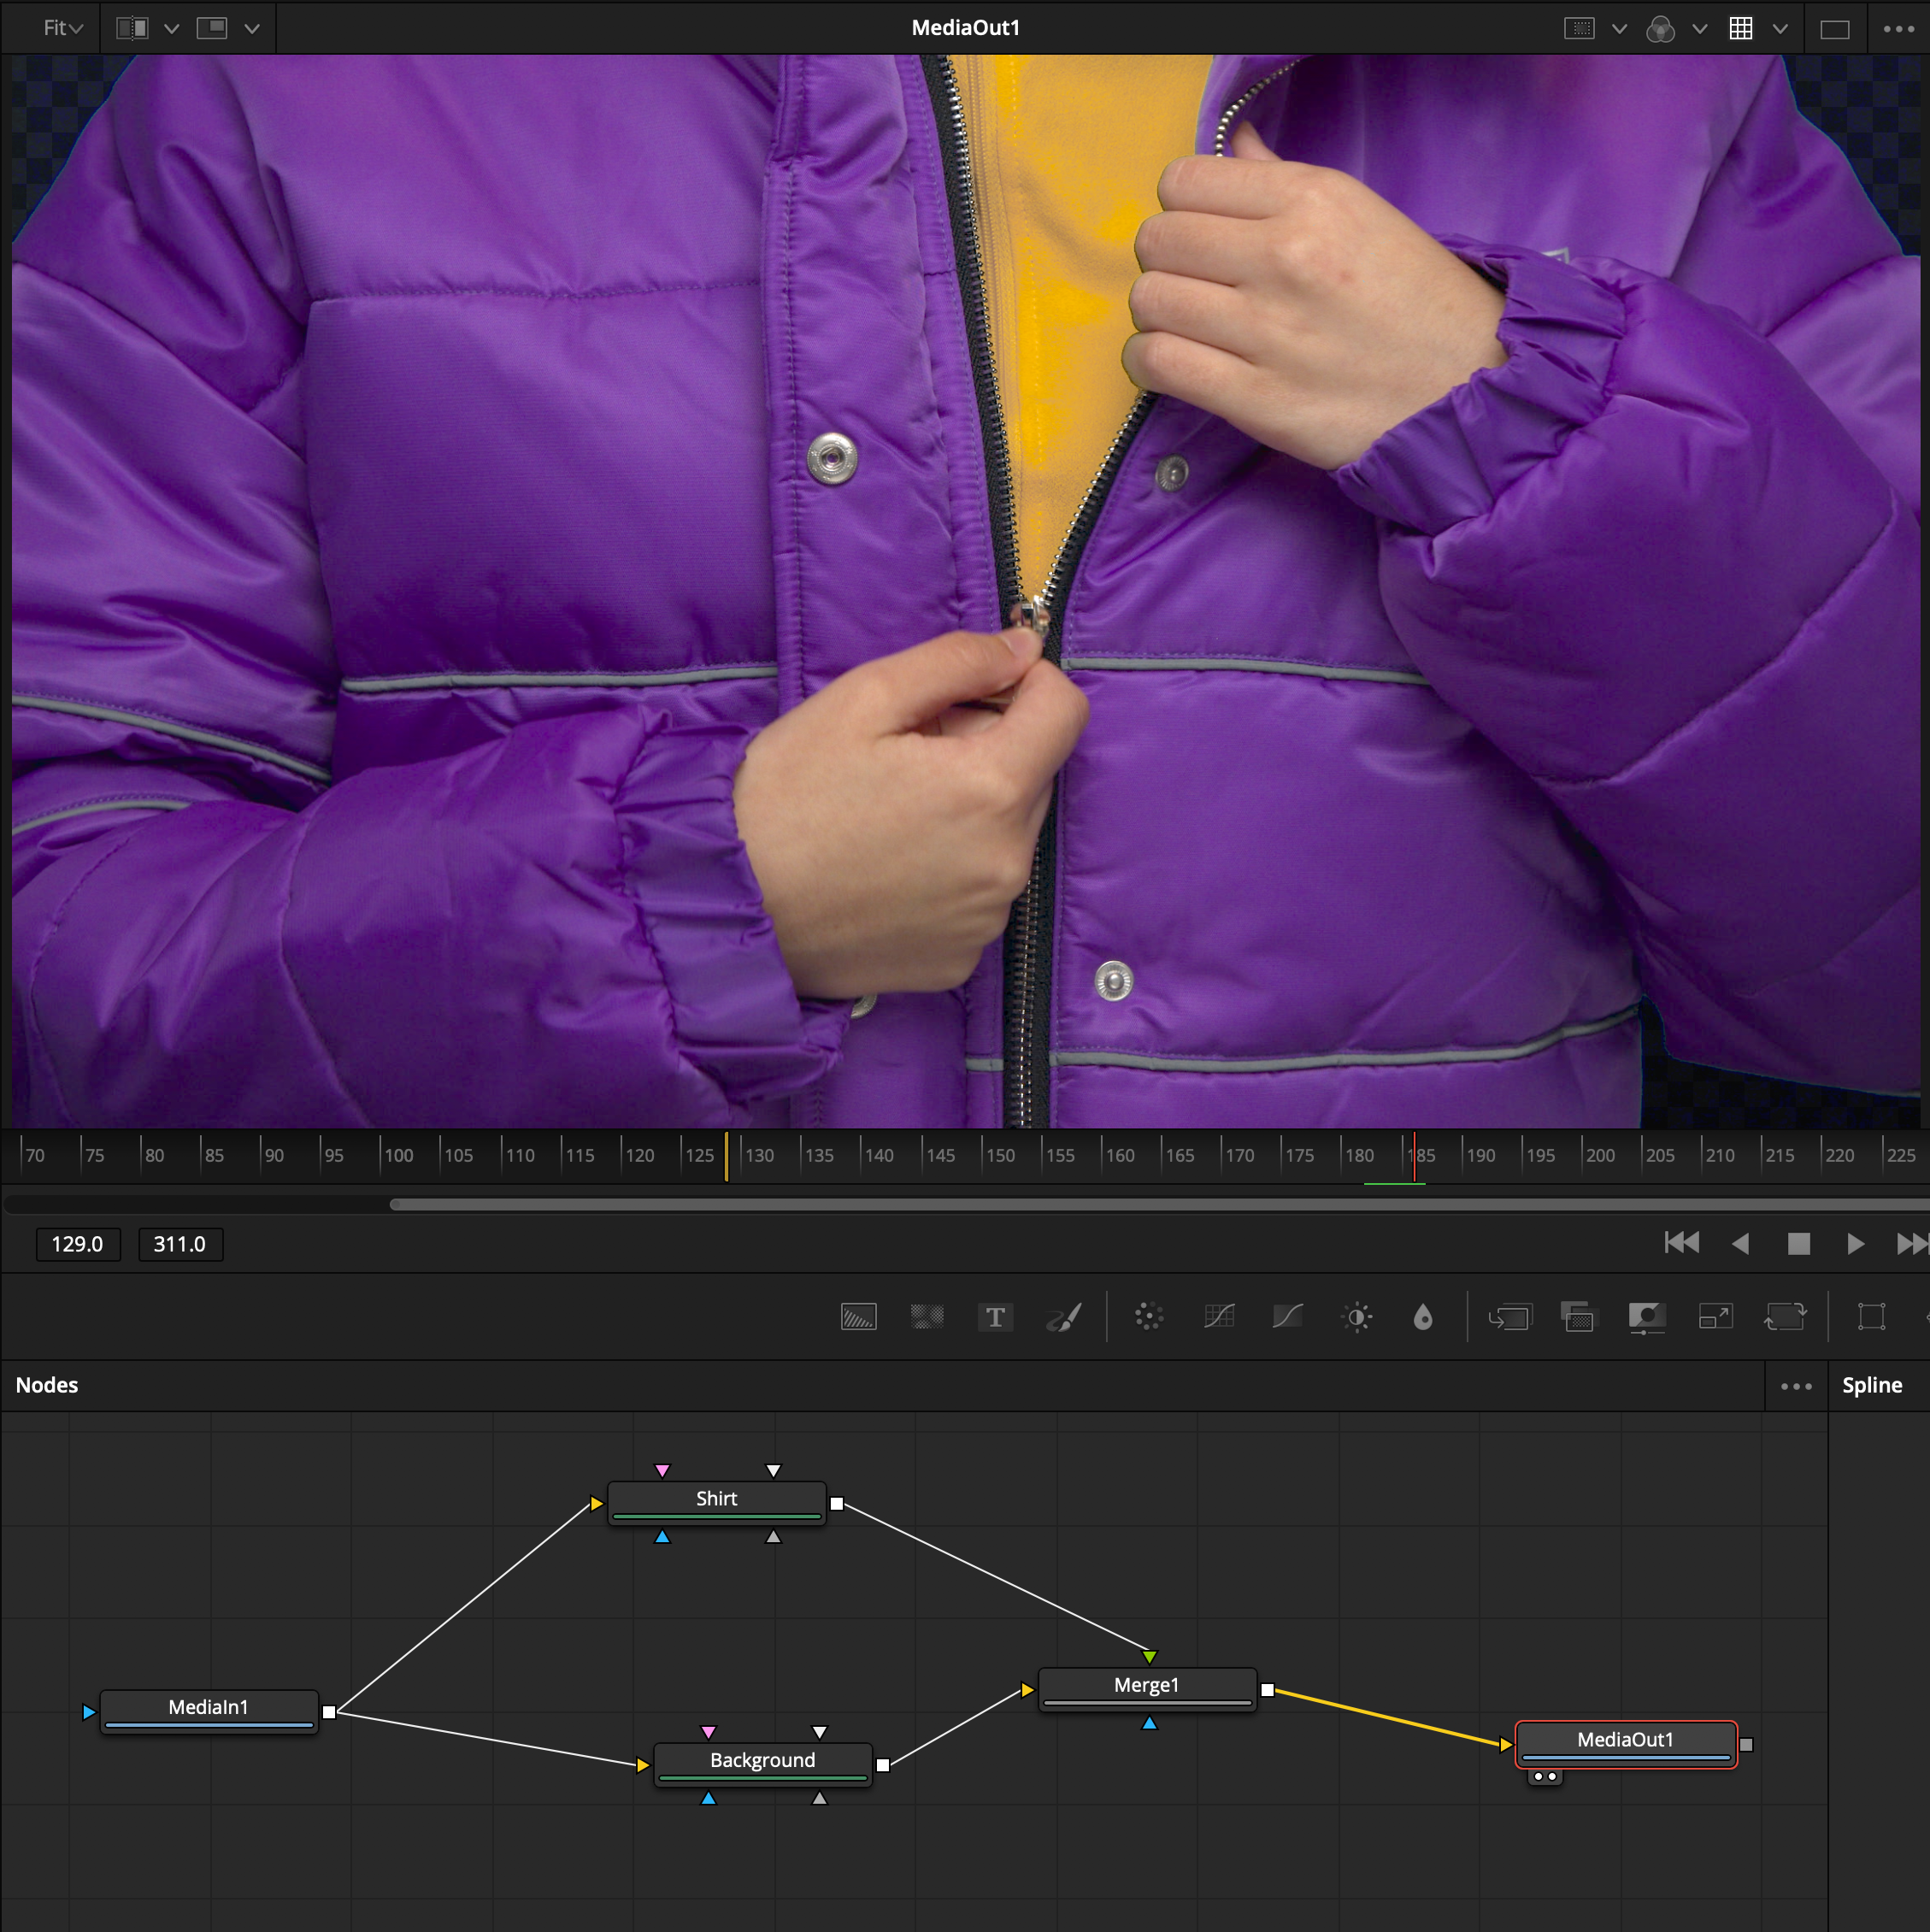
I'm in the process of keying my first green screen project (yay) and I'm trying to combine two DK nodes, but I can't figure out how to make that work. The subject is wearing "green" which will eventually be keyed out, but it's different enough from the background to (I think) warrant to keying two "color" selections. This is my feebled attempt and totally know that's now how a merge node should work, but the introductory Fusion course on here only got me this far...

-
Hello! This might be an old topic but thought someone might find this resource helpful. Puget systems has some great resources for hardware selection when you're concerned about specific software. This link is to all Resolve related posts: Link 1 But this article answers your question quite directly: https://www.pugetsystems.com/labs/articles/DaVinci-Resolve-15-CPU-Roundup-Intel-vs-AMD-vs-Mac-1310/
-
Have you tried changing what Timeline Color Space you're using in Project Settings? From my understanding that changes how the tools feel and might get you close. If anyone has experience with changing this I'd love to know what space you chose and why.
-
QuickTime Colour Management-With Resolve
James Conkle replied to Matt Floryan's topic in DaVinci Resolve
I'd be interested to hear about how others deal with this as well. Recently I've been exporting ProRes masters from Resolve and taking that into Adobe Media Encoder and exporting another ProRes and h.265 file to deliver to the client. It's hasn't slowed me down too much (especially compared to explaining the "quicktime issue" to the client) and I'm fairly happy with the results. More recently, for my personal work, I go straight from Resolve to the web and found Instagram likes +68 points of saturation and an offset of 26.2. Vimeo: Saturation +60 Contrast 1.030 when working with a sRGB output. That's consistently matched what I'm seeing while grading. ... Video is so weird coming from a stills background. -
I'm on lesson 5 and it's already changed my workflow! I never knew what to do with the Fusion page before this but now I'm popping between this and the edit page so much - glad it all works so quick and smoothly. I'm really looking forward to the beauty retouching classes, would love to learn as many finishing techniques in Fusion as possible :)
-
Color Management Workflow in DaVinci Resolve 16
James Conkle commented on Lowepost's course in legacy
Hello thank you for this course! It's great to get some reassurance on somethings I've learned elsewhere. (Going to look at skin retouching next) However I'm now thinking about changing my workflow. I've been using a RCM workflow with SLog3/.Cine footage from an a7S and I've been bypassing the Input Colorspace as well as not assigning clips a profile in the Media Bin. I'd basically grade to where I want it to look and have the Output Colorspace set to sRGB / rec709 in Project Settings. So it sounds like I've basically been using a display referred system. I'd like to follow your lead and have the Input Colorspace match what I'm shooting (slog3) in Project Settings but when I do so my highlights are clipped even though I've exposed using a display with a r709 LUT. I'm guessing this might be from the limited data range on my camera (8-bit 4:2:0)? When I turn tone and gamut mapping on (along with the necessary drop down options) it displays about how I shot it, but like you said this is destructive and I can't grade it much down the line. Any recommendations? In general if I use RCM should I just set the Input Colorspace to what I shot on in the Project Settings and grade from there? Will things like noise reduction work as good this way or should I bypass Input Colorspace and have my last node be Color Space Transformation? Thank you!