

Mazze
-
Posts
255 -
Joined
-
Last visited
Content Type
Profiles
Case studies - Free
Case studies - Premium
Resources
Insider
Courses
Forums
Store
Posts posted by Mazze
-
-
Depending on how much "bleeds" outside of the P3 gamut, it could simply be RGB vs. YUV.
Inside Resolve (or any DI system for that matter, with very few exceptions) all is RGB-based and so is your measurement.
When you then render out to a YUV based codec, the encoder used will convert the RGB data to YUV.
That conversion might introduce certain "spikes" that reach outside of the defined gamut.
Vice versa, when pulling the rendered result back in, the first thing that happens right after the decode, is a YUV to RGB conversion.
Effectively you now have two conversions in between your two measurements.You can check against by exporting the original timeline as RGB DPX and pull those back in and analyse.
If they are a 100% match (as you're not going to YUV and back again with those) - the culprit lies with the YUV conversion,
and can't be avoided.Cheers,
Mazze -
Hey people,
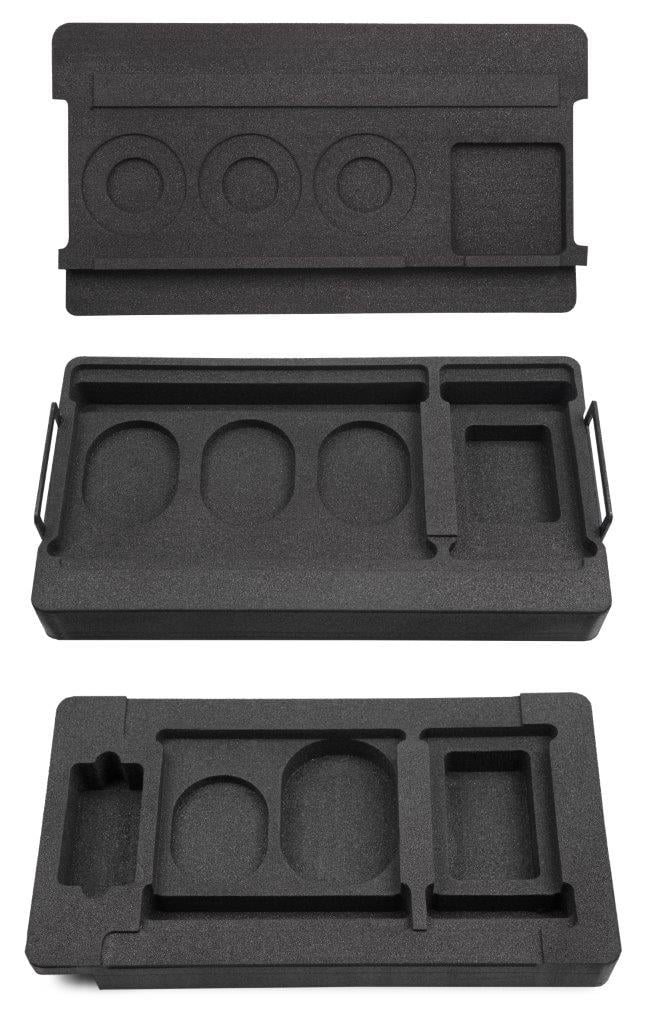
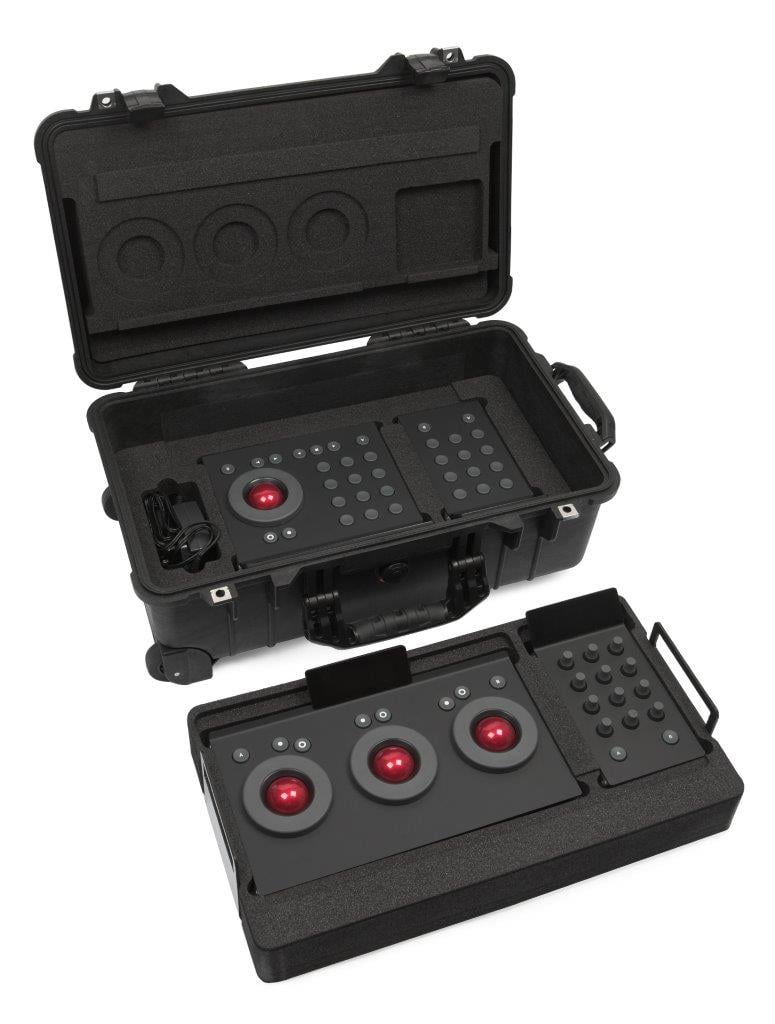
as some of you might know, the original foam inserts to fit Tangent's Element panels into a Peli Case 1510 ceased production around 2017 or so and have been unavailable since. Reason enough for me to look into producing them again, as demand was still there. I have now started a small production batch with an estimated shipping date of december 1st.
Pre-order (incl. a small discount) is up now and will last until Nov. 28th 🙂 .
https://www.angry-face.com/foam-inserts-for-the-peli-case-1510-are-back/

Cheers,
Mazze-
 2
2
-
-
Hi people,
we've been working on a new software for virtual production over the past couple of months.
As of today, Assimilate Live FX is out in open beta.
It does a whole lot of stuff - from compositing over camera tracking to LED wall control and DMX lighting control.
We've defined a few workflows that we found made the most sense.
But given how much this still is a pioneering field, we also threw in a bunch of tools that help defining custom workflows (which we'd love to hear about and possibly streamline those as well).So, if you wanna know more about Live FX - head over the Assimilate webpage:
https://www.assimilateinc.com/products/livefx/From there you can also register for the open beta.
We also created a small tutorials series to get everyone started asap.
6 videso with each being around 10 mins long:
https://www.youtube.com/watch?v=YX7Ds7eNFLg&list=PLMHM5FmtrBBOXhjMfaLV7y58fEYSEkDxp&index=2And if you have any questions - you know where to find me 😉 .
Cheers,
Mazze-
1
-
-
Hi Rinaldi,
on 1)
Not sure - it seems to work fine here. What resolution is your footage, what resolution is your timeline / main output node and which other tools (like e.g. scopes) do you have opened, if any?on 2)
Note that the scaling in the viewport is not a high quality algorithm. Check the footage on a reference screen or display it 1:1 to judge edges and such. SCRATCH does not make things look nice without being asked - it rather shows what's actually there.on 3)
To the left of the playback controls is a button to set playback to once/loop/bounce.
Shift + Enter does that as well. Control-clicking that button (or using Ctrl + up/down arrow keys) changes playback speed.
Hit "R" (or the Range button to the right of the playback controls) to set the playback range to the current clip.Cheers,
Mazze -
Hey everyone,
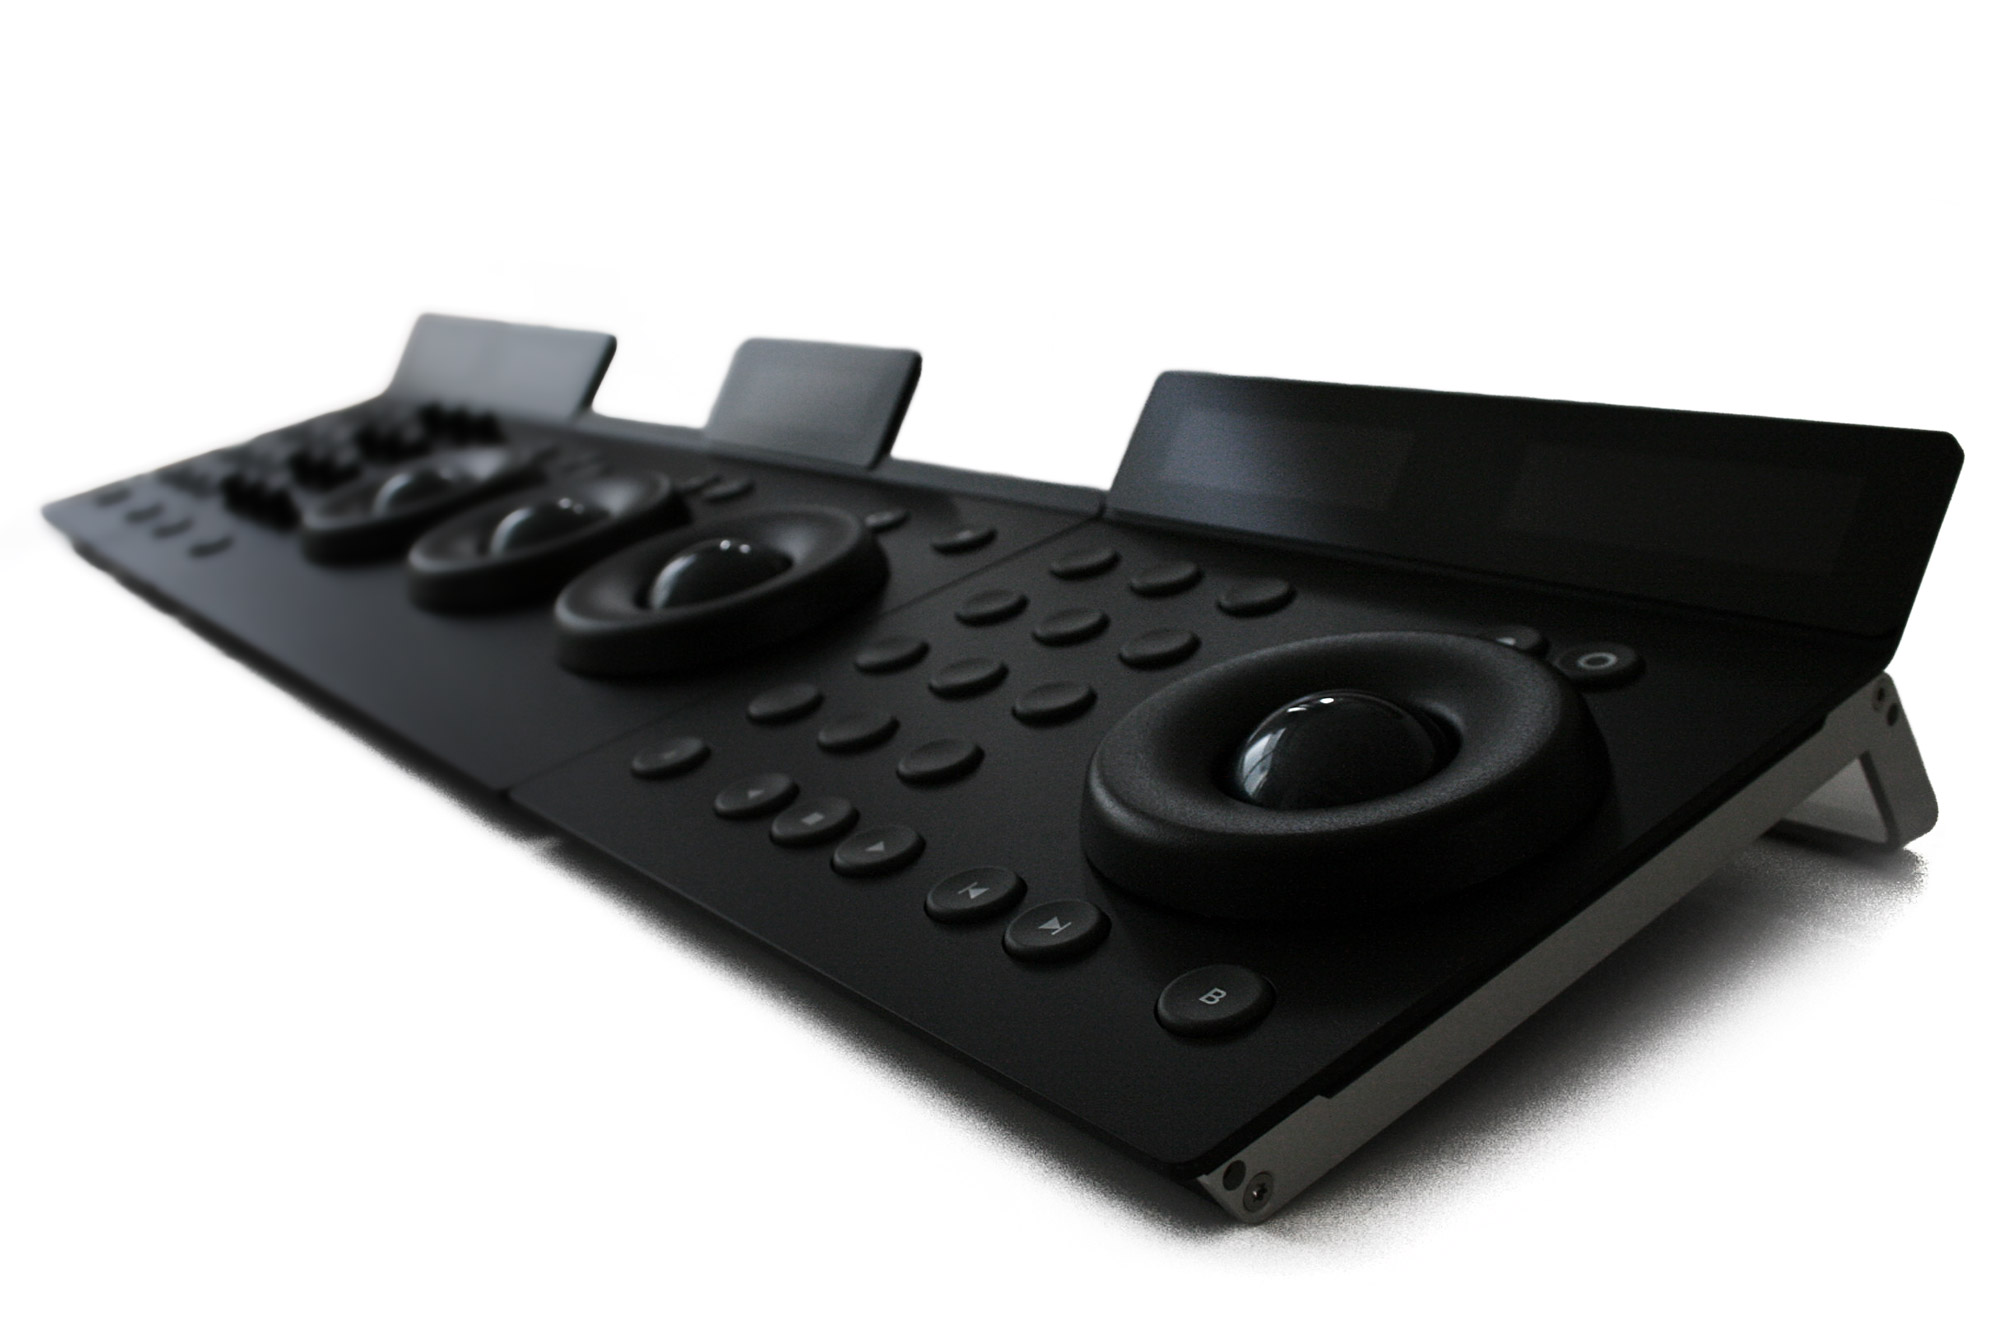
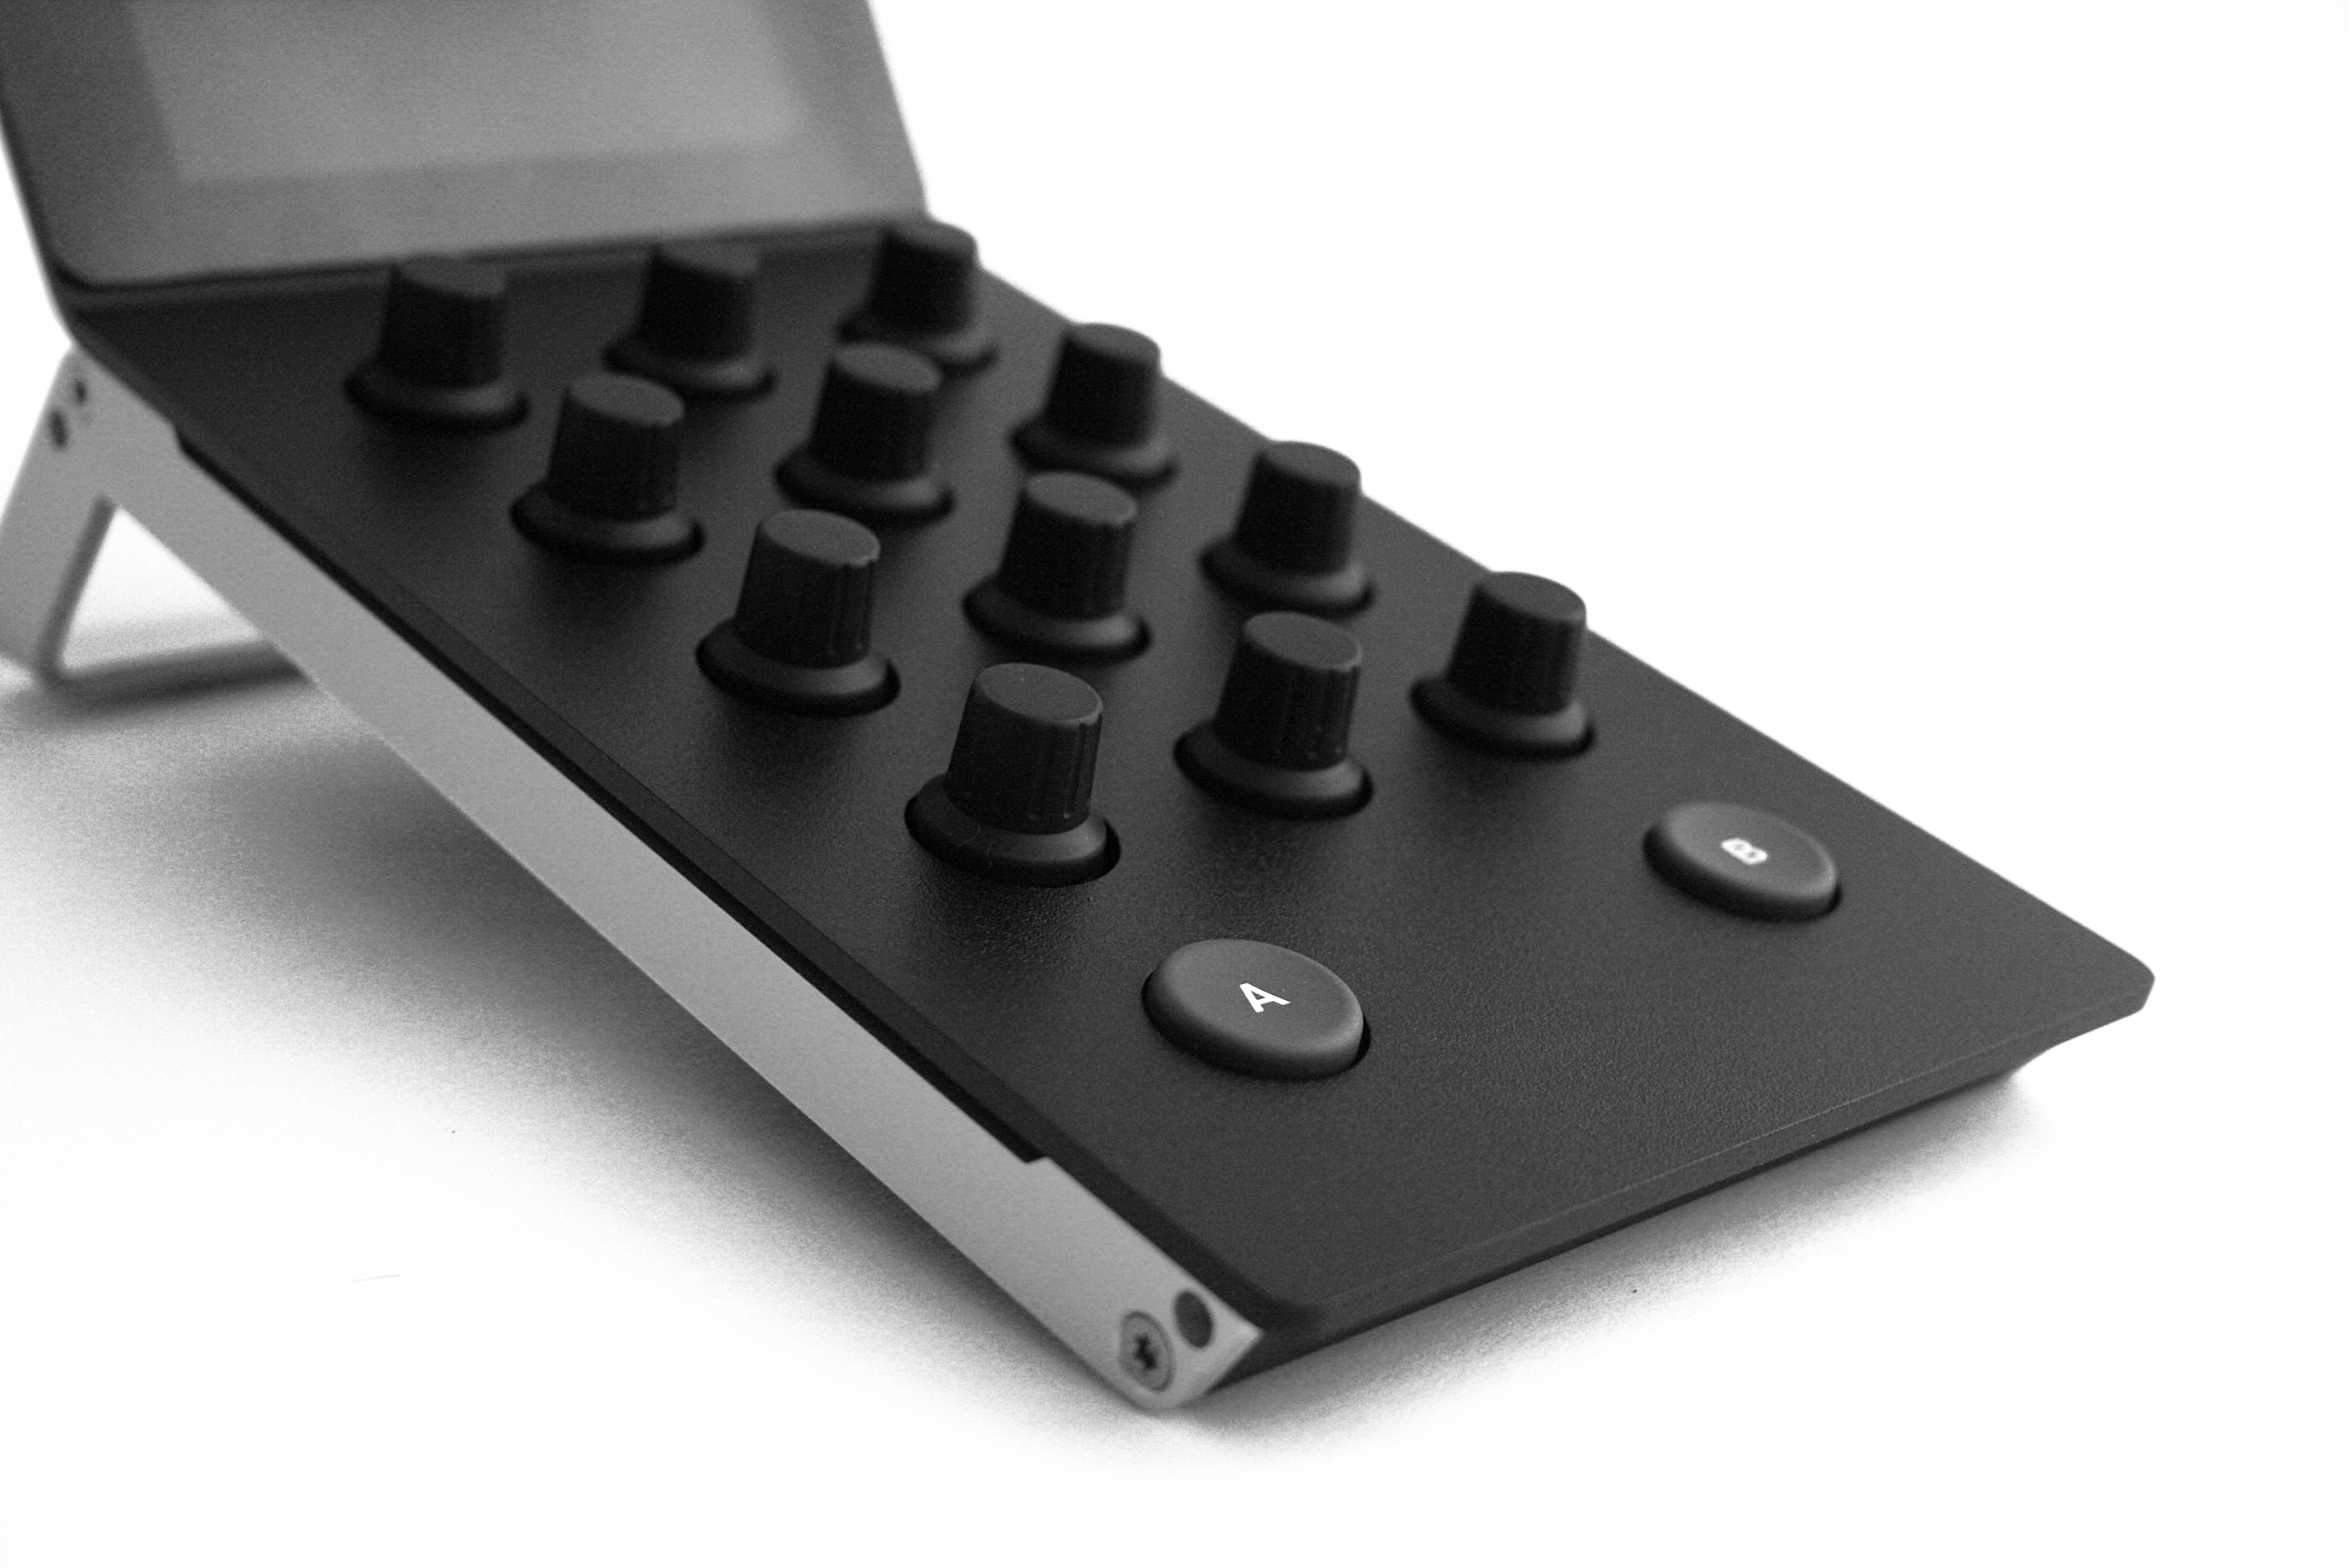
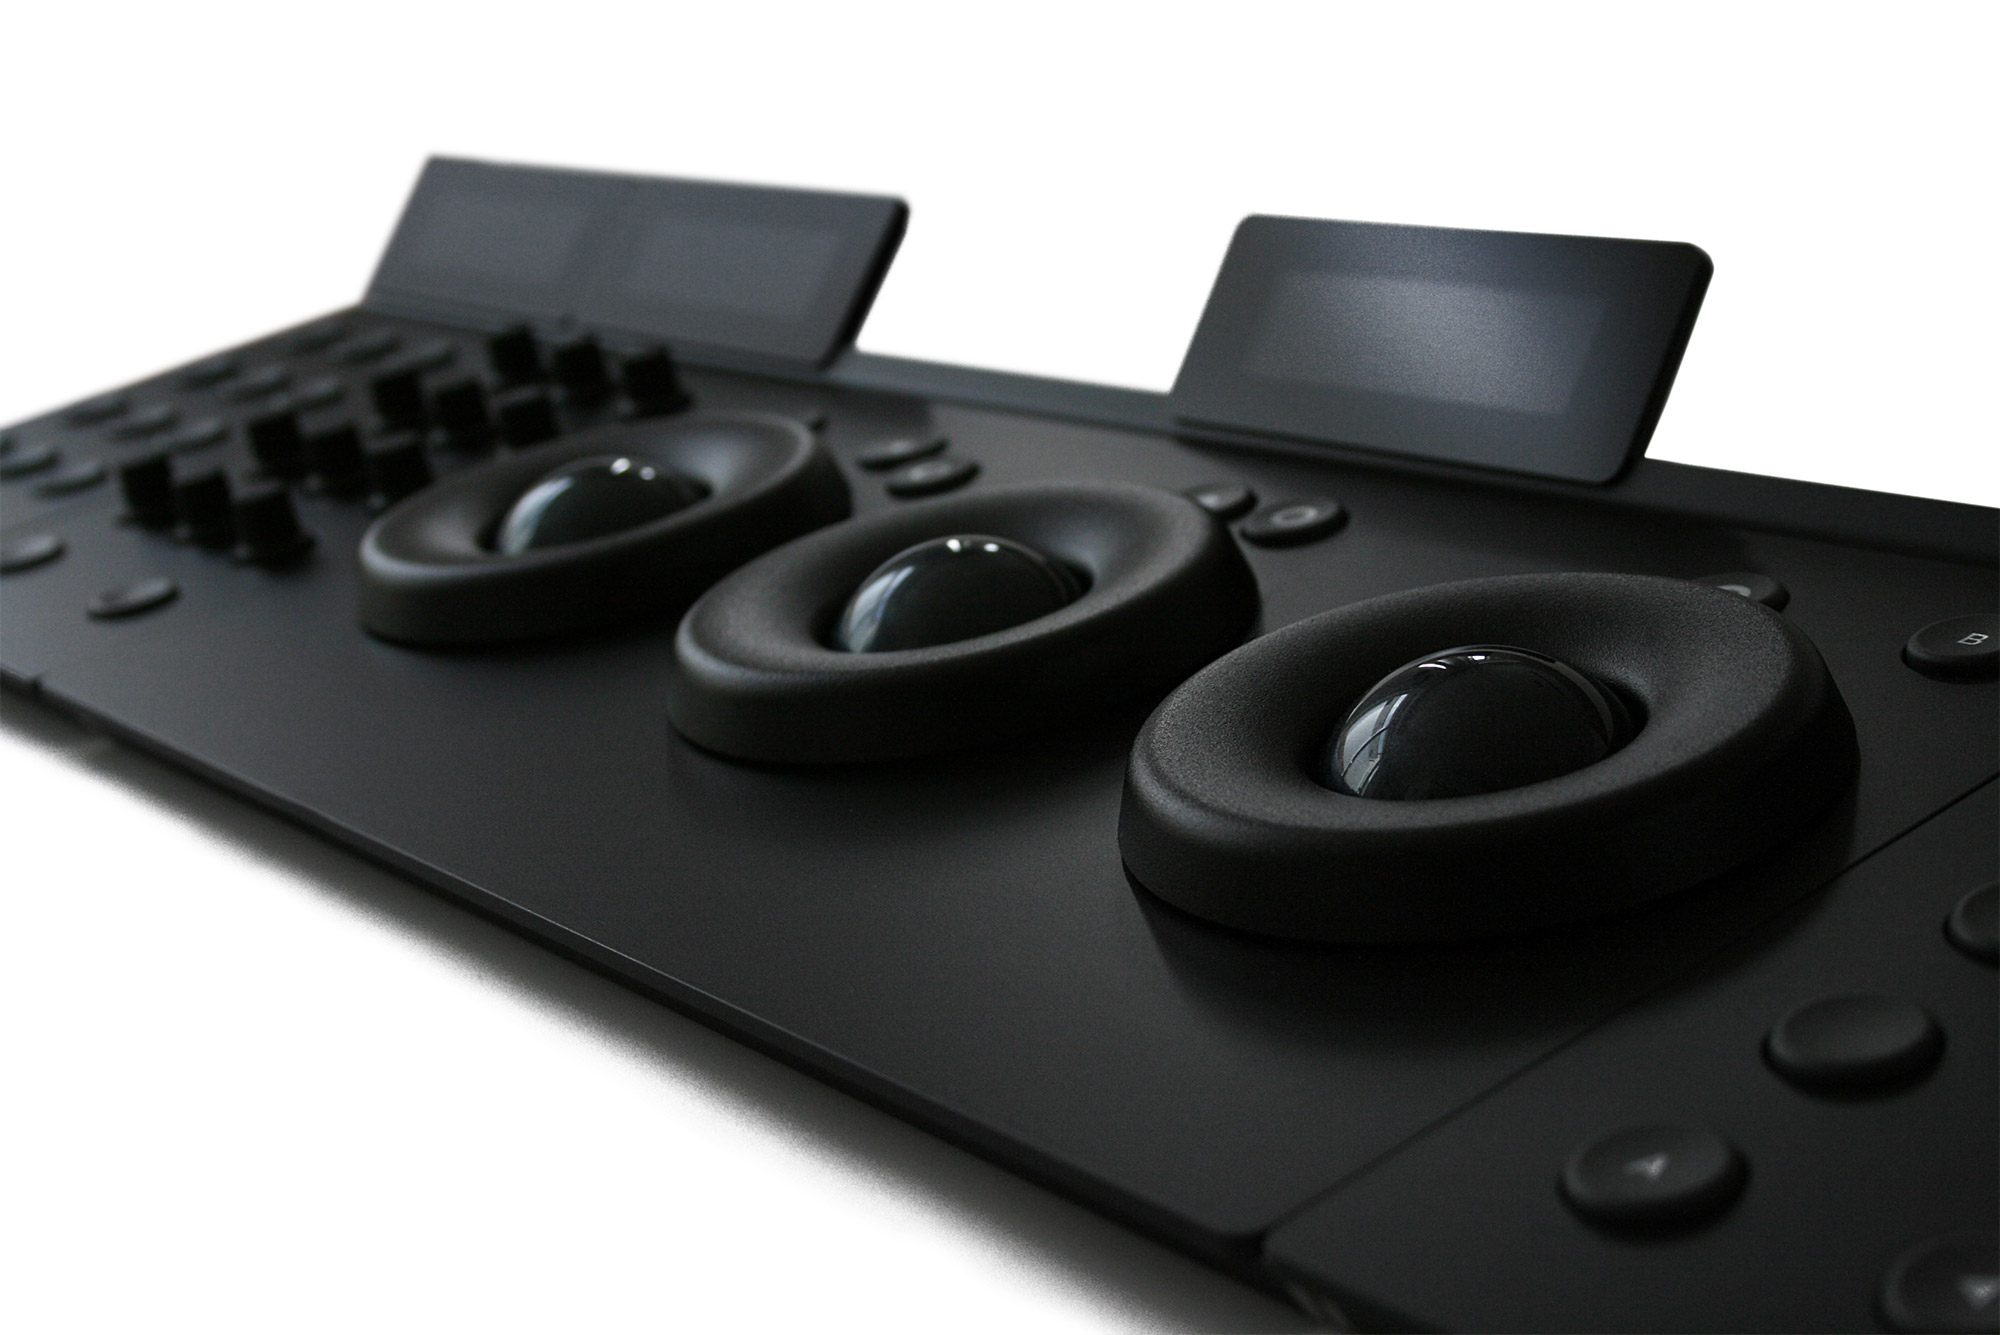
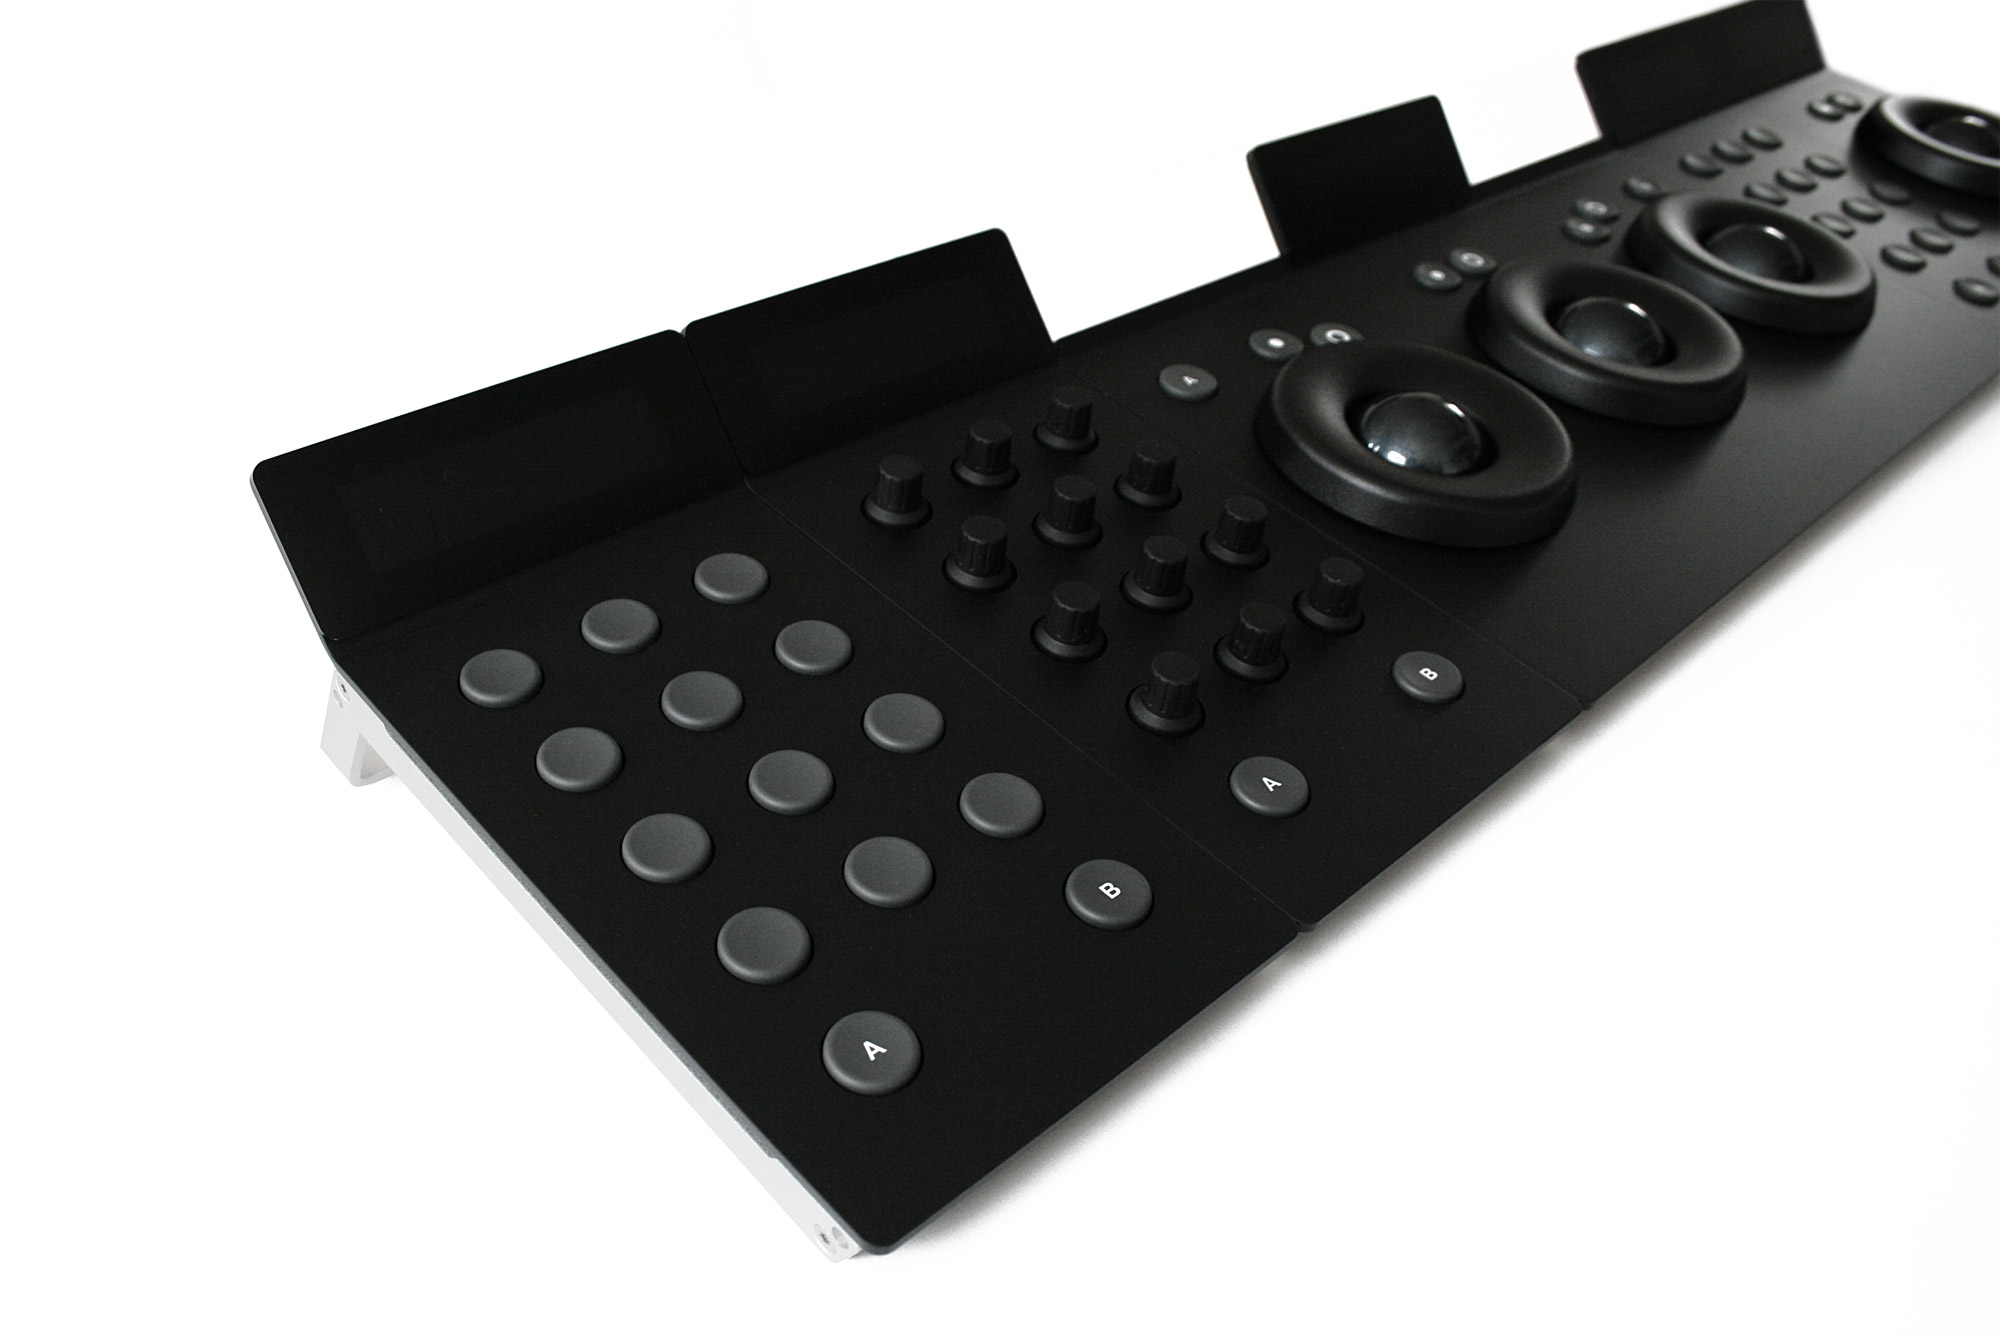
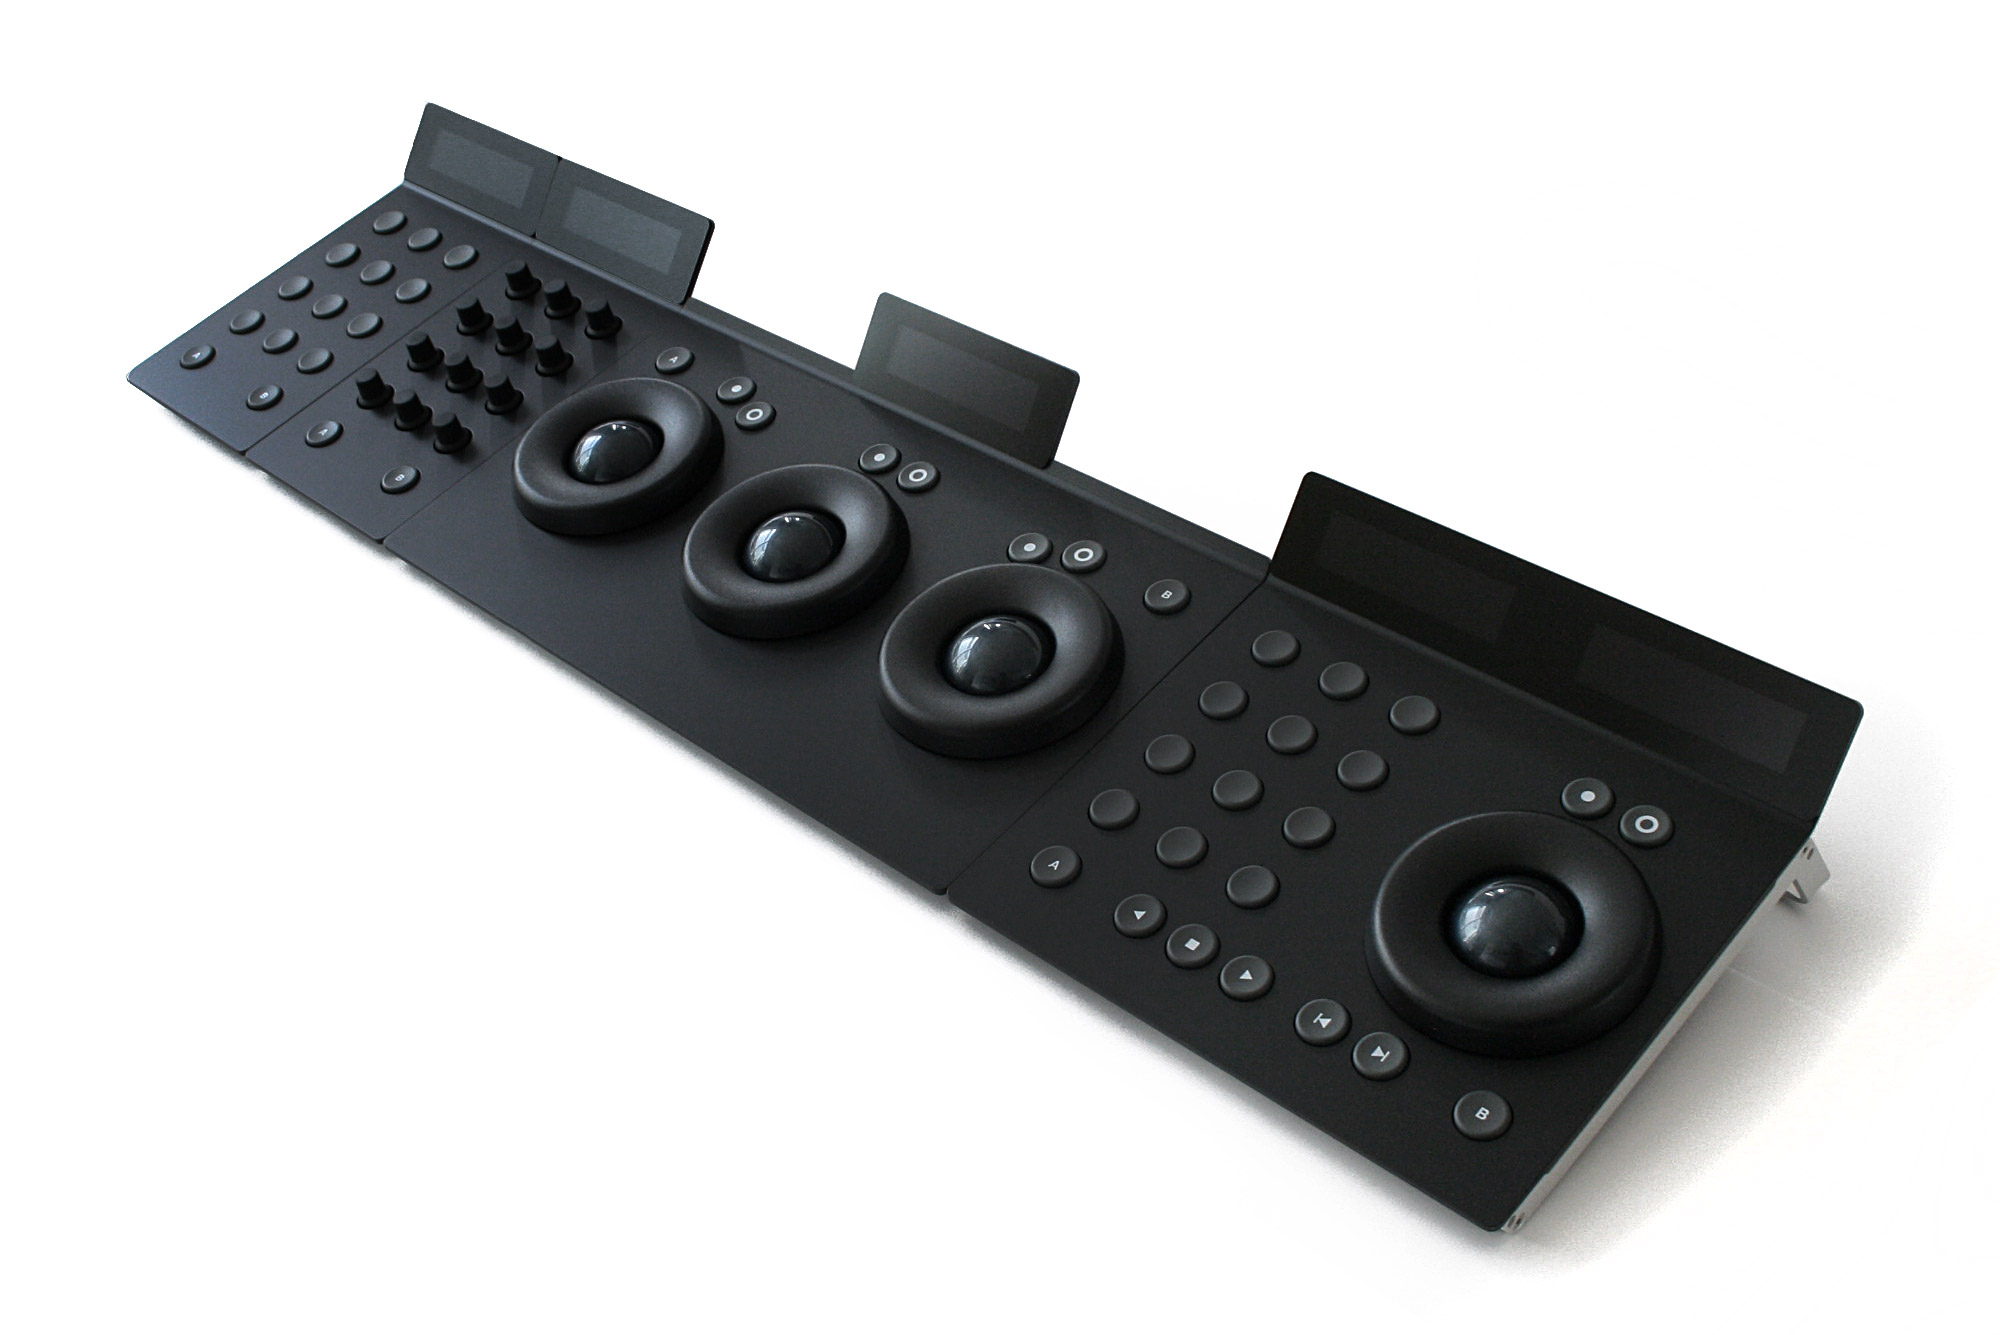
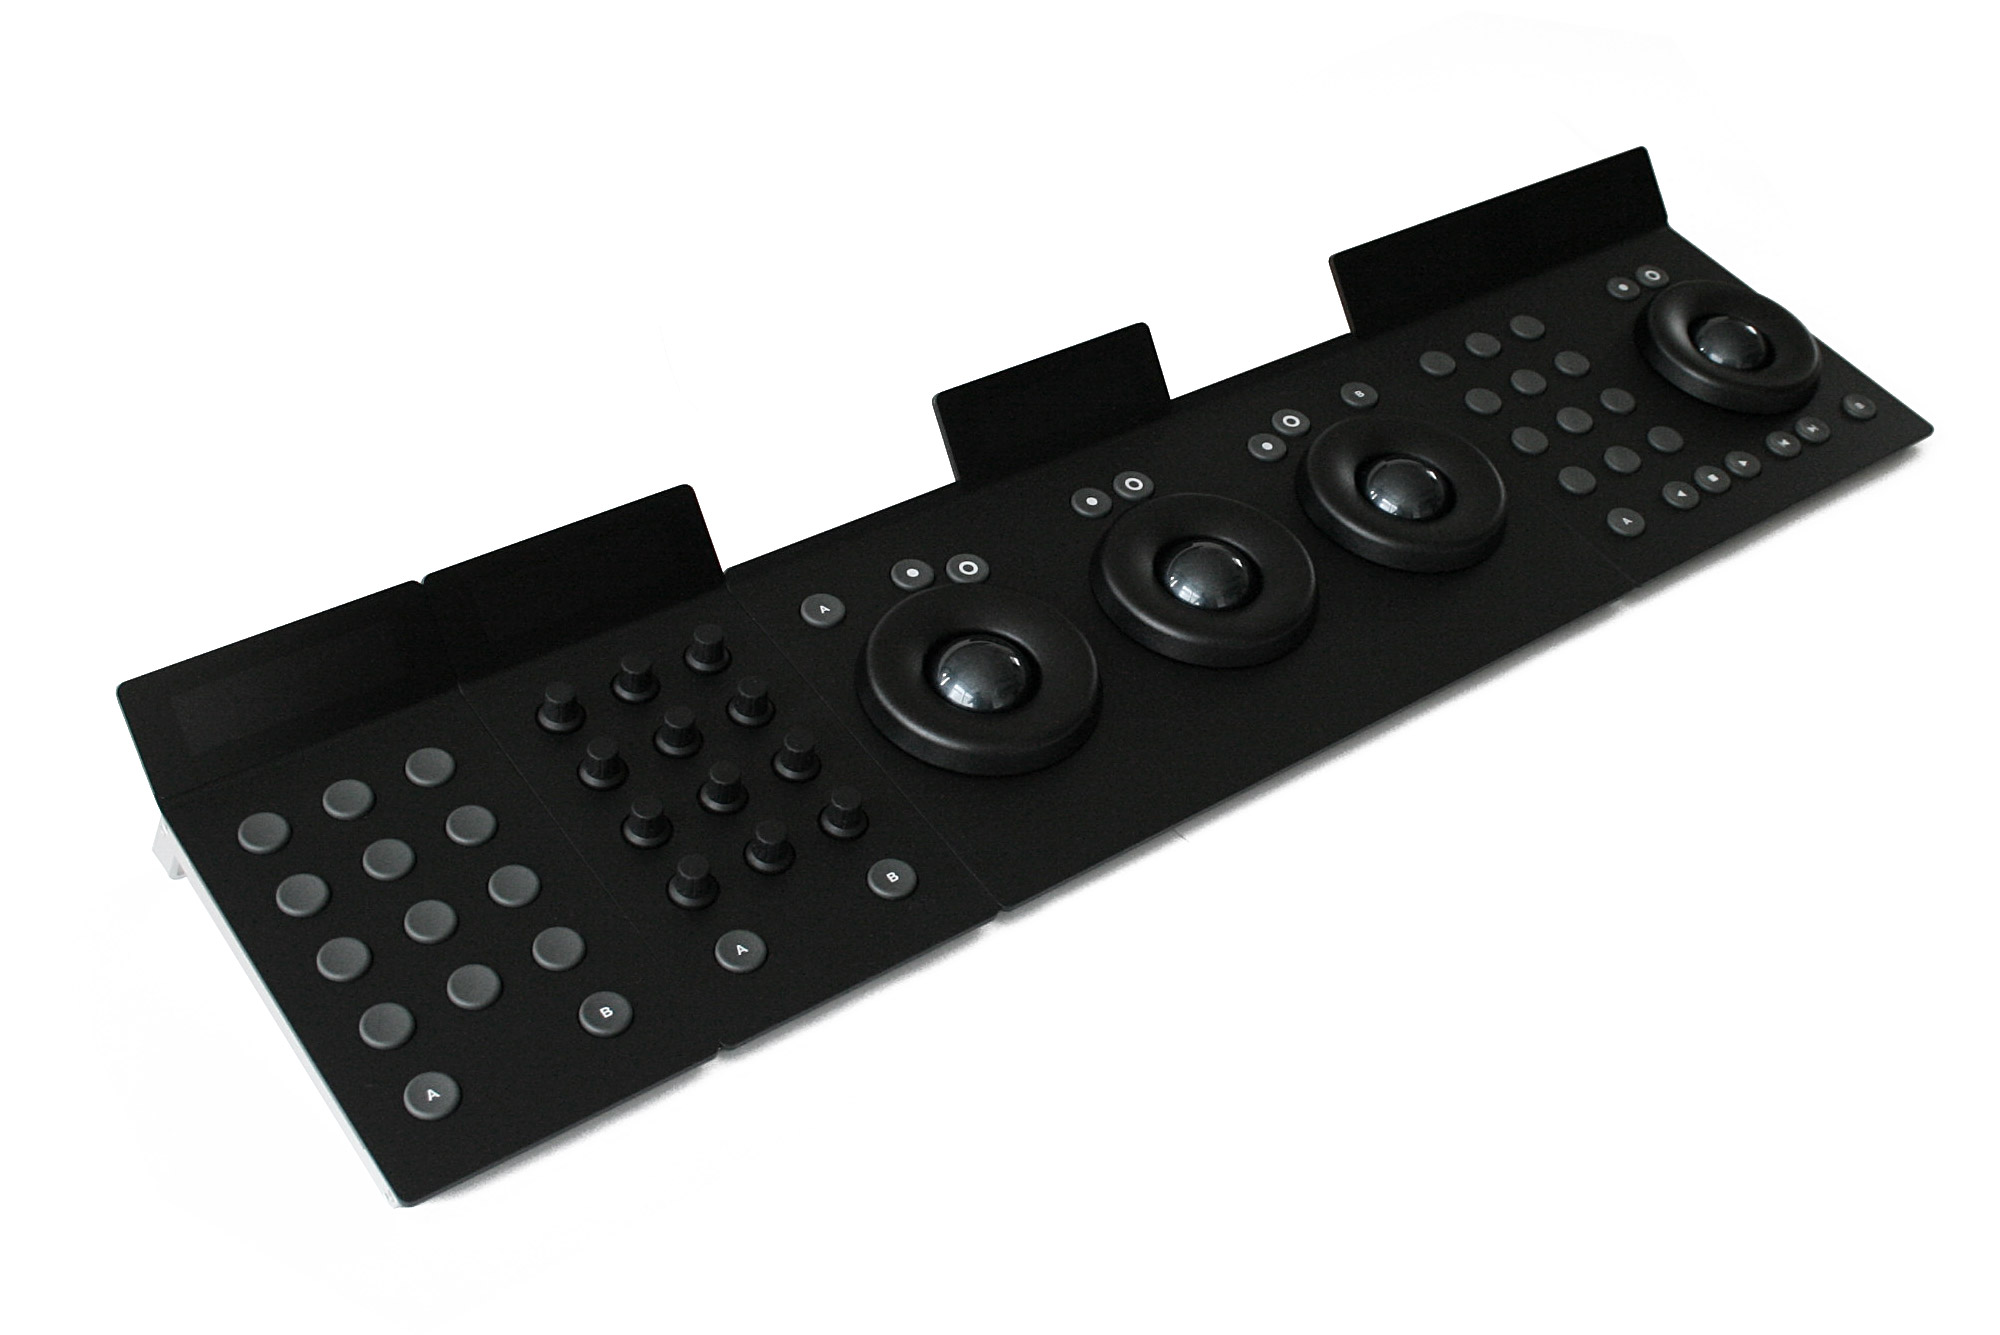
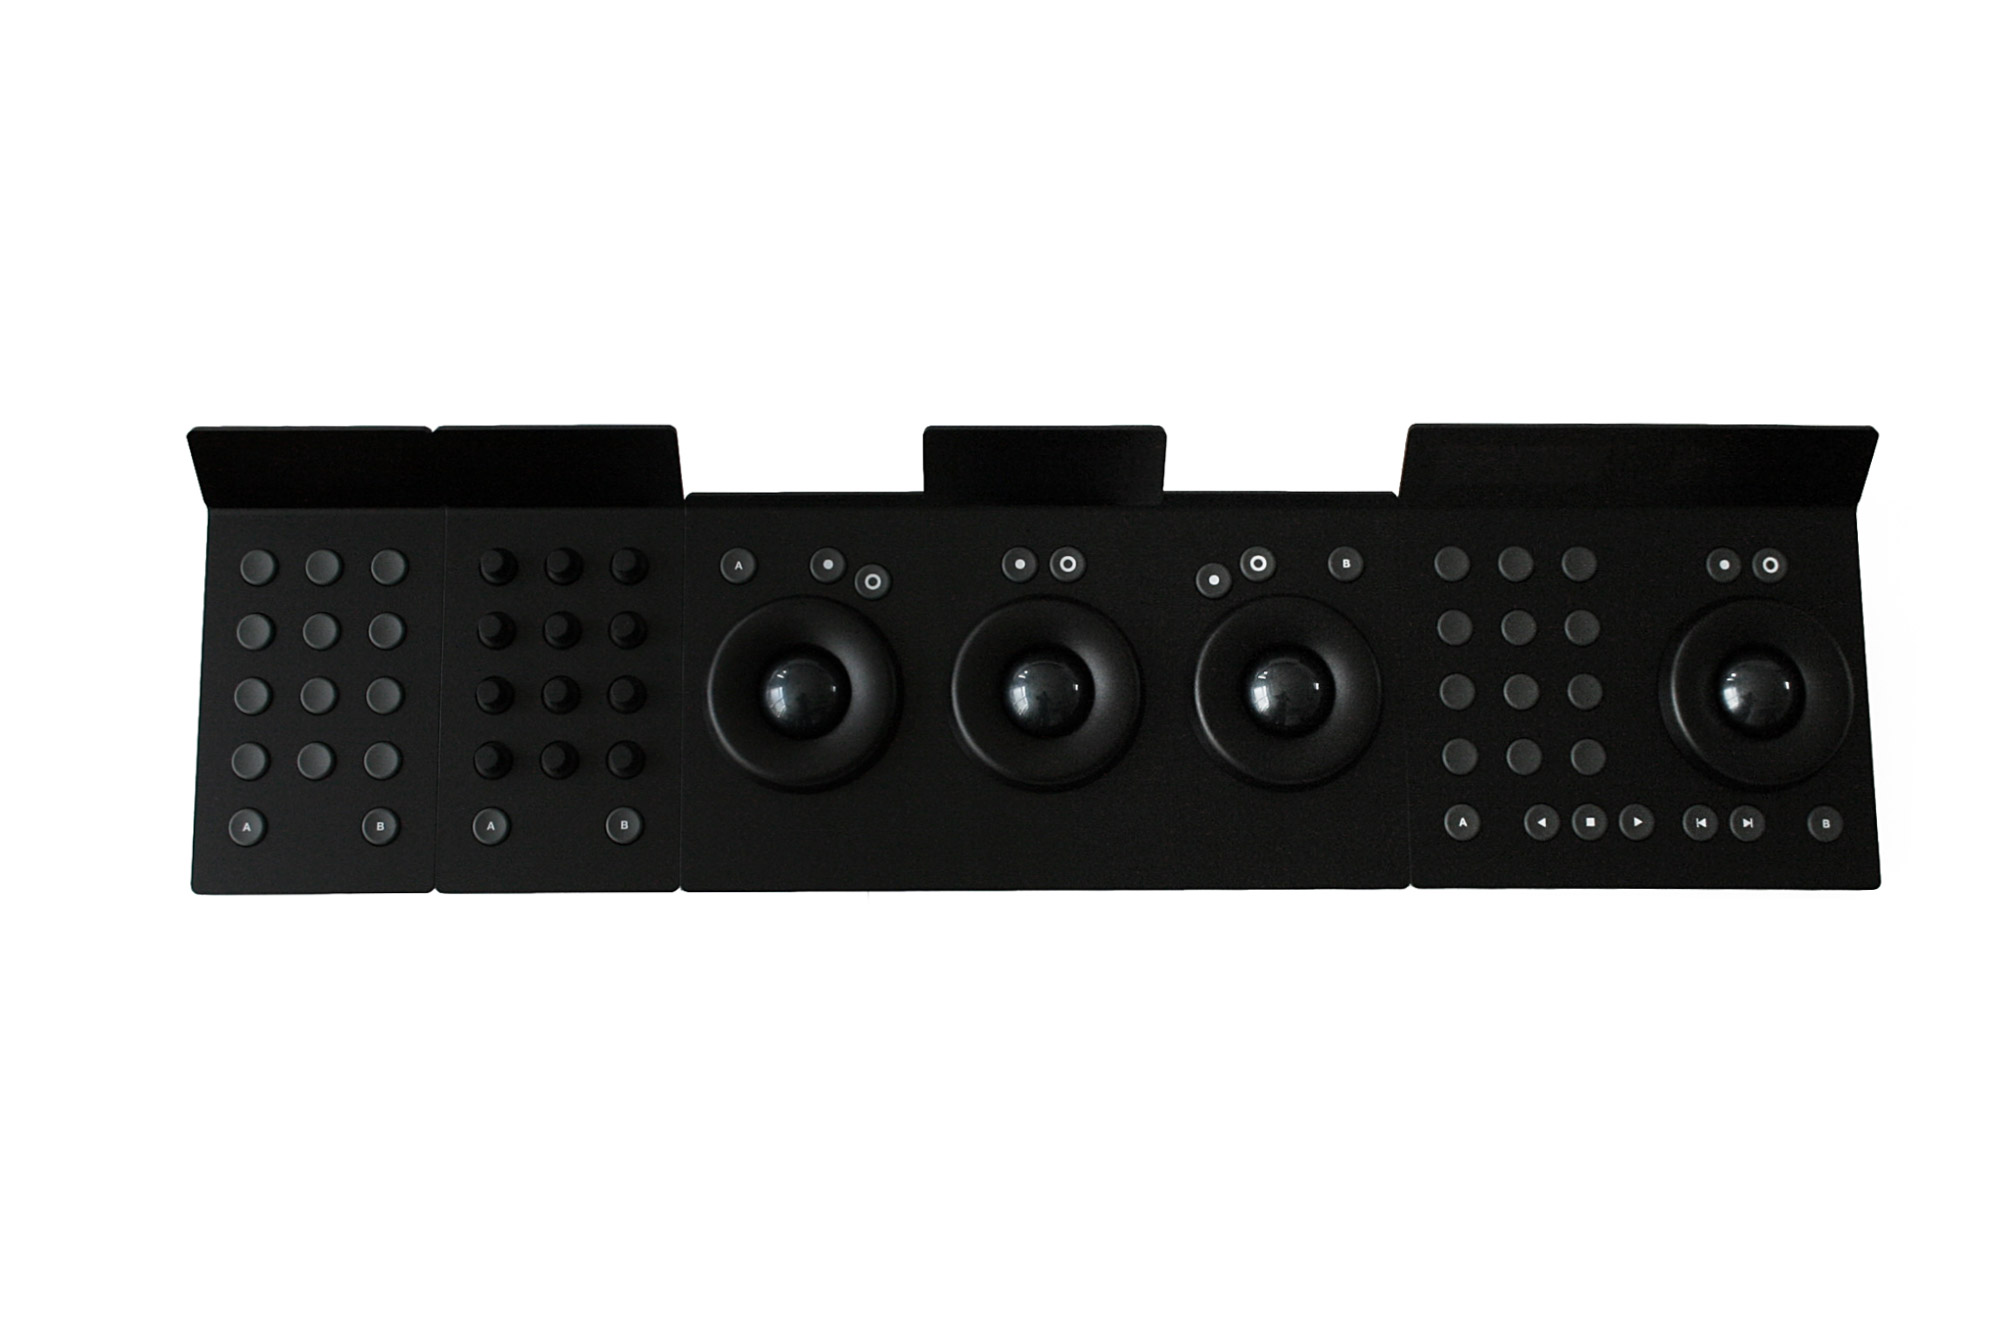
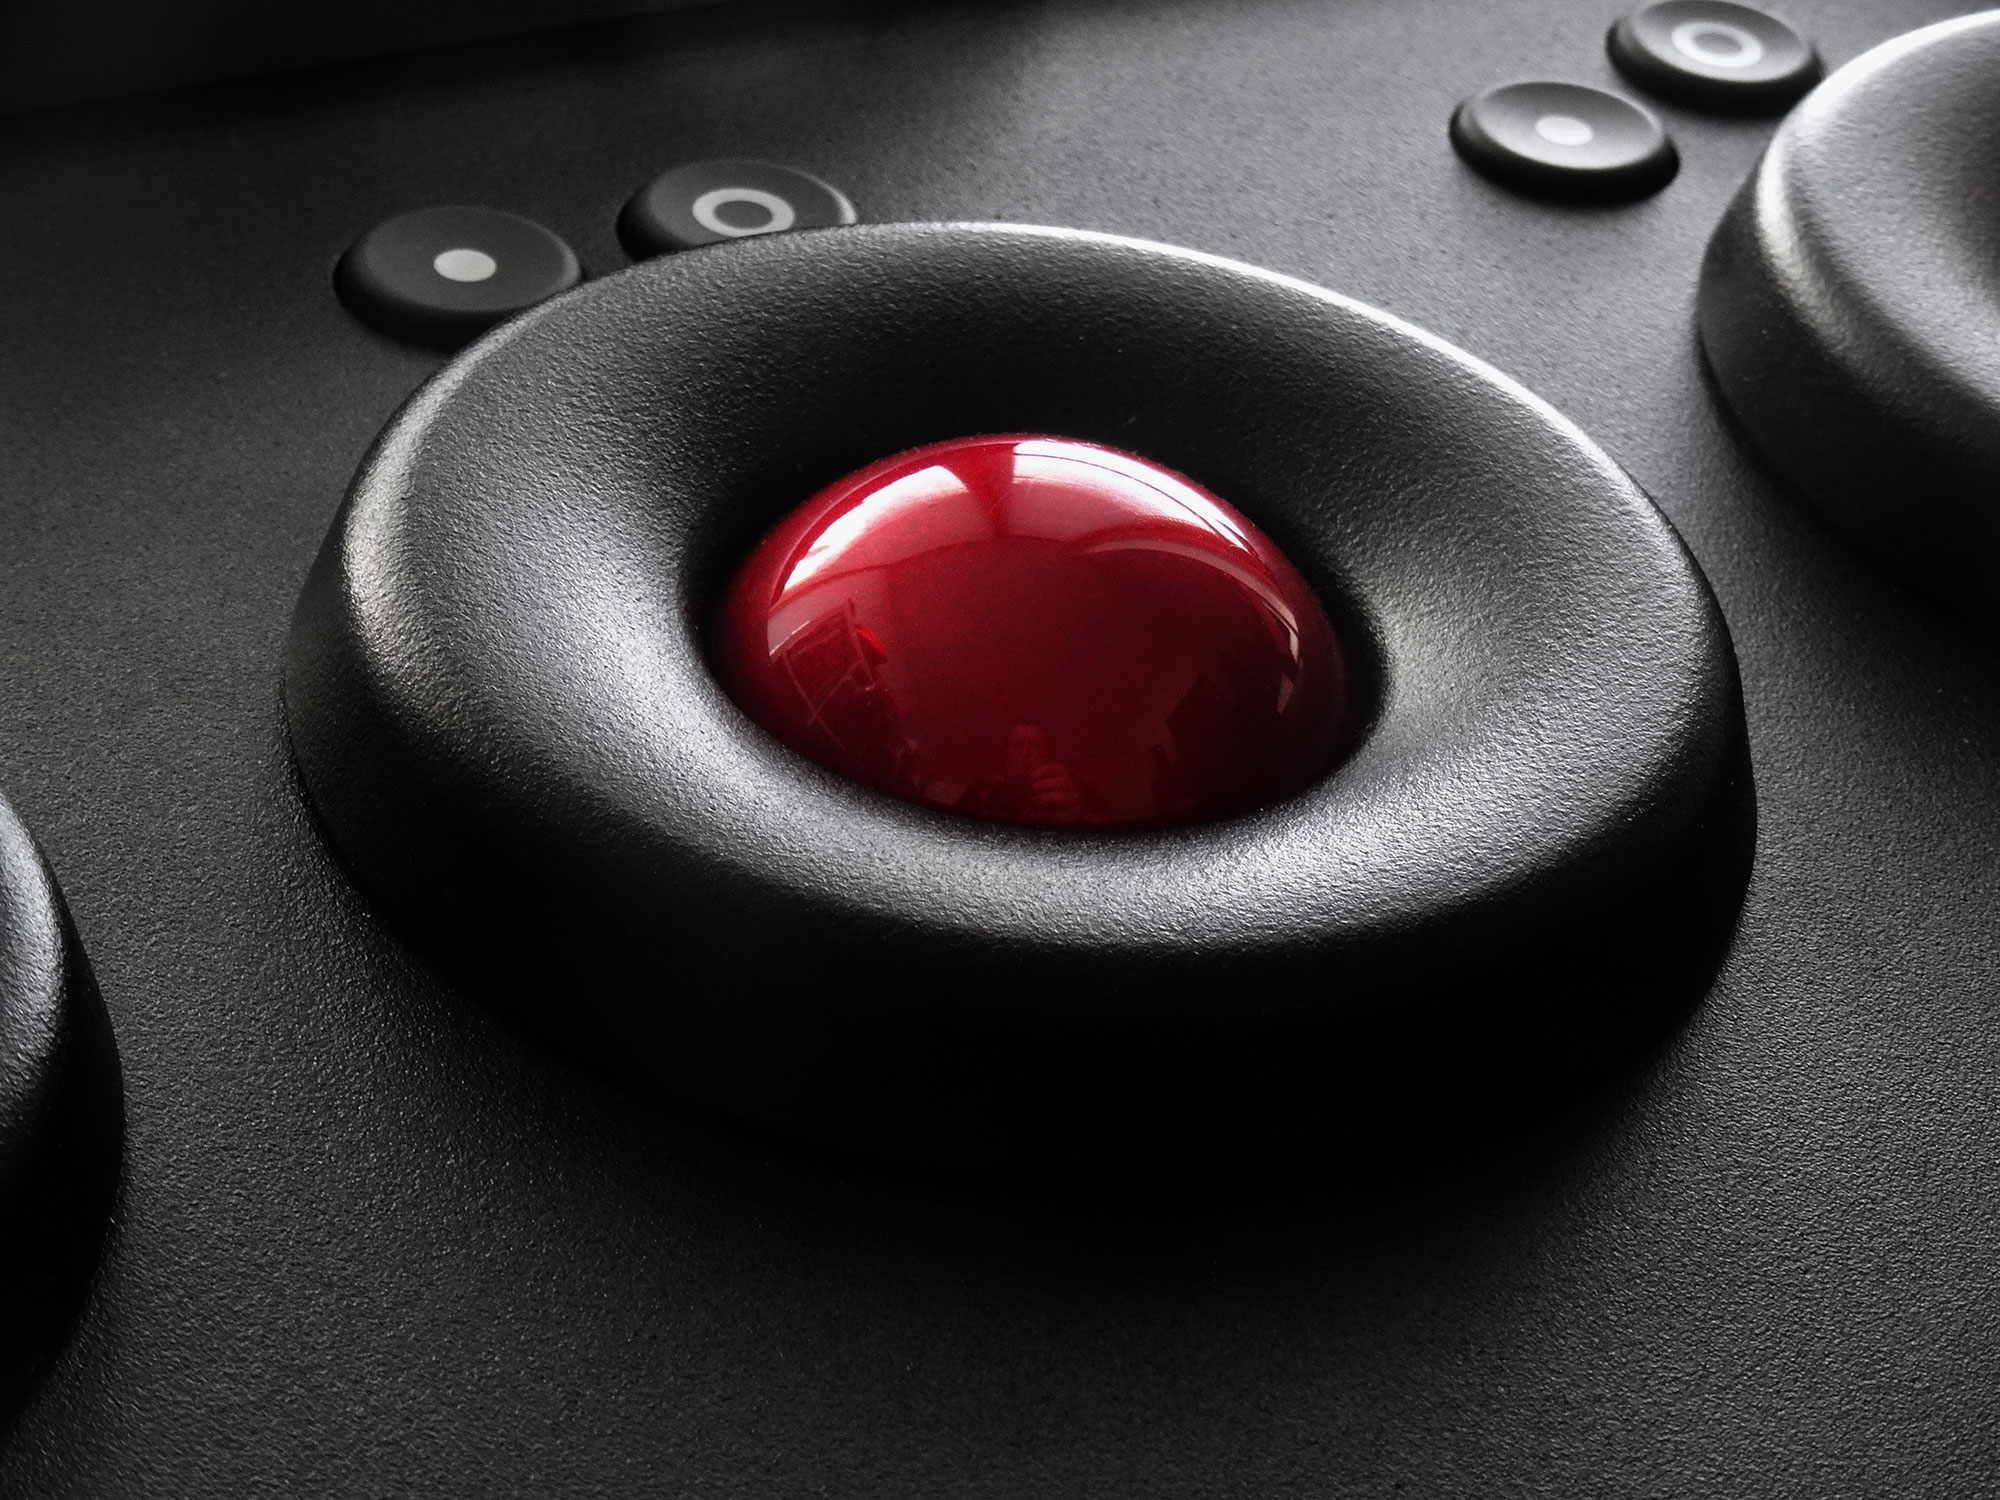
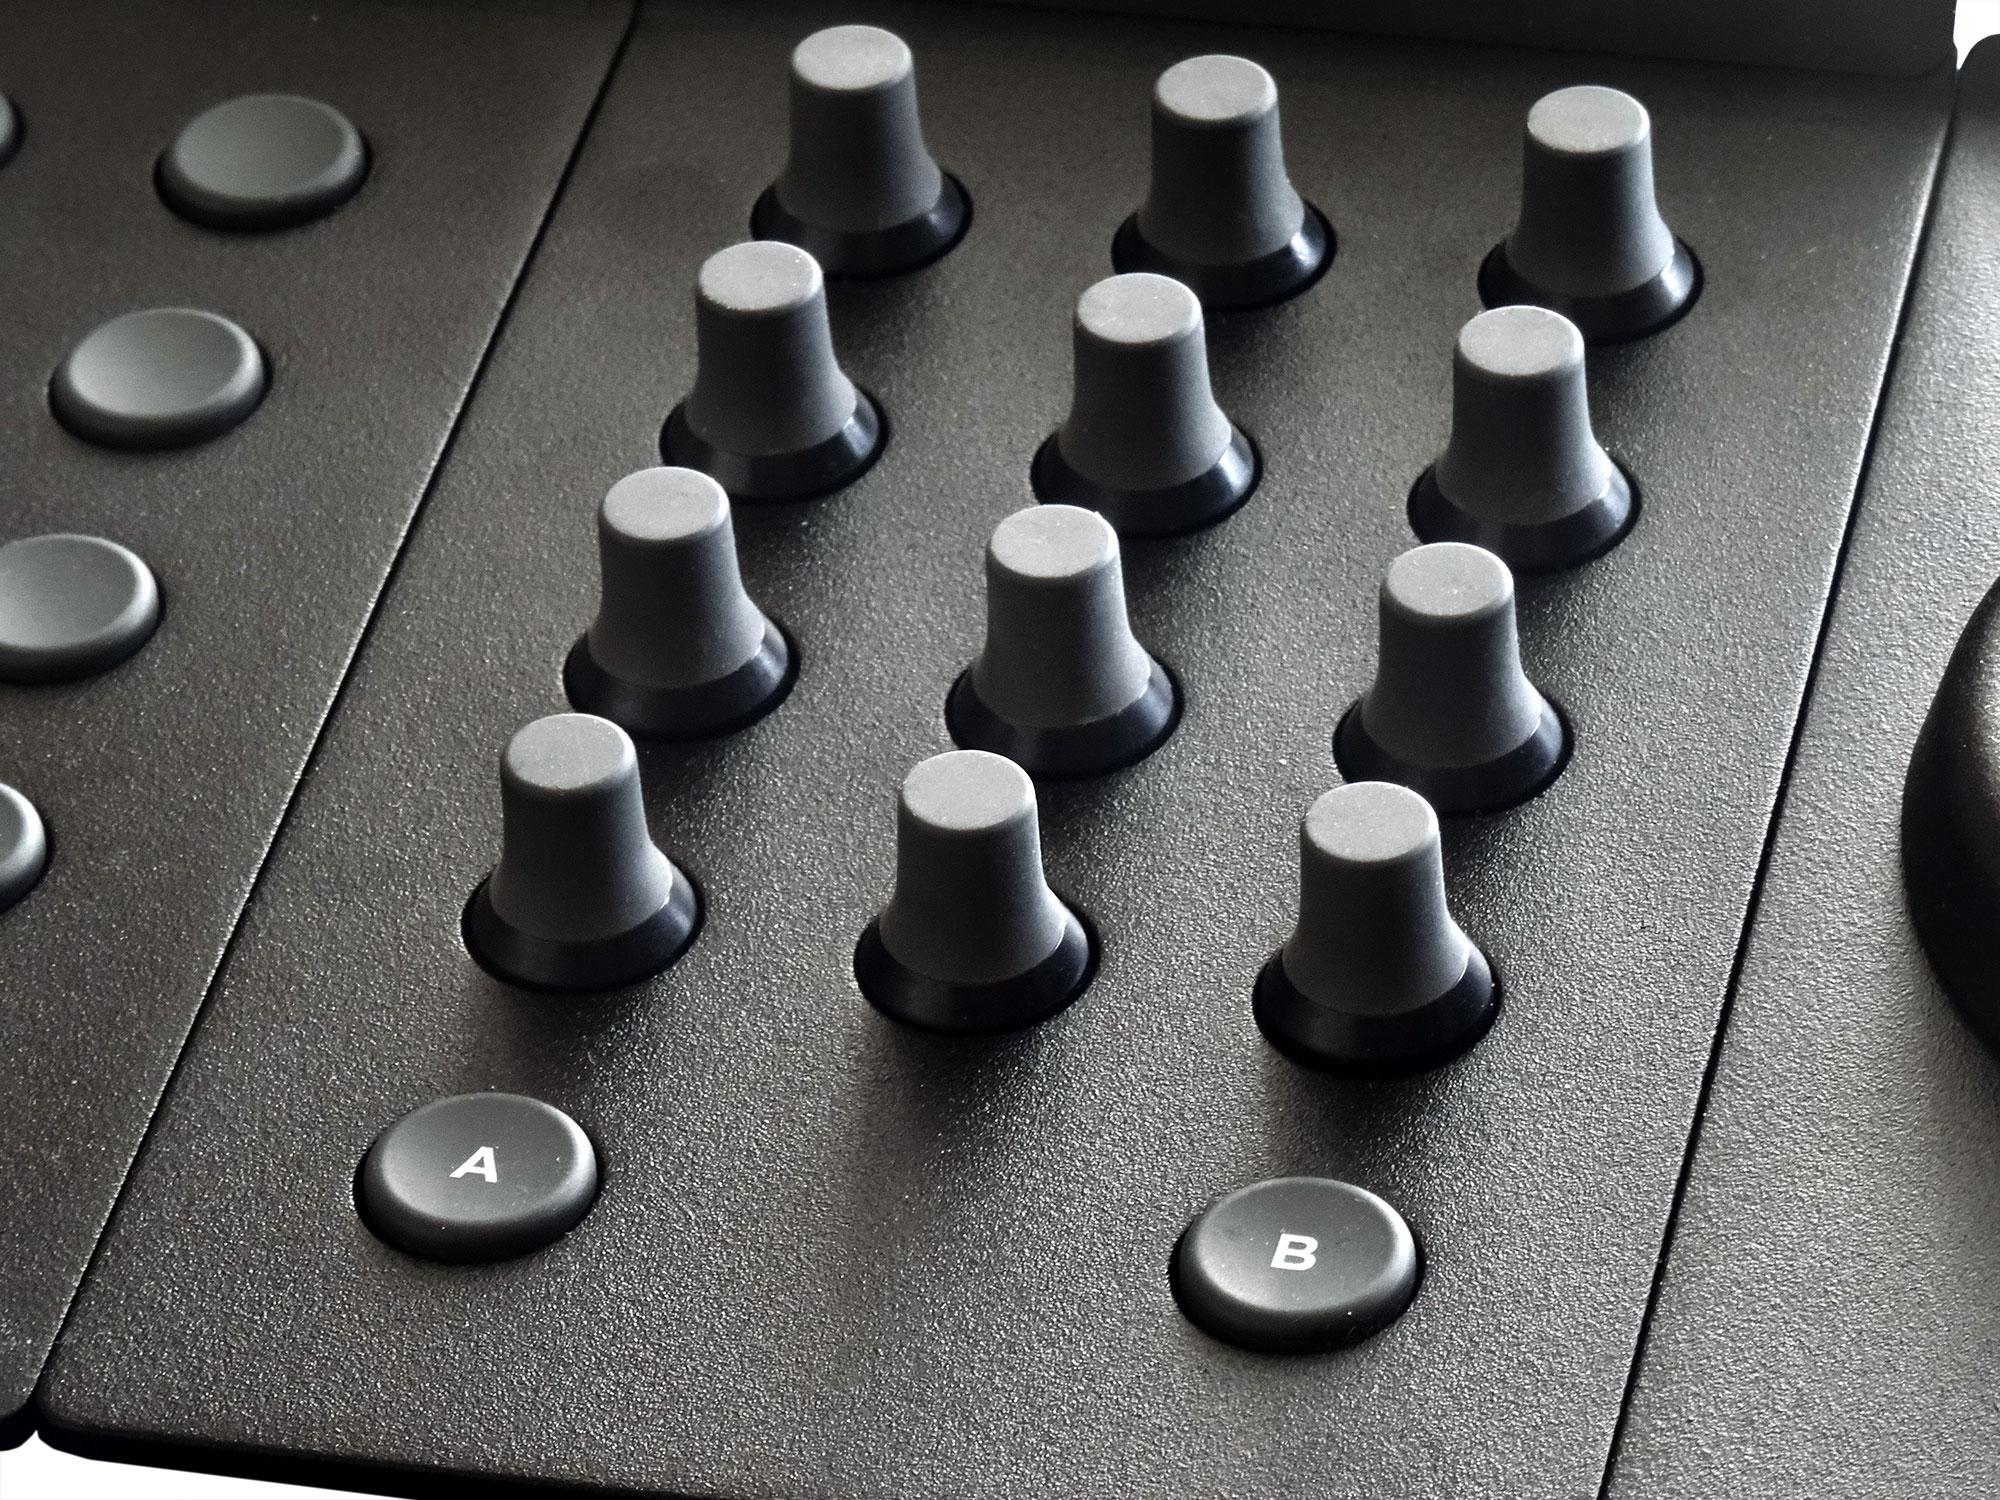
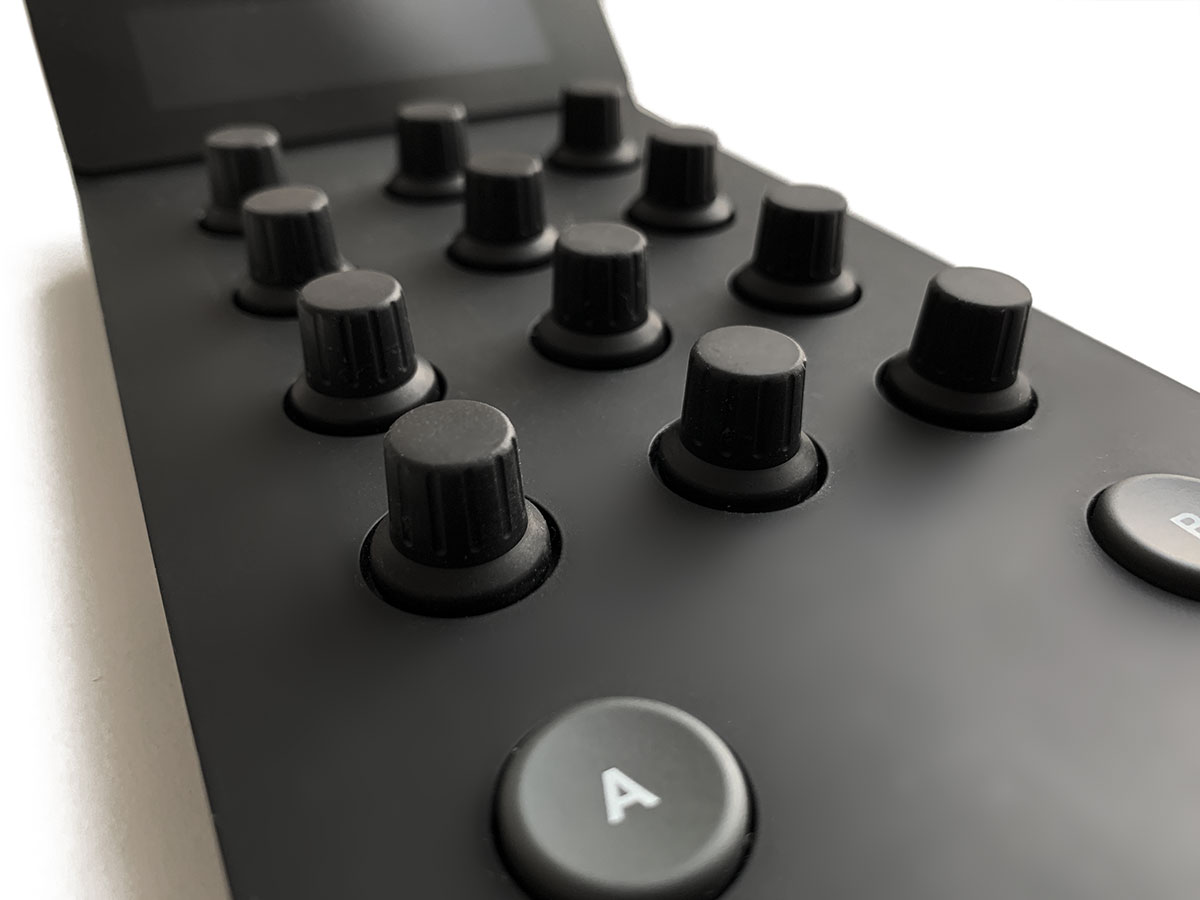
I'm happy to announce that as of today, all Tangent Element panels sold by Angry Face will have
a powder coated fine structured finish, instead of the old softcoating!
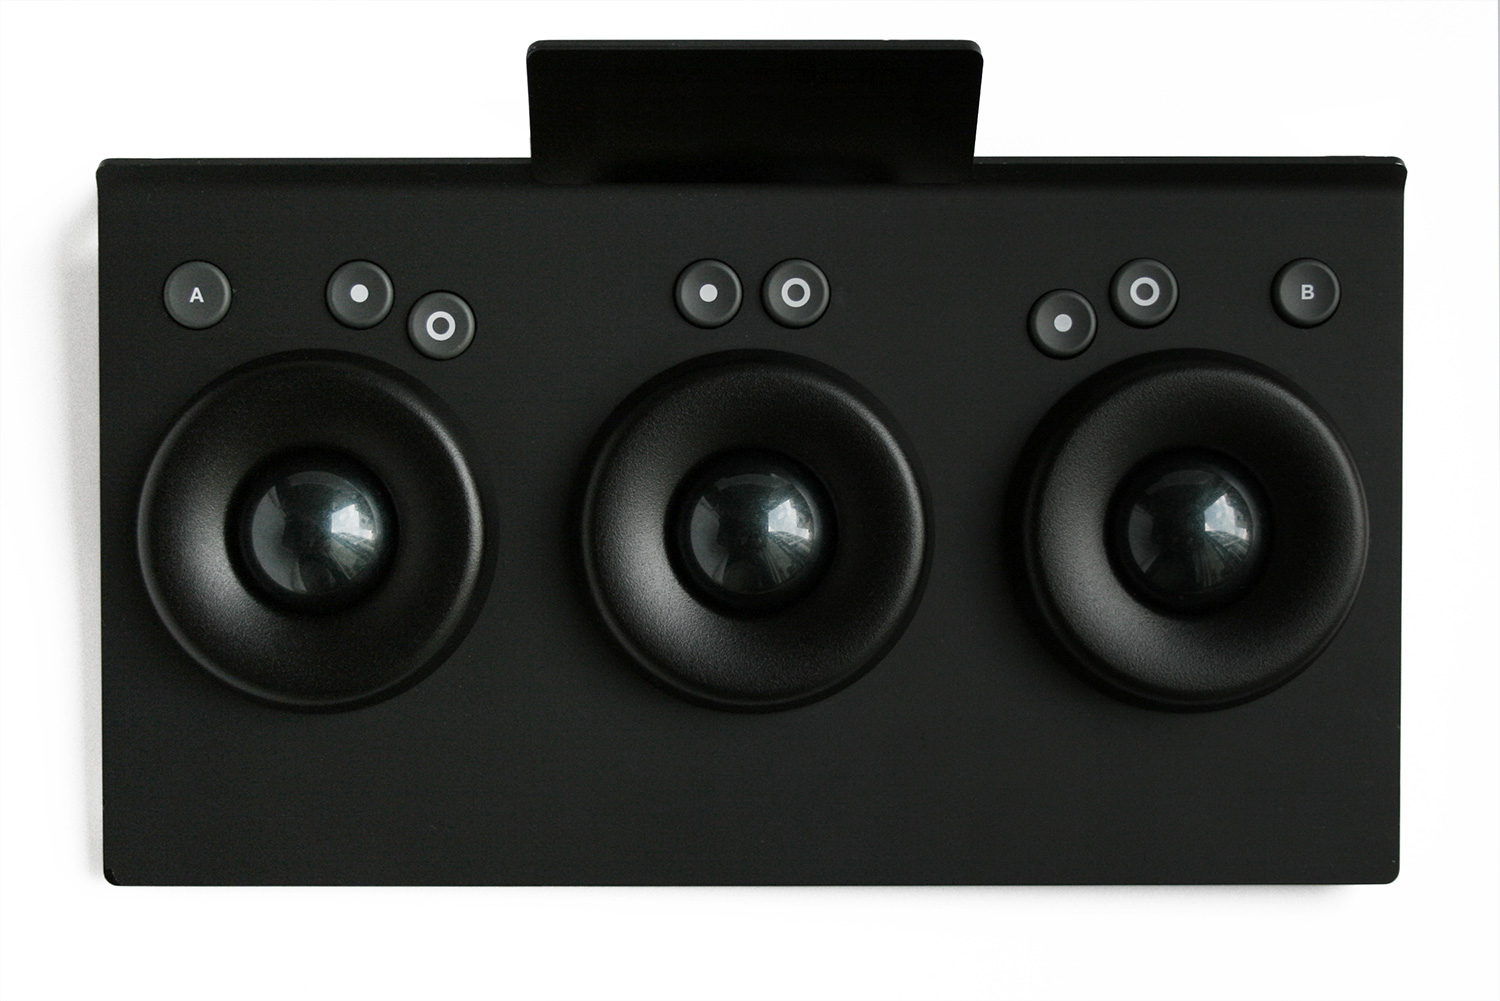
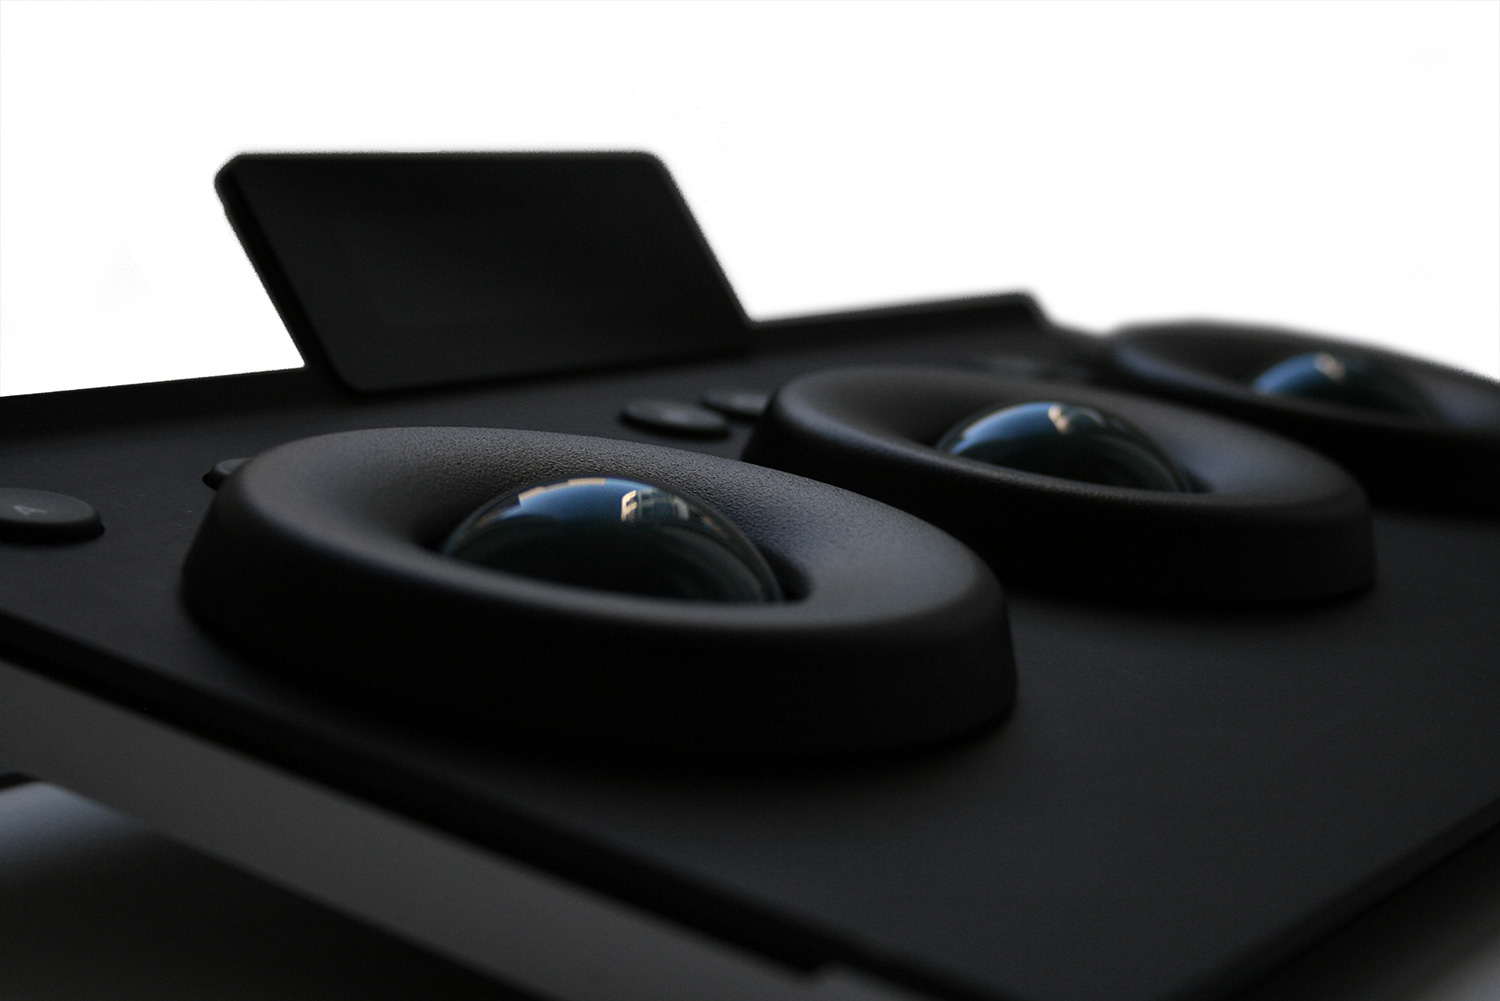
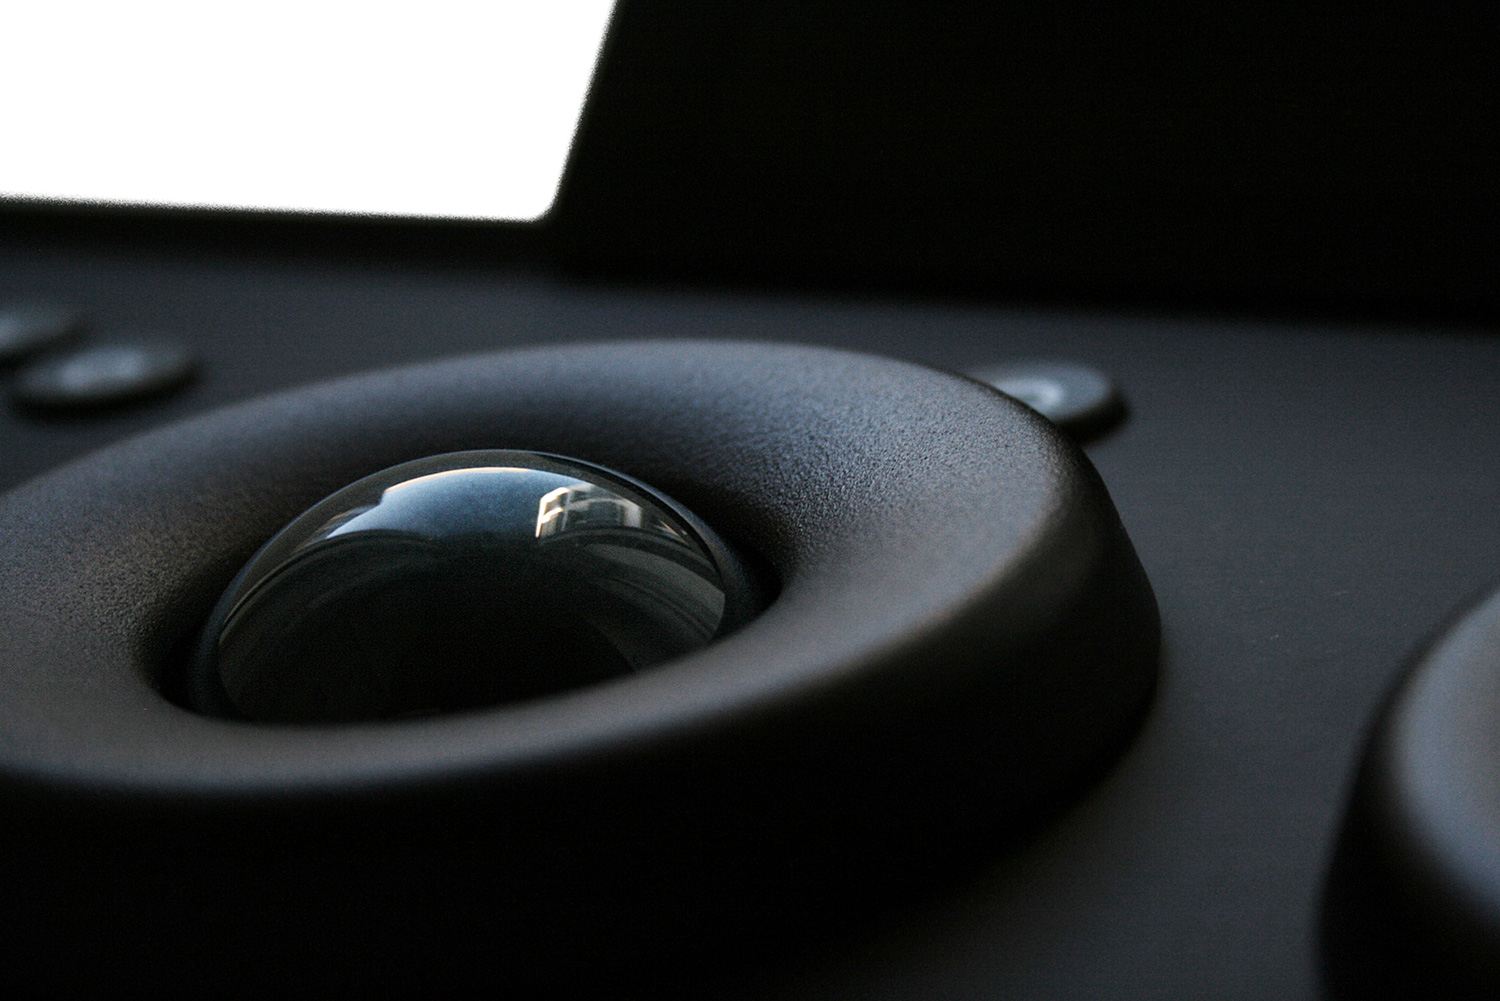
But there’s more – we are proud to present you: The Tangent Element Black Edition!
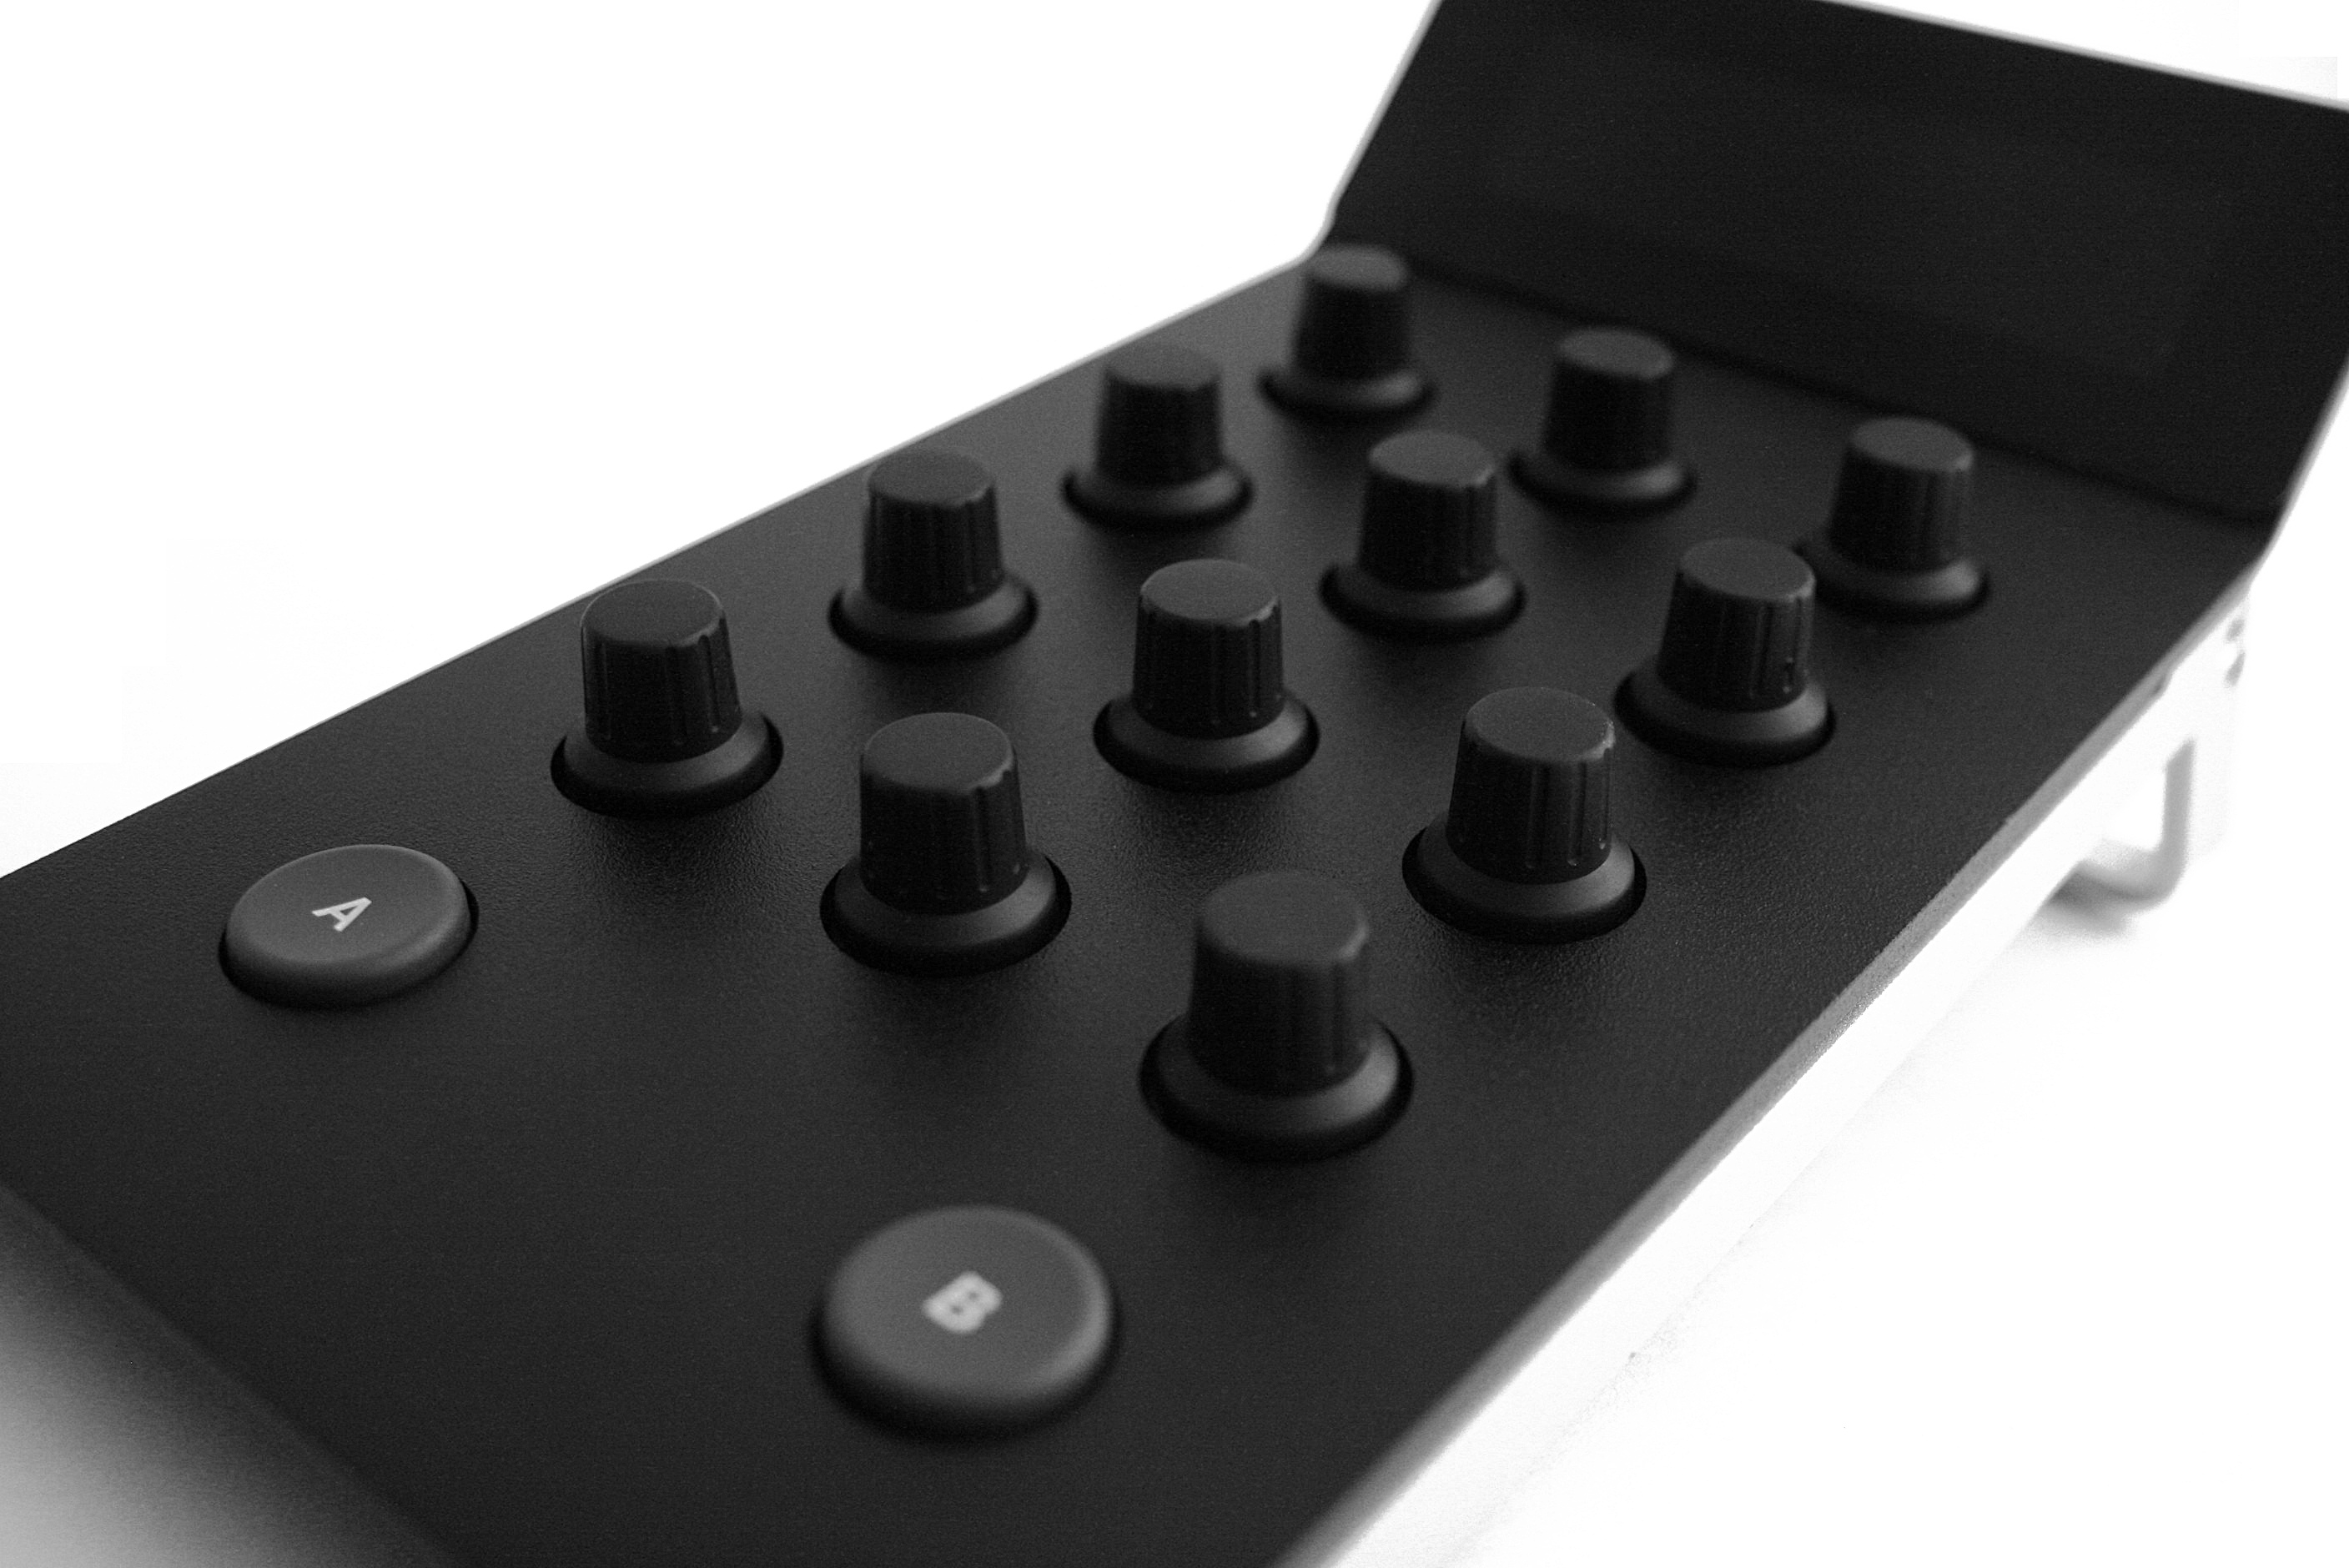
Included in this bundle of powder coated Elements are our black aluminium rings,
dark-petrol metallic trackerballs and our custom black rubberized knobs – all for just 2850€ (excl. VAT).
And for everyone who already has a set of Elements – we got you covered with our Refurbish offer –
incl. optional upgrades for rings, trackerballs and knobs!
Cheers!
Mazze
Here's a few pictures:
-
Hi everyone,
here's a tutorial showing how to set up the integration between Hedge and SCRATCH,
so after a successfull offload, Hedge will automatically create a timeline inside the SCRATCH project
and populate it with the backupped media, so it's ready for QC, audio sync and transcoding.For the engaged DIT, there now is a nicely priced bundle, containing
- Live Looks for live grading
- Hedge for offload & backup
- SCRATCH for dailies transcoding & reportinghttps://www.assimilateinc.com/products/scratch-for-dailies/
Cheers,
Mazze-
 1
1
-
-
This video is sort of the follow-up tutorial to the one about frame-based metadata and transcoding to OpenEXR.
Today we're looking at how to load and conform an EDL from Avid, and automatically pull the vfx-shotnames, which are included in the EDL as markers (or 'locators' if you prefer) and replace the original clipnames with the new vfx-shotnames, before transcoding the camera RAW incl all its metadata to OpenEXR.
Good stuff, people.
Cheers!
Mazze -
Frame-based metadata and how to forward it from camera RAW into OpenEXR.
Enjoy 🙂 .
Cheers,
Mazze-
1
-
-
There is something odd going on with NDI under macOS, where it gets a red-ish tint. Has something to do with the YUV conversion as far as I can tell. This is however with any app that uses NDI.
-
Hi all,
SCRATCH and Play Pro are shipping with an integrated patch generator for Light Illusion's ColourSpace CMS.
This tutorial shows how to set everything up and run the display calibration 🙂 .Cheers,
Mazze -
Hi all,
this video is interesting equally to post, than it is for virtual production.
THe Sync Players feature in SCRATCH simply allows to sync the playhead of multiple SCRATCH systems,
and control those systems from one master system, playing back different footage to different screens simultaneously.The remote control feature allows to control playback in SCRATCH via a web browser on the local network - for instance on your smartphone.
Good stuff.
Cheers,
Mazze -
Hi all,
this tutorial is about one of SCRATCH's strength: Metadata.
Static or frame based, in a burn-in or a report, or in export filenaming.
Cheers,
Mazze -
Hi people,
this tutorial is about the animation editor in SCRATCH and why it is as awesome as it is.
Enjoy 🙂
Mazze
-
Hey people,
I'm happy to announce the new refurbish program for Tangent's Element panels 🙂 !
For many users, the panel's surface has become worn down and/or sticky over the years.
What we're doing here is to take the panel completely apart, remove the old soft coating
and re-lacquer it with a deep black fine-structured powder coat, which should take a couple of ages
to wear down again 🙂 .They look & feel is pretty similar to the Blackmagic panels, if you have come across those.
Anyways - here is the link and below are a couple of pictures to check out.==> https://www.angry-face.com/product/angry-face-element-refurbish/
Cheers!
Mazze
-
Hi people,
this tutorial is purely about the SCRATCH timeline (called 'CONstruct' back in the day).
What many do not know: It has 3 dimensions 😉 .
Once you understand how it works, it can be a huge time saver and organizational help.
Cheers,
Mazze -
Hey peoples,
since the original foam inserts for the Element panels (see pictures below) are not being made anymore
and have been unavailable for the past 2 years, I am considering to produce them again in a small production batch. Estimated price is 200€ (excl. VAT) + shipping for one set. The original foam inserts were priced at 175€ (excl. VAT). The Peli case itself is not included!
I am about to make a prototype in the next couple of weeks, but to actually produce them, I'd need at least 5 pre-orders.
If you're interested, drop me a line via PM, or email (mazze (at) angry-face.com).
Thanks!
Mazze-
1
-
-
Precisely 😉 .
Well, yes - it does not look great. But then again... it didn't look particularly stellar before either .
.
-
About the sticky surface, there's two things you can do:
1) Apply talkum powder (or baby powder - that has the advantage of it smelling nice 😉 )
https://www.angry-face.com/sticky-surfaces/
This however is only temporary, and you need to make sure no powder gets under the rings into the ball bearings.2) Wash the soft coating down with Isopropyl alcohol and potentially relacquer the fascia.
https://www.angry-face.com/avid-artist-panel-refurbish/
Cheers,
Mazze -
The Euphonix and Avid panels are 100% identical, except for the label printed onto the device.
They should work fine generally with any recent macOS/Windows version.What is unclear at this point is whether they will continue to work with Apple's M1 ARM processors.
Avid has not yet updated the SDK for the ARtist Controllers.
As not all controllers are EOL (like the ARtist Color is since december last year), I think there is an update to be expected,
that will add M1 compatibility. Whether that SDK however then will still support EOL controllers, is yet to be seen.Cheers,
Mazze -
I'm farily relaxed on the CPU-side of things. After all - how often do you swap out your CPUs?
Normally that goes along with a change of socket for the newer CPU, requiring a new mainboard, likely requiring new memory - and while you're at it, throw in a new GPU as well. So with a CPU upgrade, you're most likely investing into a complete new system anyways.
Not always, sure - but most of the time.As long as the MacPro would allow to swap GPUs, which have smaller life/upgrade circles, and retains it's PCIe-upgradeability, I think we're fine. Whether M1 in laptops might be sufficient for professional work needs to be seen. I'm counting on the 16" Macbook Pro to be released later this year. It will have a more advanced version of the M1, and according to some strong rumours will reintroduce Magsafe, physical function keys instead of that silly touchbar and also have more i/o ports. Given the rather positive benchmarks on the M1 Mac Mini, I do have some hopes for the Macbook Pro to be pretty usable for professional workflows.
Whether it can also drive an eGPU needs to be seen, indeed. But then again... I've never been a fan of those christmas trees of a a mobile setup with all sorts of eGPU compromises trying to turn those laptops into high end machines. I'm not expecting Mac Pro-like performance out of a laptop.
-
Drivers for Apple Silicon are beta - for a reason I guess.
I'd expect them to run, but the devil with those things is always in the details, that show up not working just when you need them.
-
Hi all,
the Filmworkz DVO plugins finally went live and you can grab them from here:
SCRATCH of course is among the supported hosts and we've done a little tutorial
on the various ways of adding a plugin inside SCRATCH - enjoy:Cheers,
Mazze-
1
-
-
Hi friends,
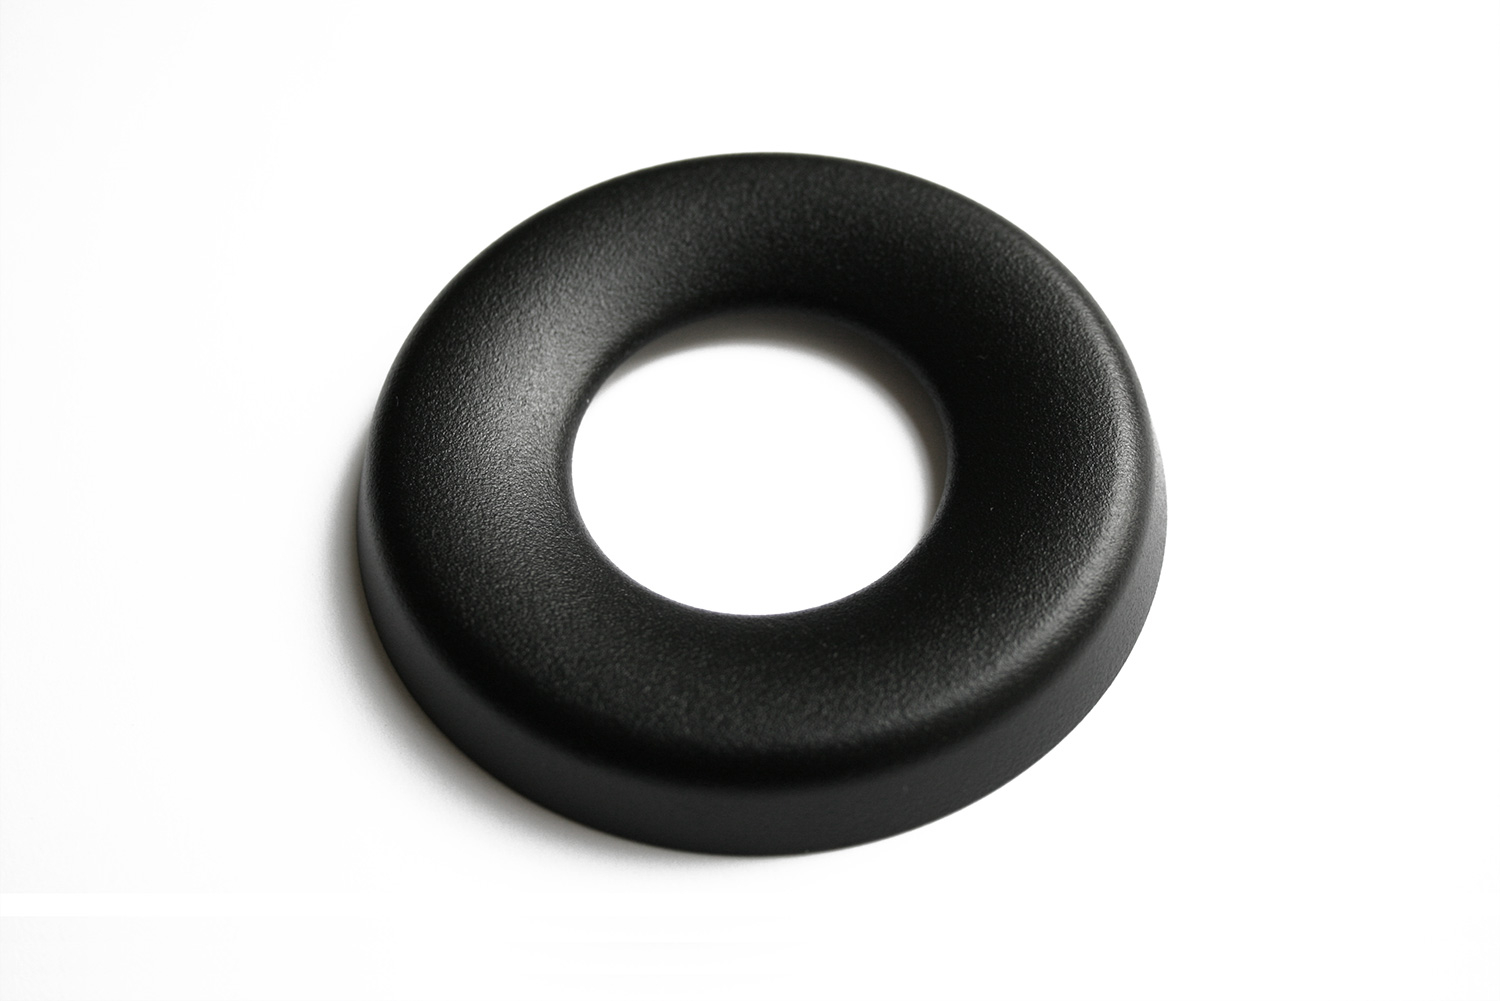
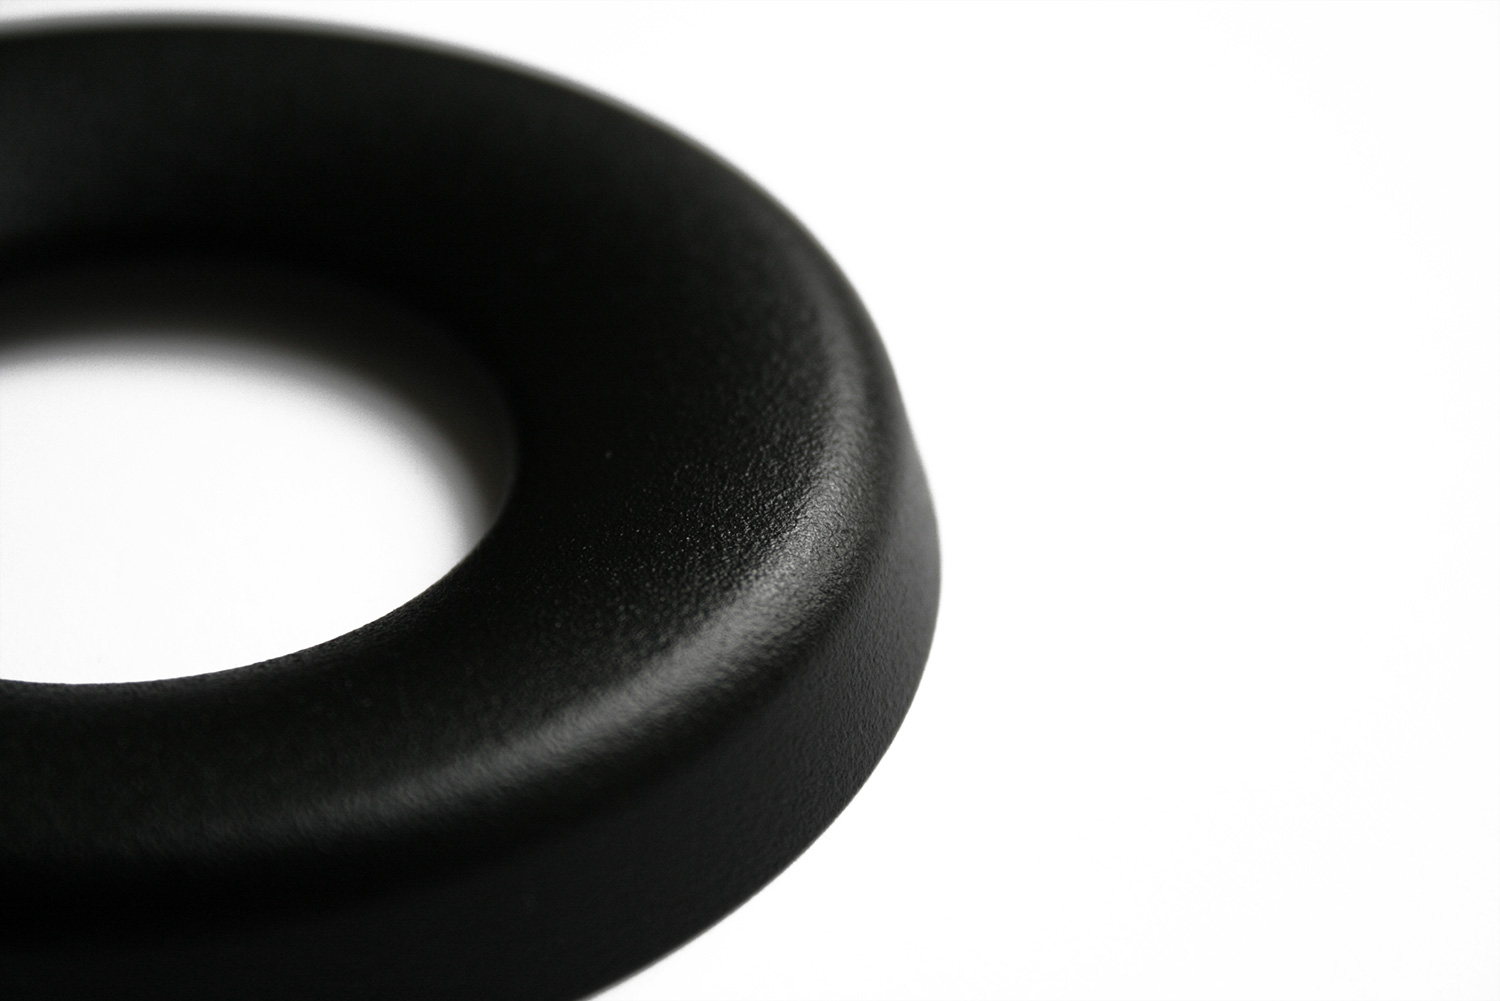
I've made a slight production change to the aluminium rings: They now get powder coated instead of anodized.
Reason for that being that a few people desired a tad more grip on the rings.
Going with a rubberized soft coating clearly wasn't an option.
I also tried to roughen them up with a pretty coarse grained sandblasting process, which indeed added *a lot* of grip, but did not feel or look nice anymore.
So I experimented with powder coating in deep black matte colors with a fine structure finish.
Took some time to also find a company that is good at it and 'gets' it.So after almost half a year, the new production batch has arrived.
Stock is not too big (it's still 2020 afterall) - but they do look pretty decent.
They compare quite well to the rings on the Blackmagic panels now.Here's a link 😉 :
https://www.angry-face.com/And here's some pictures:
Cheers,
Mazze -
Hi friends,
here's a tutorial that explains the newly added NDI® support in SCRATCH and Play Pro.
If you've never heard of NDI before: It's basically like SDI, but without the cables.
Pretty nice workflow-enabled to pipe video straight out of SCRATCH into e.g. SetStream.io, Zoom, Skype and literally any app that supports a webcam interface.
And since we had Jeff Sousa show his setup for client attended remote color sessions using NDI in our last online session, check out that excerpt here as well:
Cheers,
Mazze


SCRATCH 9.4 released
in Announcements
Hey friends,
we just released v9.4 of SCRATCH, Play Pro, Live Looks and Live Assist.
Here's what's in:
Main
Color
Formats / Media
Video IO / Monitors
Product Specific
Tools
Camera
Misc
Download from HERE.
Something to play around with during the holidays 😉 .
Cheers!
Mazze
9.4_out_now.psd