

Thanh Duy
-
Posts
11 -
Joined
-
Last visited
Content Type
Profiles
Case studies - Free
Case studies - Premium
Resources
Insider
Courses
Forums
Store
Posts posted by Thanh Duy
-
-
Currently i'm working with RED File, there are some shots need to be exporte as DPX for cleaning stuffs, but when the vfx has done and delivered back to me, i apply the still grade, the color seems to be different and very bright, contrast, it's like you applying a grade twice to a shot. Any ideas how to fix this problem?
-
On 12/22/2019 at 5:58 PM, Emily Haine said:
Playing around with the different frequencies is very common, you can see Lee demonstrate it in the Beauty Retouching series. It's often a combination of tools that gives the best result and it's smart to learn a variety of beauty techniques.
Thank you, i will watch the series
23 hours ago, Marc Wielage said:I would say try everything and see what happens. It's not so much a technique as it is a process: sometimes one thing works better than another. I find learning how to pull a soft key, a qualifier with little or no artifacts, is critical. Every situation is different, and sometimes it requires multiple masks and multiple keys.
Once qualified, in Resolve you have the options of using soften tools like -Midtone Detail (minus), or Blur, or Mist, or Beauty, or Soften/Sharpen, or SNR, or Face Refinement. The latter is fastest and easiest if the face doesn't move too much; god help you if it does. It is possible to recreate all (or at least most) of what Face Refinement does manually, with about 10 nodes, but that requires ten sets of mask tracking... depending on what you're trying to do.
The trick really is to make sure you do as little damage as possible, and make sure the rest of the image retains some kind of natural sharpness. In situations where I'm dealing with some really difficult age issues, I'll throw Glow on top of it on the theory that that would be the classic "Hollywood Soft" filter approach.
But again, every situation is different and it's a question of developing good skills and good judgement over time. There is no single technique except time and good judgement (and sometimes luck).
Thank you for very detail explainations.
-
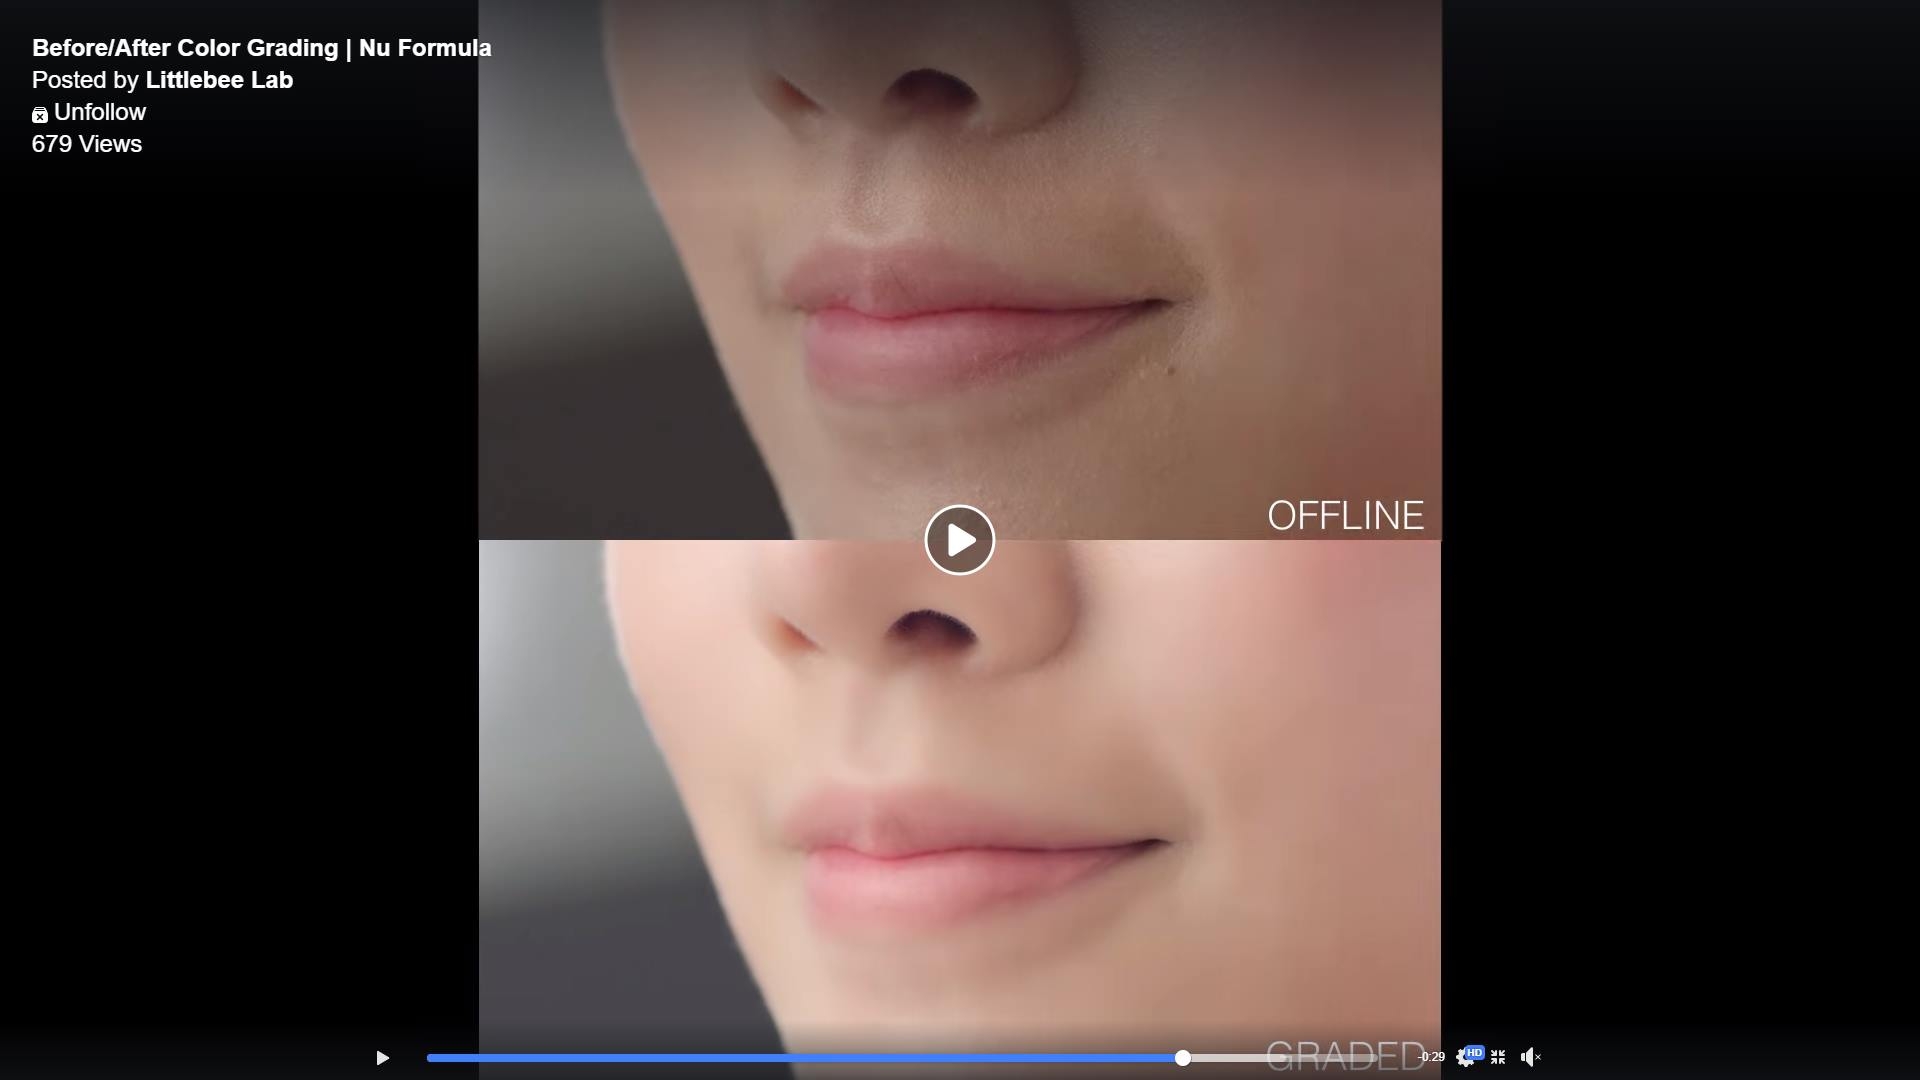
I know there's a technique that can remove blemishes, nimbles, like using Midtone Details or Blur. But which technique you guys often use to soften the skin like reference? It's almost like removing all of the little flores, making the skin looks very soft but not losing details, shape of the face.

-
On 11/24/2019 at 3:00 PM, Marc Wielage said:
Anybody who's been at this for more than a few years has had to deal with long shots or long single-shot projects. I did a single-shot music video back in 1984 (Steve Perry's "Foolish Heart"), and I used what we would now call keyframes and about 20 color corrections for it.
In more modern times, we have access to more complex methods. Steven J. Scott did an interview five years ago discussing what he did on Birdman, and though this was all done on Lustre, the principles apply to any color correction software. It's a great-looking film and Steven did an amazing job on it.
Thank you for such an amazing information Marc
-
8 hours ago, Anton Meleshkevich said:
Less CPU / storage bandwidth intensive and no need to switch between color and edit rooms for transition timing adjustments.
Also it can be useful to keep the same edit list from begining to finish for edit or vfx roundtrips.
Actually I'm talking about long clips with exposure / color balance changes.
If I would have to grade 15 min one-take film, I'd definitely use crossfades as well as keyframes.
The reason why i need to use crossfade beause the camera was panning from one to another set and the lighting was yellow, then our client wanted to changed it to be natural light.
-
On 11/13/2019 at 1:49 AM, Dylan R. Hopkin said:
Cross fades are your friend. I did a an entire one-shot 90 min feature film like that. (Resolve 14).
But since you are doing a commercial, which is shorter in length, keyframing multiple dynamics could also be an option. Or a mix of techniques. It really depends on the amount of power windows involved.
You could also consider using multiple adjustment clips too. Resolve 16 or newer 😉
Thank you, i had read all the comments and follow the guides. Did try to use keyframes and cross fades so the color was approved pretty fast.
-
 1
1
-
-
23 hours ago, Tom Evans said:
Hopefully the light stays consistent throughout the spot. I would start with contrast and exposure and add dynamics to keep it consistent. Then do a color pass on top of that. By using offset controls you adjust the whole picture and doesn't have to think about that it might break into some strange color behaviour when going between rooms or in and out of different lighting conditions.
Do you use specific keyframes or masks to make the product pop out?
-
23 hours ago, Tom Evans said:
Hopefully the light stays consistent throughout the spot. I would start with contrast and exposure and add dynamics to keep it consistent. Then do a color pass on top of that. By using offset controls you adjust the whole picture and doesn't have to think about that it might break into some strange color behaviour when going between rooms or in and out of different lighting conditions.
11 hours ago, Orash Rahnema said:Last year I have done a 15 min long short movie, shot on a single long take at sunset hour where the 4 subjects kept going in and out a house, so lots of exteriors and interiors with a massive light change.
The DP i have worked with had done a great job "shutter pulling" and that helps a great deal.
First thing I have studied how the light was changing and I found a "master shot", then I have found all the places where I could hide the dynamics and balance the whole thing with very simple correction, mostly offset and contrast working with the light changing and not going against it.
I have used the layer mixer and create stream for each change I needed
Then I have worked on the "look" and placed it within the single streams, to use the dynamics I have done before
I have done a general correction after everything also.
After all this I have worked with masks and stuff.
The key is to keep it as simple as you can, things can become messy quite quick.
try to brake it into smaller problems and think it like a multi shot video, that rather to have cuts have dynamics.
Choose if you want a massive node tree with a layer mixer like a did or to brake the cut in editing using cross dissolve. I don't like that approach as I rather move keyframes that to jump within cuts and fix dissolves.
I hope I was clear enough
Thank you for your specific guides, i had learn something new
-
1
-
-
I'm about to grade a one-shot commercial for Apple, but i don't really have any experience on color grade one shot so far, so how can you guys start the grading with a one shot video?
")
VFX - Resolve Roundtrip
in DaVinci Resolve
Currently i'm working on a project shot with Arriraw format, VFX was done in Prores 422 HQ, but when i test a VFX shot with my locked color grade, the result is quite different, the contrasity is diffrent from what i've graded. Should i tell VFX Department deliver DPX for me instead of Prores 422?