
Nico Wieseneder
-
Posts
24 -
Joined
-
Last visited
Content Type
Profiles
Case studies - Free
Case studies - Premium
Resources
Insider
Courses
Forums
Store
Posts posted by Nico Wieseneder
-
-
Just stumbled across this, as I haven't been on this forum for a very long time.
Thanks a lot for your nice words and the great feedback Jason & Willian! Much appreciated and it really means a lot 😊-
 1
1
-
-
Keidrych already explained it very well and mentioned a great tool you can explore. Another one would be the "Film Density" DCTL by Paul Dore: https://github.com/baldavenger/DCTLs/blob/master/DCTL_OFX/Film_Density_OFX_DR17.dctl
-
On most TV documentaries I've worked on yet there was a really tight deadline and the workflow wasn't ideal from the set on (lots and lots of different cams which weren't set up correctly, doubled filenames on some cams because they started every shooting day with A001 or something like that, different framerates, etc. etc.) so such a project is really a pain to conform with a XML especially if you're under a really tight deadline and you need a very fast turnaround. So with such projects I'll ask for a ProRes4444 with EDL. But if you have enough time, budget and not a super tight deadline and/or a conforming assistant then I'll go for a XML workflow with the original camera files. Especially if you know they had a good/ideal workflow from set to post. With most narrative shorts and music videos I go this route and it's never a hustle and working great.
-
Hi Clay and welcome to the forum!
Here on Lowepost you'll find a lot of great articles and tutorials. Furthermore I really recommend to read the articles more than once over a certain time span. I get some things out of the same article let's say 6 months later than the first time I read it just because my knowledge wasn't there to discern the additional information.
Also check out mixinglight.com and colour.training for great online professional learning resources.
And if you get your hands on the CO3 magic lut feel free to share with me 😄 -
Thanks a lot everyone for the quick responses and detailed help & insights. Very, very appreciated and helpful!
When I get it right it's best to do everything manually. So for chroma/gamut safety I'm best of using the Gamut-Mapping OFX inside Resolve and for luminance issues I'm just using soft & hard-clipping. Is that right?
@dermot.shane May I also ask which error-logging software/hardware you are using? Really curious.
Thanks a lot everyone! -
Thx a lot for your help, Dermot! Do you know why the „Broadcast Safe Button“ does compress/desat too much even if it would be also broadcast safe with less compression/desat?
Amada, I deliver back to the production company most of the time. But some of them want to have it back broadcast safe already even if they do the online with graphics, audio, and so on 😊
-
Hi everyone!
I'm unfortunately a bit confused atm. I hope someone here can clarify some things for me.When I'm finishing in Resolve for broadcast safe work I always thought I just have to hit the checkbox "make broadcast safe" with 0-100 in the color page and that's all fine. Now I recently upgraded to ScopeBox and I also have the channel-plots up (GxB & GxR) to check for gamut excursions. When I'm grading some red shirts (or similar) which are pretty high saturated they get really "washed out" when rendering with "make broadcast safe". I always thought that's just because of the broadcast norm and that's all fine. But now when I'm checking on ScopeBox while grading I don't hit the marks of the box with the saturated reds. Also when applying the "Gamut Compression OFX" nothing changes. But when I'm rendering with the checkbox "on" they still get compressed/desaturated.
Does anyone know why that's happening? Should I still hit "broadcast safe" or is it also fine when ScopeBox isn't showing anything outside the marks. I hope someone understands my "problem" and can help me out!
How do you guys do the finishing for broadcast-safe work with DaVinci Resolve?
Thanks a lot already! All your help is very appreciated. (I know it would be easier with some screengrabs but unfortunately I'm not allowed to share these frames yet) -
On 3/20/2019 at 5:16 PM, Peter said:
I finally got around to trying out FilmConvert. It seems to work well. My question is, because it works as an OFX plugin, I would think that using it over an entire film could slow things down. My thought would be to create a 3D LUT from FC and work with that.
Anyone had any experience with this?
Just do some tests. You'll learn best with trial and error (if you're not an assistant of a Senior Colorist, or similar) even if it's a real pain sometimes. Experienced the same thing on my own. But generally speaking I think you can say that 3D Luts are less hardware hungry than OFX plugins. So you're on the right path already. And you'll even notice a difference between different OFX plugins depending on your hardware and if they support GPU acceleration or only CPU.
-
6 hours ago, John Parker said:
Update for those going to NAB in a couple of weeks - FilmConvert will be doing private demos of the new print density film emulations in FilmConvert. Contact john@filmconvert.com to arrange a demo time. We'll be at C3359MR in the Central Hall.
That's really great news, @John Parker! Can't wait to test them. Unfortunately I'm not attending NAB but I hope you'll release them soon afterwards, so we "not NAB people" can get our hands on them too. Really excited.
-
10 hours ago, Heather Hay said:
Great, I just spent $38 for shipping to Mexico. *Im a sucker for books* Thanks for that!
Haha, I feel you. Can't remember exactly but also payed pretty much for shipping. But I think you'll love it. It's a great read.
-
Also a really great source for Colorist: https://www.sacredbonesrecords.com/products/emily-noyes-vanderpoel-color-problems
Got the tip from @Matt Osborne's newsletter 🙂-
1
-
-
I have a lot of shoots where I need to match few RED shots with Alexa footage. As mentioned by @Jussi Rovanperä I also got the best results with the new IPP2 Pipeline (REDWideGamutRGB/Log3G10). Most of the time I just eyeball it and that works pretty well but sometimes (when in a hurry) I also use the LUTs from TrueColor (https://truecolor.us/news/red-to-alexa-lut-package/) They are pretty well made and sometimes work really great. It's also great to have the option with their provided LUTs to go from RED to LogC or to "Alexa Rec709". (And no I'm not an affiliate or in any connection with them or something like that)
-
Thanks a lot for your feedback. Yeah you‘re definitely right. I‘m not working on high-end commercials or features. Just started as a fulltime Colorist in 2018 and I‘m not in a (big) posthouse or something. But I‘ll always try to improve so you feedback definitely helps. Thanks!
-
Thanks a lot for you feedback, Tom. Very appreciated. You're definitely right that a selection of films would tell more about my skills (at least for other Colorists) but in my experience a reel like I did it is better for production companies, agencies, and so on,.. can you share that experience or not? I'm really curious.
-
As stated above the more you practice the better you'll get. But there are also some great courses out there. I did one some years ago with Dado Valentic (colour.training) and it really helped and motivated me a lot. There are also some courses out there from the ICA (icolorist.com) that should be good and help you gain experience.
-
2
-
 1
1
-
-
Hi everyone!
Here's my Colour-Reel from 2018:
Would love to get some feedback from other Colourists.
I know it's always hard to judge from a reel but maybe some of you have some helpful inputs.
There's stuff included from a feature, some shorts, TVCs, one cinema commercial and some online spots and musicvideos of local bands.
Thanks a lot already & enjoy!-
1
-
-
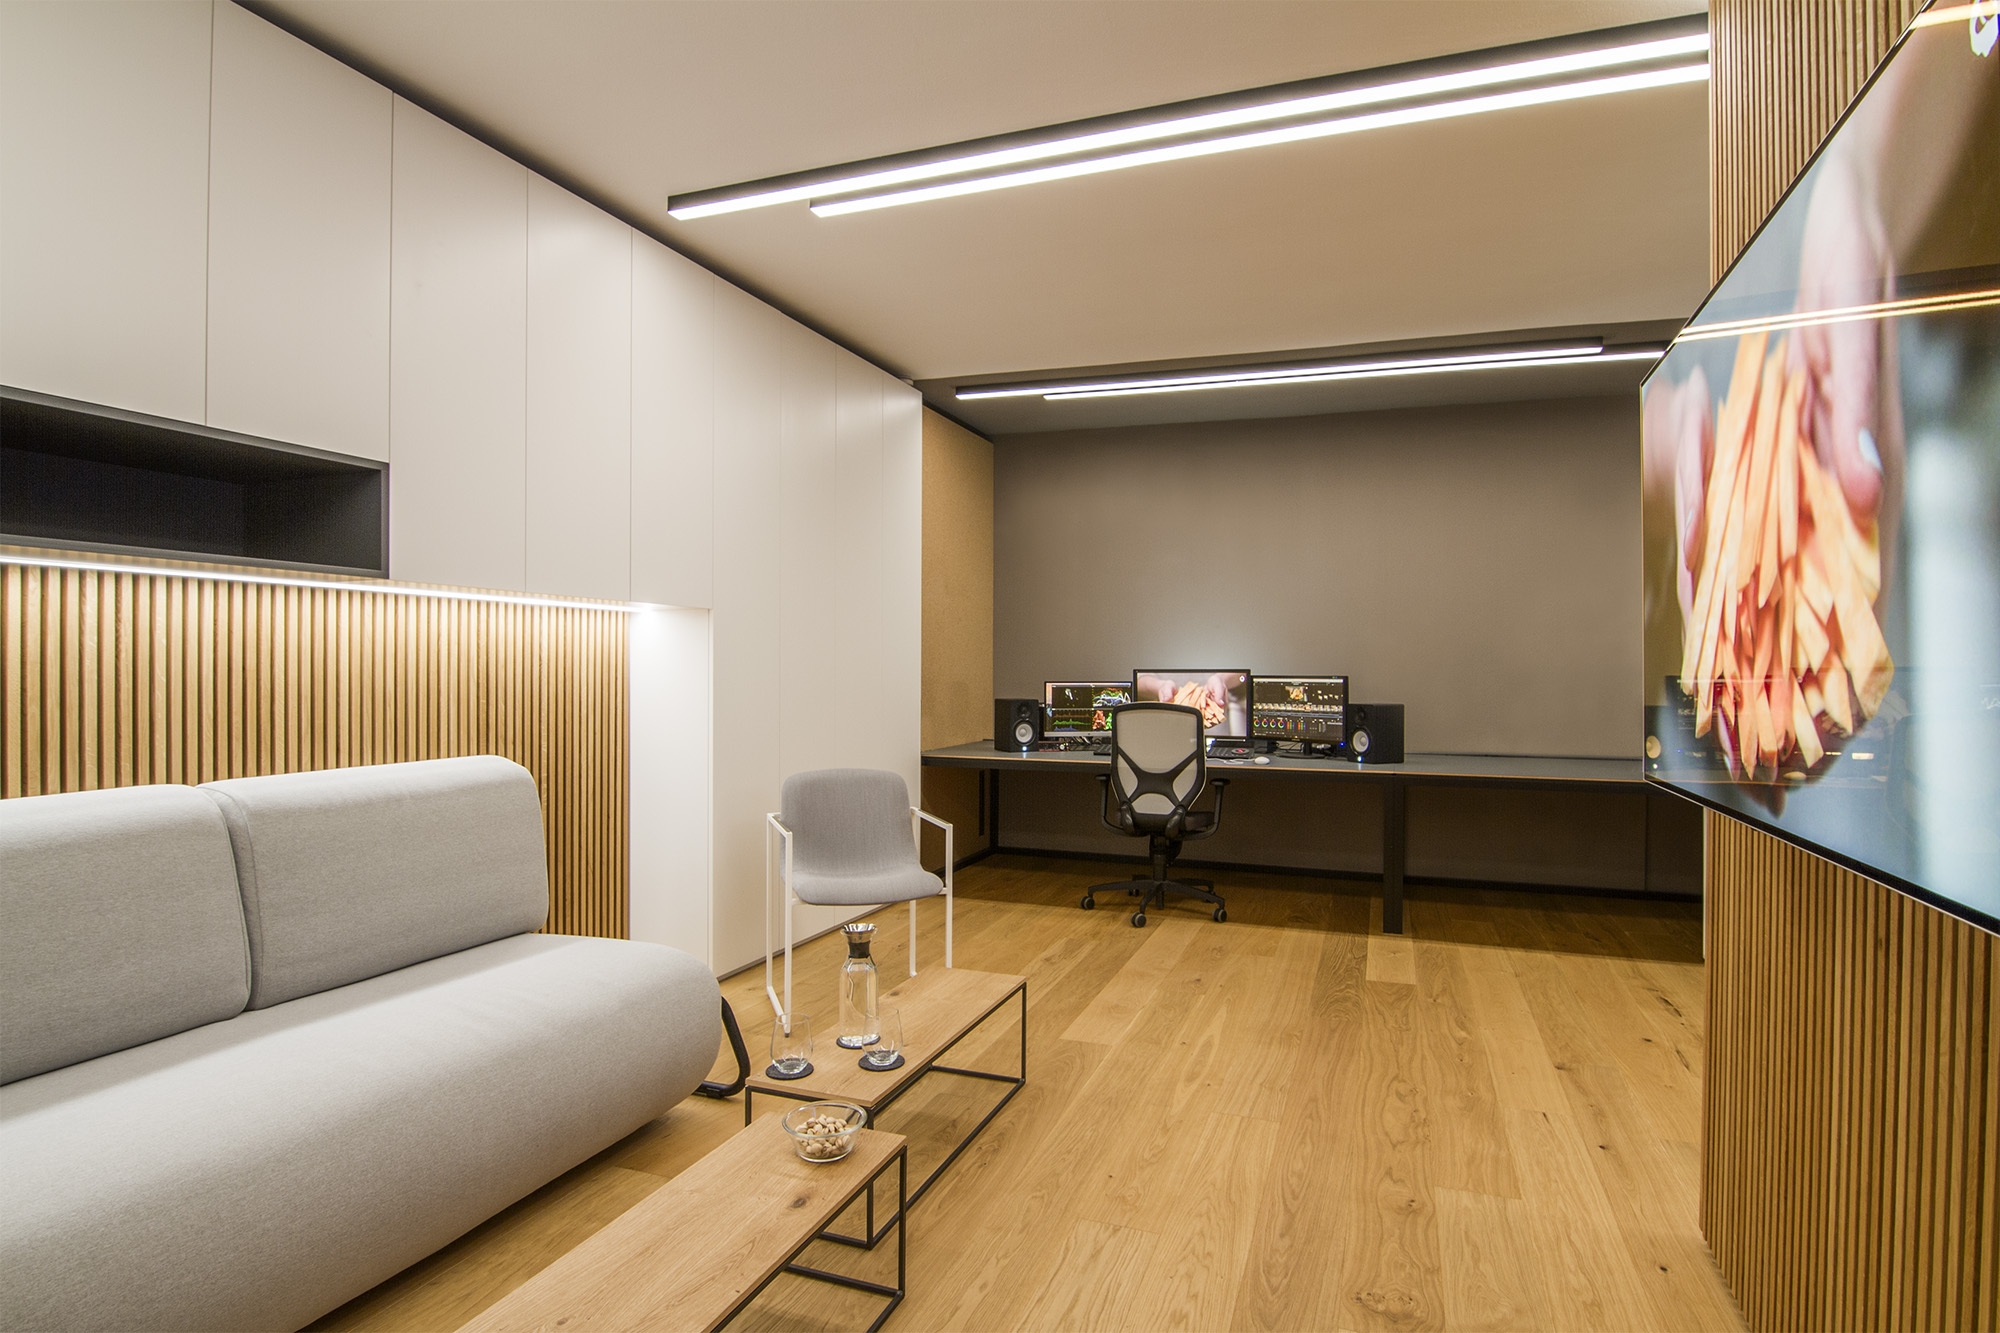
This is my suite in Vienna/Austria.
Currently running DaVinci Resolve 15 on a MacPro Trashcan with a Sony PVM-A250 and a LG OLED B6. Upgrading to ScopeBox and a 10GbE 80TB Synology NAS at the moment. 🙂If you want to know more about me check out: www.artjungle.tv

-
6
-
-
On 10/9/2018 at 6:04 AM, John Parker said:
We have 19 different film stocks in the plugin, each one was profiled separately so they all have the individual characteristics of that film stock.
We're planning an update to the software in the near future that will enable the original Cineon log scans to be used, instead of the projected film simulation. This will keep the flavor of the film stock but give more power and flexibility in grading.
Hey @John Parker, I just bought Filmconvert few days ago because I'm very interested in testing and working with the Cineon log scans and Juans tutorial. Would love to see an update with more/all Cineon log scans!
-
2
-
-
Awesome work, Aleksandr!

Density
in DaVinci Resolve
I'd suggest to use whatever fits your needs/workflows and gets the results you're after for a specific job. Some feel more comfortable with one tool while others totally prefer another one. Usually the difference for example between the Sat Vs Lum curve, the Color Warper (if you're adjusting luminance there) and some custom tools implemented via DCTLs is that they all are based on different math and/or color space under the hood.