
Yoav Raz
-
Posts
13 -
Joined
-
Last visited
Content Type
Profiles
Case studies - Free
Case studies - Premium
Resources
Insider
Courses
Forums
Store
Posts posted by Yoav Raz
-
-
11 hours ago, Alexander Volkov said:
But when scene take place outdoors, without set and location design, cold overcast day, and you need to make image very cold blue , so you push blue into the image and the skin gets also blue, too blue, or opposite when you shoot outdoors on sunny day, and you want further enhance this warmth by making a warm yellow hot sunny look, you push yellow orange into image, and skin gets too warm. So you need just control on skin to pull some coldness or warmth back. Im not talking about separating skin from the wall (background), but asking how you deal with strong color casts looks (very green look, or very blue, or very yellow look), but also to leave (protect)skin natural in that particular environment, cold blue environment or warm yellow environment, without being skin too blue or too orangy-yellow? But also not too overprotect it, so it looks natural in cold blue environment or in warm yellow environment for example.
Edited 11 hours ago by Alexander Volkov
Hi There Alexander
I think you try to get something that is impossible or at list can look strange.
Usually when a skin is in this conditions as yours. cold blue or worm yellow it also effect the skin.
Meaning that the skin won't stay natural anymore and it must have the effect of the look.
the same goes for bright light and dark. skin is effected from those and can't stay natural.
and for the technical side there is no "goto tool" for this or that.
you should try all the tools in order to achive what you want. the best way is to try until you get there.
its like when using a key. you play with the luma and the sat and the hue until you get to a nice key. if you can't then you add a mask.
or go and try other tools like hue v sat or whatever.
hope it helps
cheers Yoav
-
 2
2
-
-
If it works in avid then I’ll render it out from there as a single shot.
Same as in premier
If not it’s sent to VFX dept.
-
1
-
-
Our team From Edit Studios and me are going to Demo our workflow at SGO Booth IBC 2018
Come And say hello
-
Hi there Nicolas
I think in resolve you can use the curve Y only
cheers Yoav
-
 1
1
-
-
- Popular Post
- Popular Post
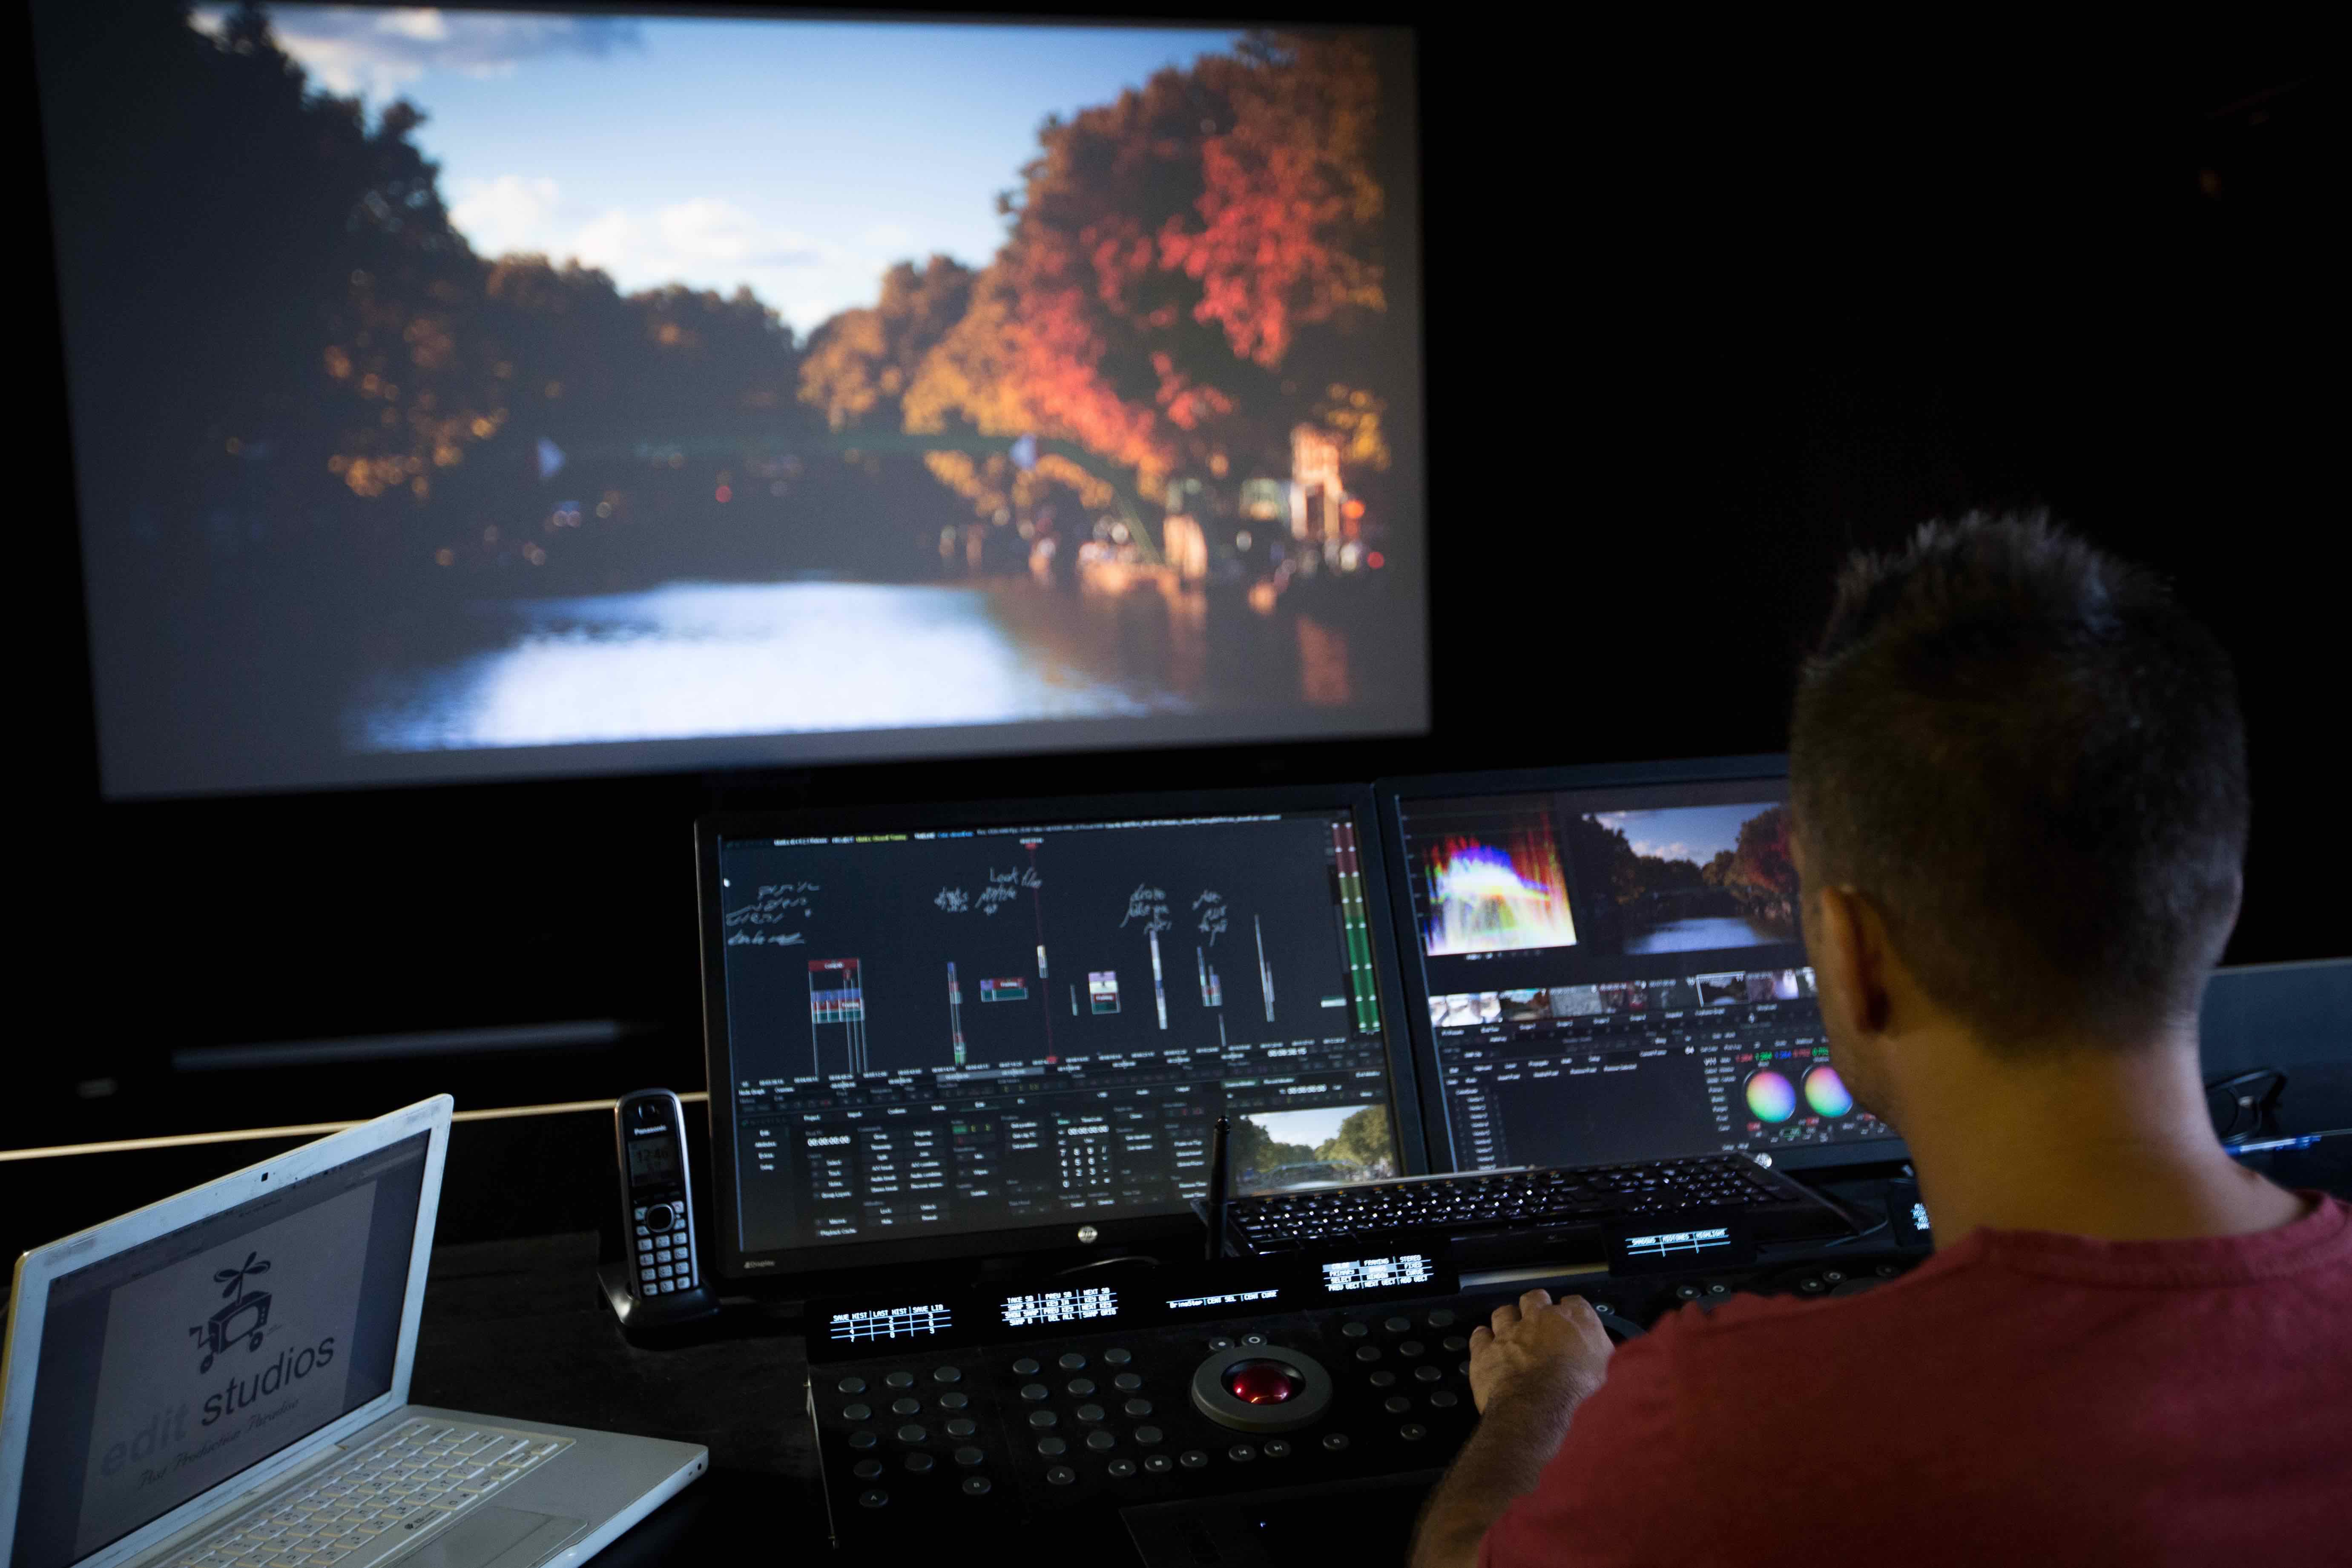
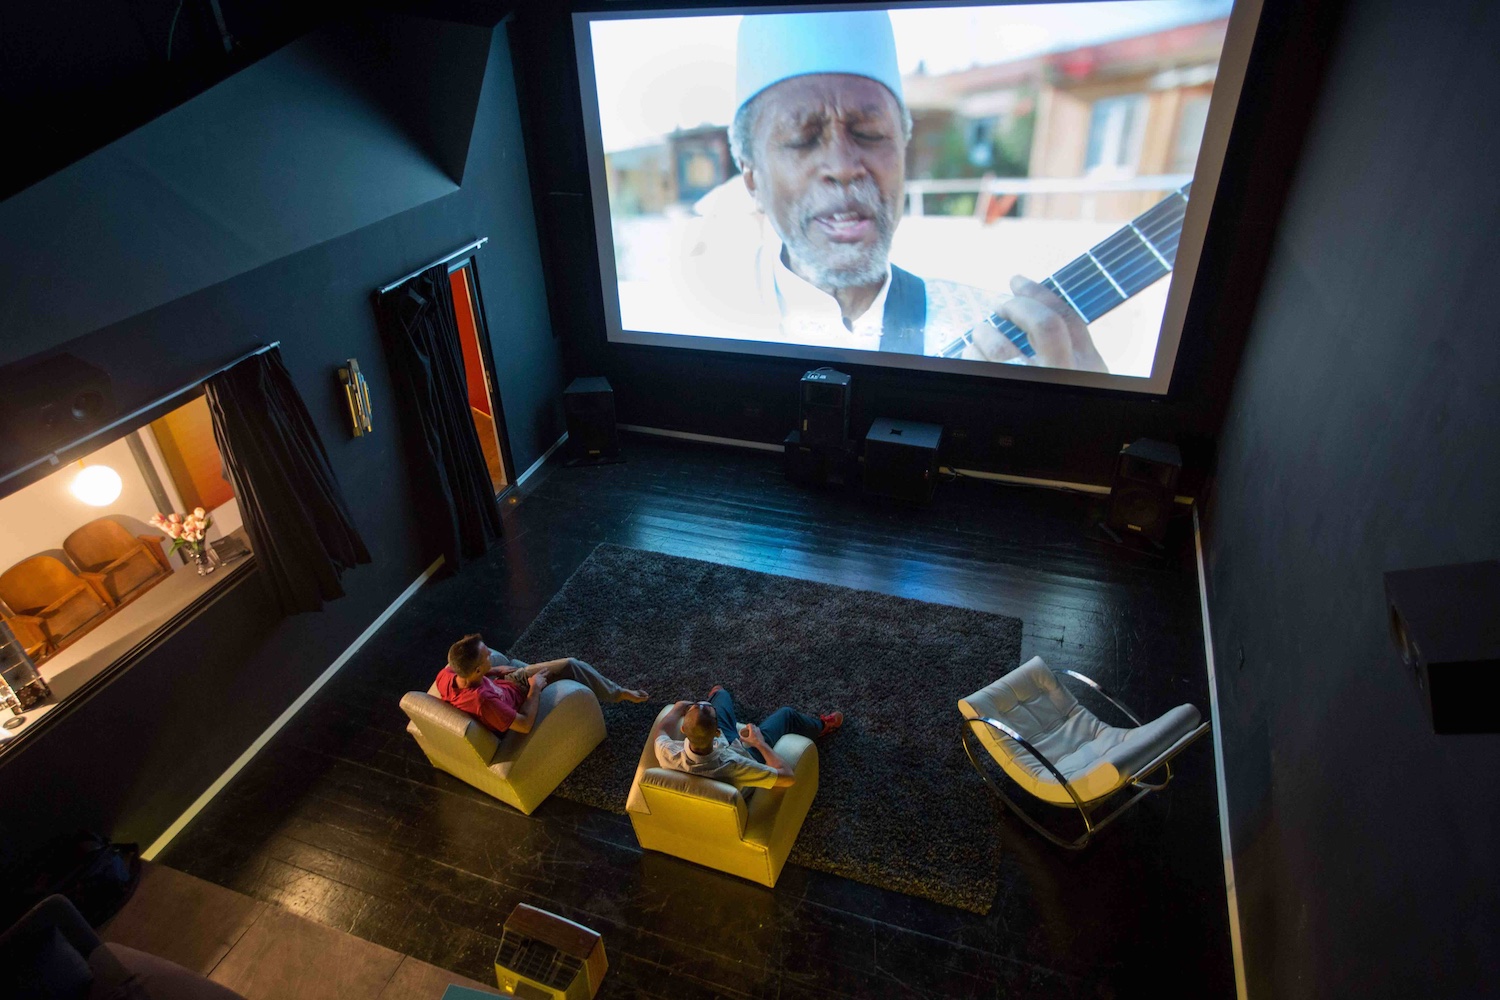
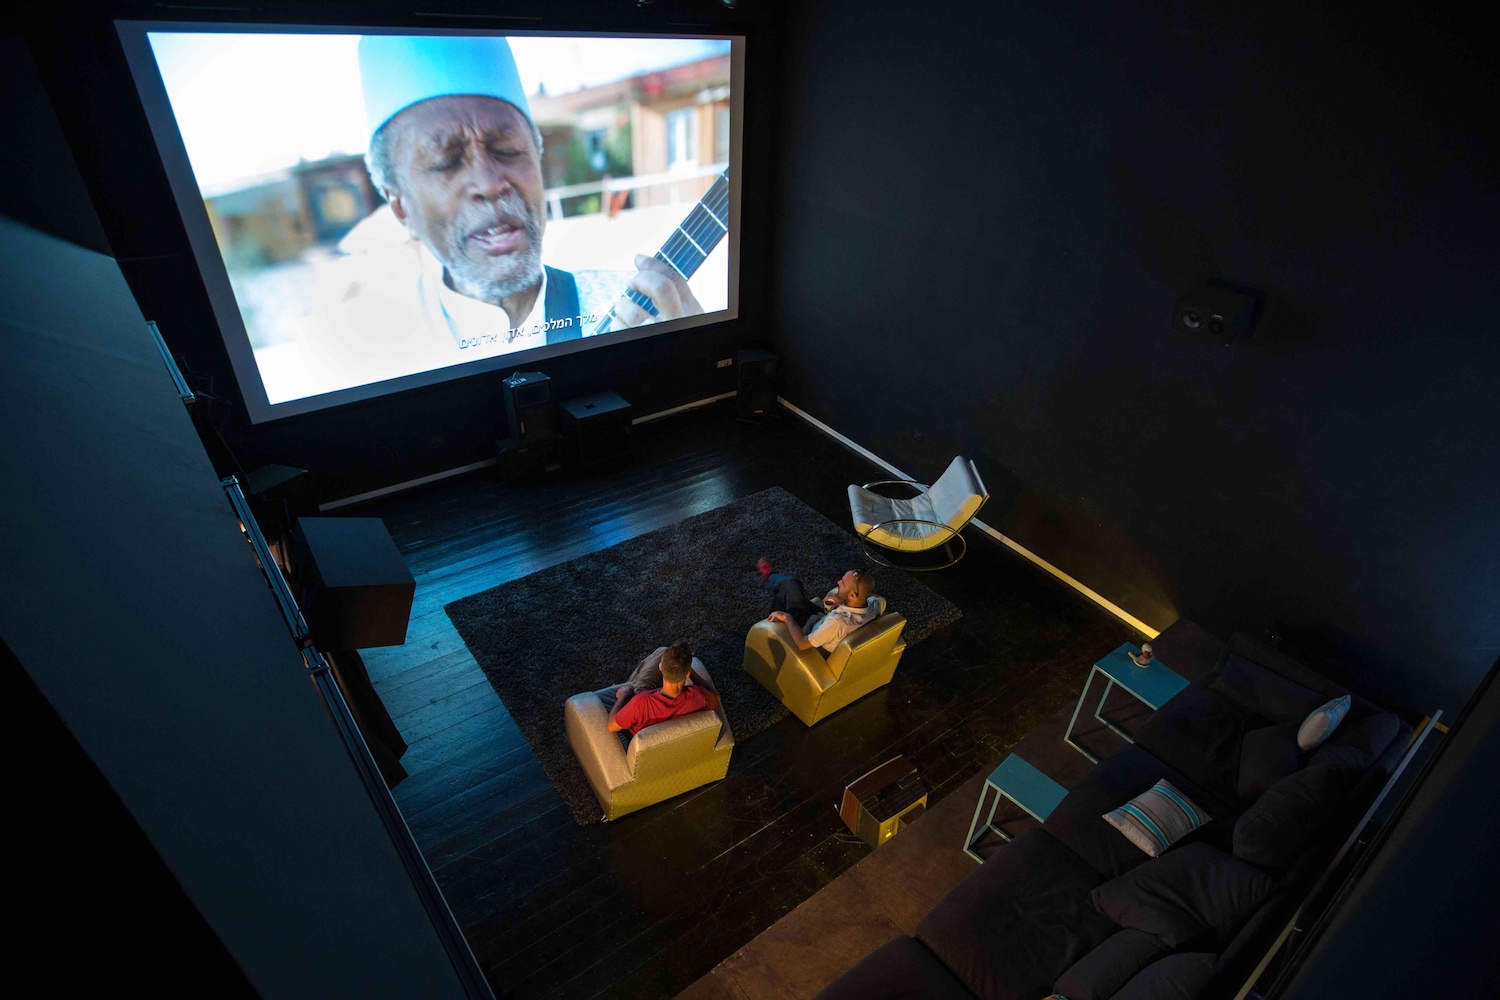
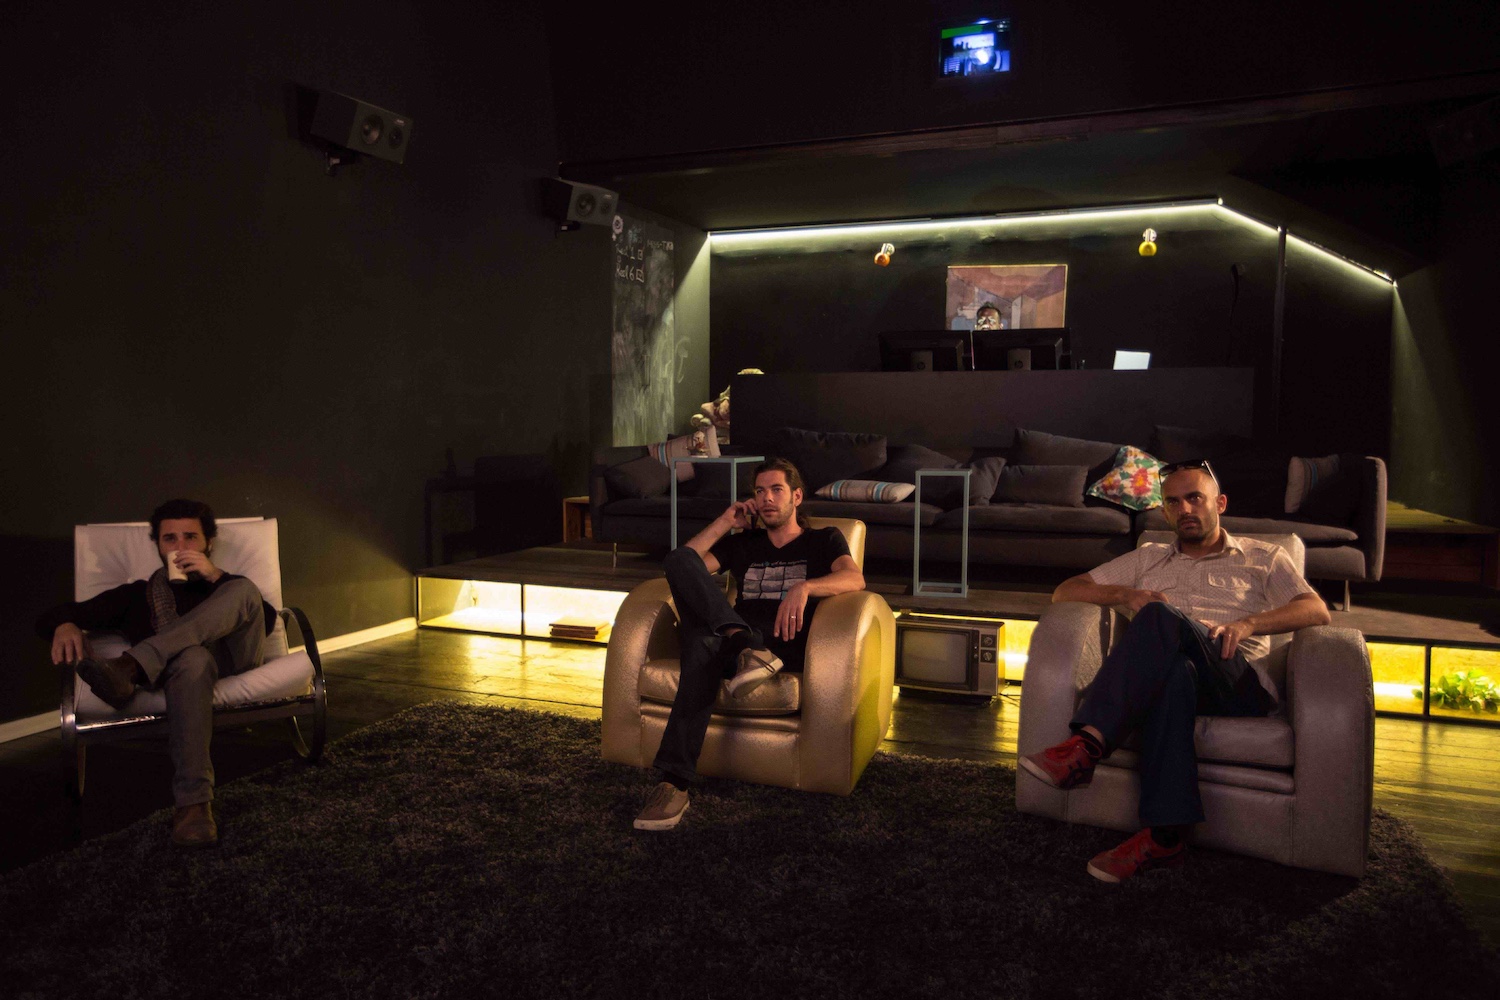
My 2nd Home
@"Edit Studios" Mistika 4k With Barco 2k 12c Projector and FSI CM250
www.editstudios.com

-
9
-
1
-
Hi all
here are 2 new insight Training videos by Mistika Insight Instructor Francisco Ramos
https://www.sgo.es/forums/topic/mistika-insight-refresh-webinar/
https://www.sgo.es/forums/topic/mistika-insight-webinar-02-the-color-grade-node/
Enjoy
Yoav Raz-
2
-
-
Run it through a VHS machine is the best way. Desaturated and add some sut back into red channel,
I also run this vhs tape and while capturing it i played with the cables to get some analog drops.
and also run black tape and captured the signal and key it over some shots to get this broken signal.
cropped to 4:3.
-
4
-
-
- Popular Post
- Popular Post
There is another grate tutorial by Nicholas Recagno demonstrating Frequency Separation on Mistika.
-
8
-
Genarts Sapphire Use a lot for lens flare
-
2
-

Skintone adjustments separately from the look
in DaVinci Resolve
Hi Alexander
so I think all of the above tricks and tips
should work.
My trick in situation like this is using the same shot but color for skin only. Like get the best skin I can so I could key it later with parallel or in mistika we have
recovery mode.