
Colored by Walter Volpatto
FotoKem
Paul Thomas Anderson was getting closer to the final stage of his movie The Master, and the question of the DI came up. For how much he wanted to release the movie only in film form, the distributor needed the digital DCI for general distribution. Most of the theaters at that point where converting to digital projection and it was imperative for the distributor to fill the seats.
I met Anderson during the final stages of the editing, did some VFX pulls (there are a grand total of three effects and two opticals in the movie) and we started to talk about how to approach the final DI. We wanted to work in real-time, and at that point in time we could work in 4K but the platform we had (Quantel Pablo) was not fast enough, so, we went on and built a full 4K Linux Resolve for this task.
The challenge
The challenge for us was to copy the 65mm answer print that he was timing in the lab. We have a room in FotoKem where we can screen the 5perf 65mm prints and I sat with Lab Timer Dan Muscarella to watch the prints go by during the part of the color timing. We did some research and calibrated the film emulation LUT to the 65mm contact print to better represent the final answer print, we did some tests with Dan and were ready to work. The 35mm was scanned from the original negative and the 65mm was scanned from the 65mm cut IP.
The feel of a 1960s movie
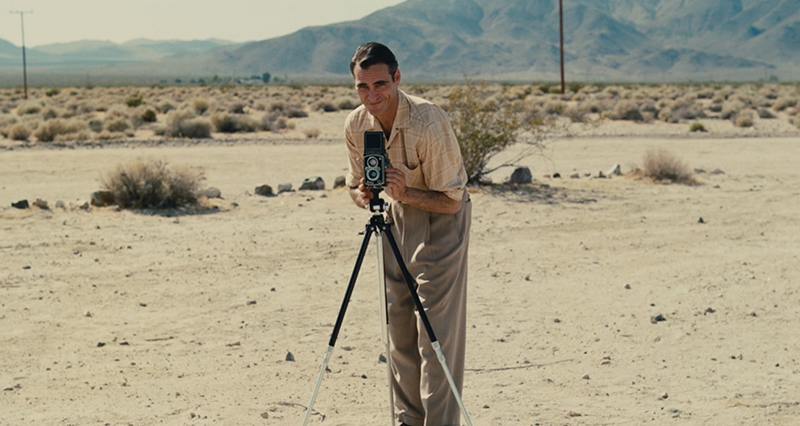
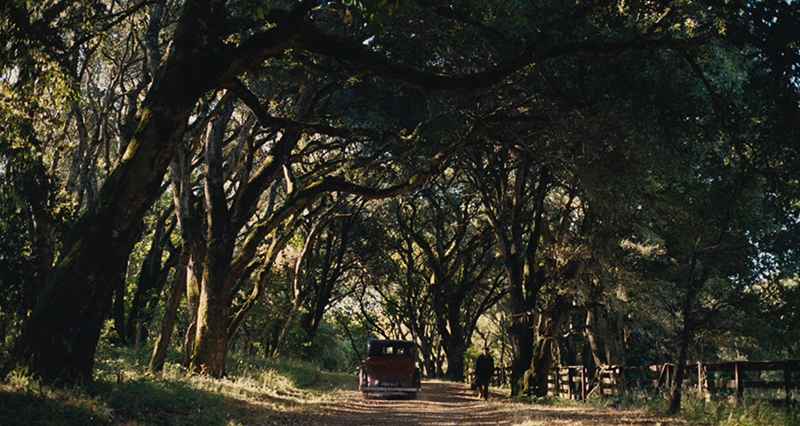
For the look of the movie, I searched through images of films from the 50s and 60s, to see how the film emulsion was developed at that moment in history, and how the lenses were deforming the image. The set of lenses and cameras, if I remember correctly was the one used for Kubrick's 2001 Space Odyssey. The idea behind it was to have the audience feel like they were looking at a 1960s movie, not a 2000s movie that looked like the 60s. Most of it was done in camera, and we were very careful to preserve it during the digital process. I sat with Dan during the screening of the answer prints and he sat with me during the color timing.
We did the color mostly with a logarithmic color correction, pre-matching the 65- and 35mm scans then got closer to the answer print and refined it with Dan and Paul Thomas Anderson in the room. We spent a few hours in the same scene adding and taking away printer points of corrections until the feel for the scene was about right.
READ: Dan Muscarella about Printer Lights


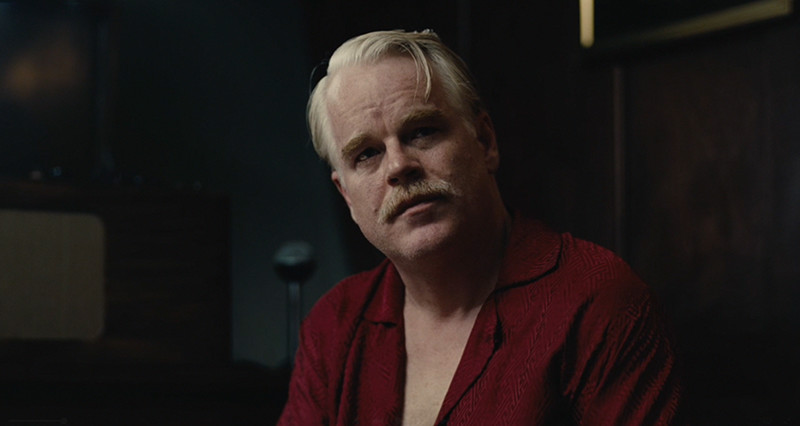
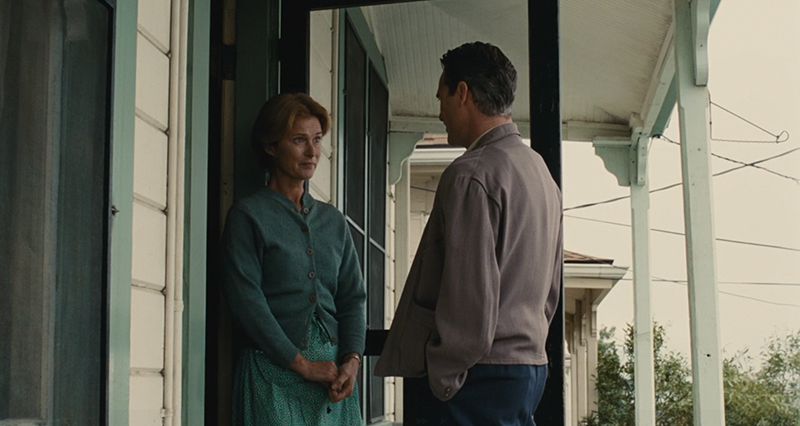
The Master has a certain aura to it that you cannot describe but feel. It is a clever use of light and backlight that emphasizes the relationship between him and the disciple, and the color had to obey that statement.
The idea was to have the audience feel like they were looking at a 1960 movie, not a 2000 movie that looked like the ’60
- Walter Volpatto -
Technically, I used Log offset controls (or printerlights) for the most part, and just a touch of saturation and contrast to better blend some 35mm negative with some of the 65mm IP scenes. Although I used pretty much only logarithmic corrections, there was this one scene where the wall was a bit too close to the color of the subject. We isolated the wall and ever so slightly changed the color a bit.
Paul Thomas Anderson is a fan of trying, playing and trying something just a bit different, and then playing again. He is very visual and he likes to see different options even if they are just a touch different from each other.
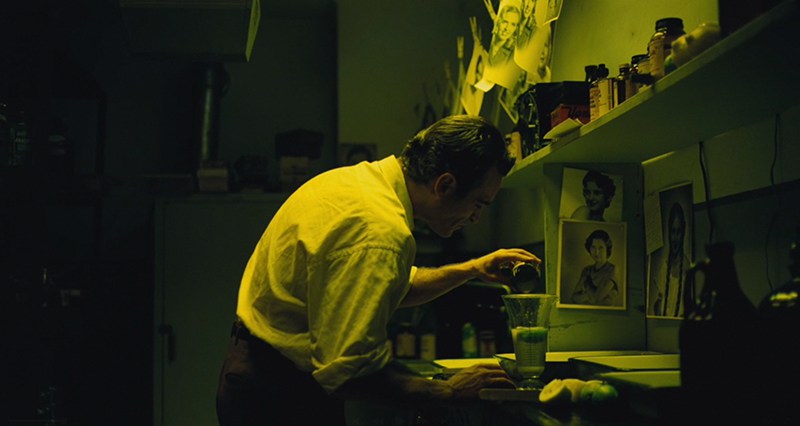
We also have moments in the movie where a color tone plays a role in the psyche of the main character. If you think about the scene in the lab when he drinks the exposure chemicals, those are very strong colors and we went a bit further from the print on those occasions.

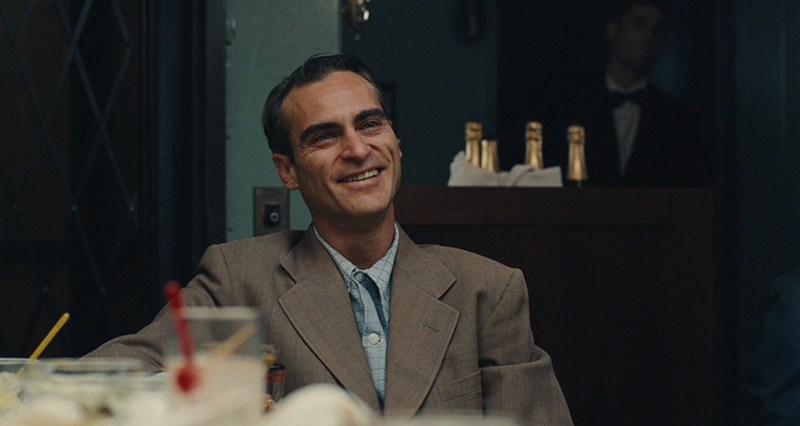
Skin tones
I needed to be really consistent throughout the movie about the skin color of all the three main actors, and we were going back and forth through the reels to constantly checking their coherency. I never use secondary correction for skin tones, as I’m under the assumption that the director of photography put a light in the set for a reason. And most of the time, that reason is to make the face of the subject to fall in a very specific place. So in my timing, I always want to go to the color of the skin tone we establish with the minimum amount of correction possible (more often than not it's just an Log offset) and see how the rest of the world plays.
Even if I have to put a window there, I will still try to use a logarithmic offset or a white color balance to put it where I like it. I always feel that a secondary correction (or vector, whatever the machine calls it) will reduce the amount of subtle variations that exist in the natural skin, and make everything look a little too plastic to my eyes. Having said that, no power windows have been harmed in the making of this movie.
I’m not a fan of looks, but I’m a huge fan of representing and capturing the reality as it is. Letting the audience be dragged into the movie's storytelling without being bombarded by stimulus. 65mm is a great format and I love digital cameras (Alexa is my favorite), but I find the large format are still a step above all.
When the Blu-ray master coloring was done, I played the final DCP movie with Kostas, the Color Timer, and he sat with Paul Thomas Anderson again to give a slightly different interpretation for the Blu-ray. So they are somewhat the same and different at the same time.
Walter Volpatto
All images and clips copyright © 2016 Annapurna Pictures
-
 6
6
-
 1
1