
Color timed by Dale E. Grahn
Amblin Entertainment
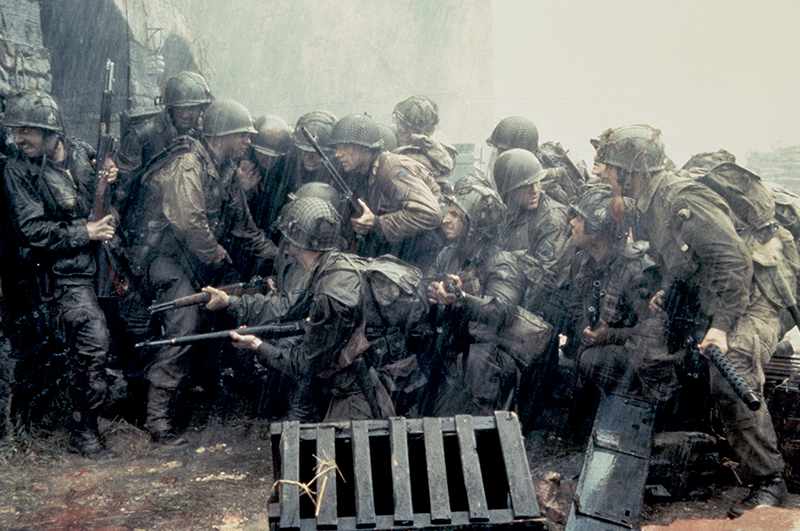
I was given the honor to time Saving Private Ryan because of my work on Amistad. The creators vision' for the film, at first, was something like an old newsreel war footage look. A distressed look, not a warm and cozy look. Also, it had to be a clean look, not muddy.
When you are working on a very high profile film project like Saving Private Ryan, you cannot afford to waste prints due to sloppy or timid corrections
- Dale E. Grahn -
Not only was it completed all on film but, it was the first of its kind to use a "Bleach By Pass Negative” and the ENR Developing process at 100% IR rating on Eastman Premier Stock. These three steps created the Saving Private Ryan color space that allowed me to shape the film's look. This format was used on every print of the entire film which was 9 full reels long. Every sequence has its own look by design.
The biggest challenge was developing the print that I would be showing Steven, Janusz, and Michael. To get the ENR 100%, IR rating took time to set up and once done the entire print was developed at the same time. This took a production developer off line for many hours and was costly to the lab. This was a hard thing to set up at peak production times. Also, I was working on “Six Days and Seven Rights” for Ivan while timing Save Private Ryan. Two very different looking films.
Color timing
As far as color timing tools are concerned, I had the standard Global RGB + or - and Global Density + or - and that is it. Only 4 buttons to work with. The bad news is that the 4 buttons don’t change the image as you’re watching it like it would if you were making a digital color correction.
Get access
This was a short excerpt, become a premium member to access the full article.
-
 5
5
Recommended Comments
Join the conversation
You can post now and register later. If you have an account, sign in now to post with your account.
Note: Your post will require moderator approval before it will be visible.